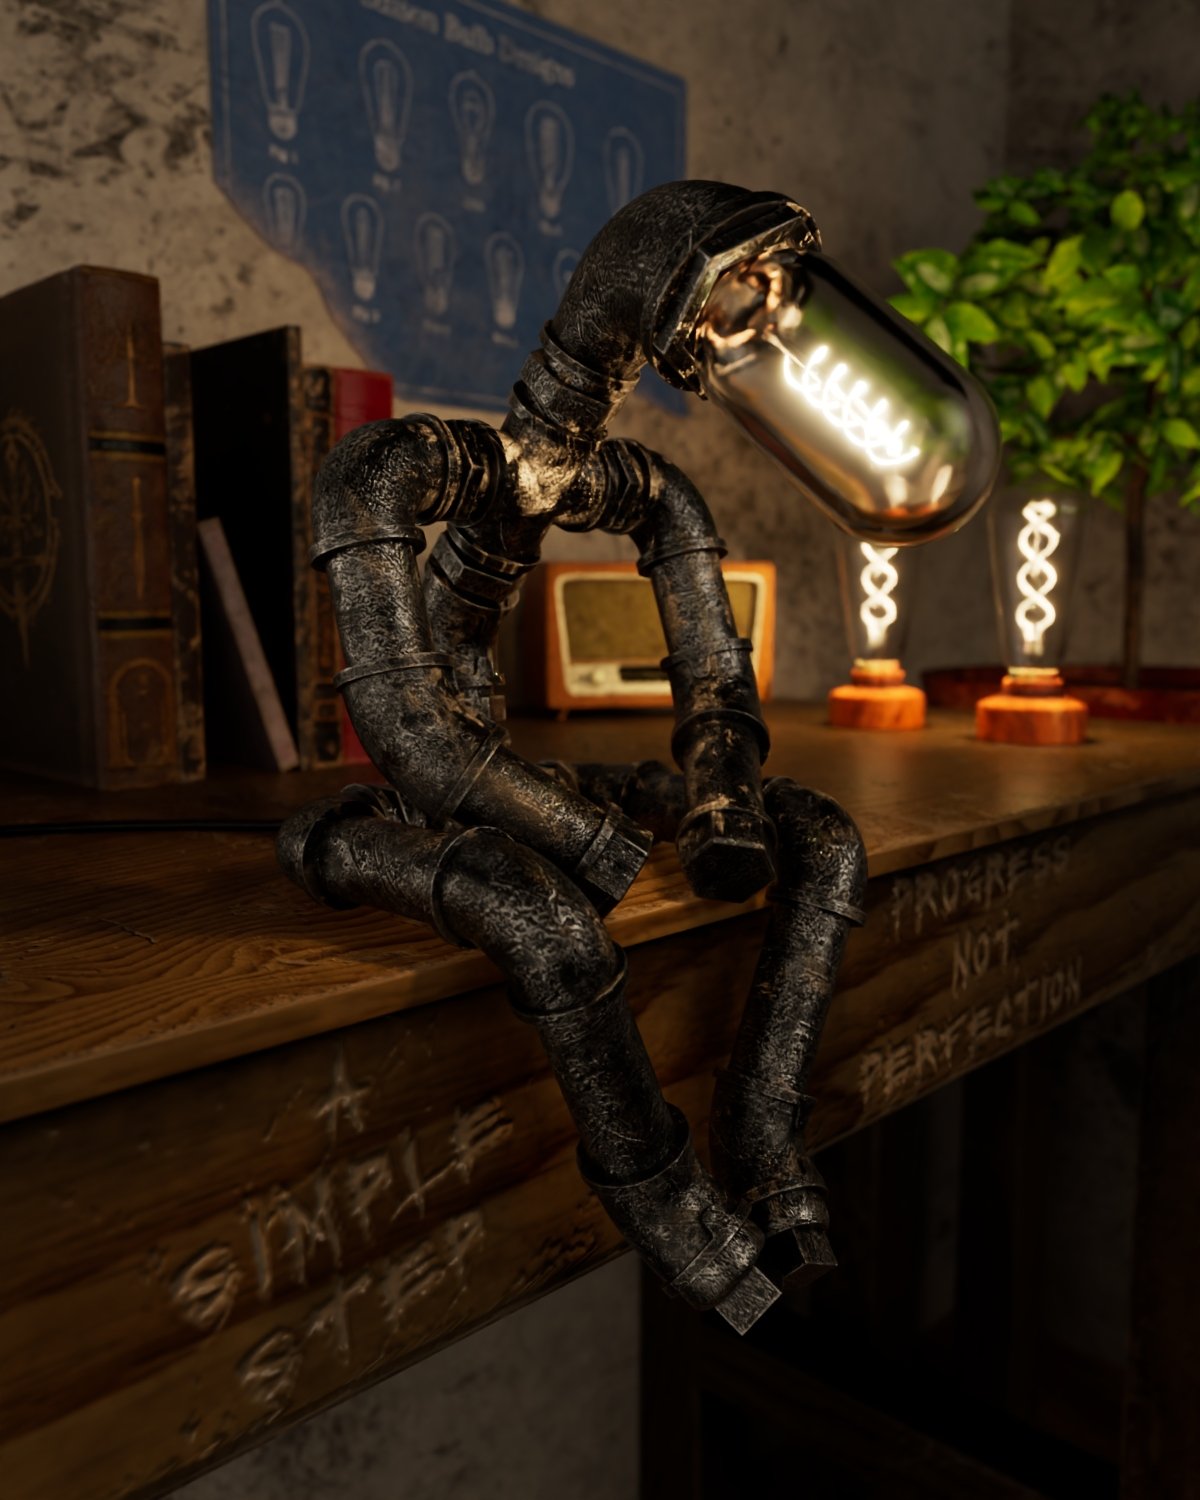
The Lamp Man
Origin
Everyday I scroll through my phone while I wake up. One day I was on social media and an ad for Temu passed through my feed. This is where I saw an image that inspired this project.
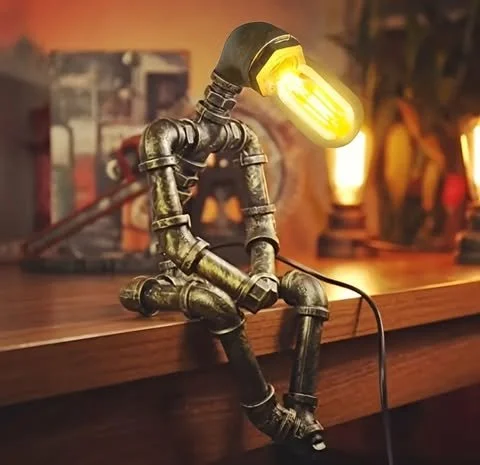
The photo that inspired the creation
Disclaimer: This image is used for illustrative purposes only. All rights belong to the original photographer/creator, and no ownership is implied.
Planning
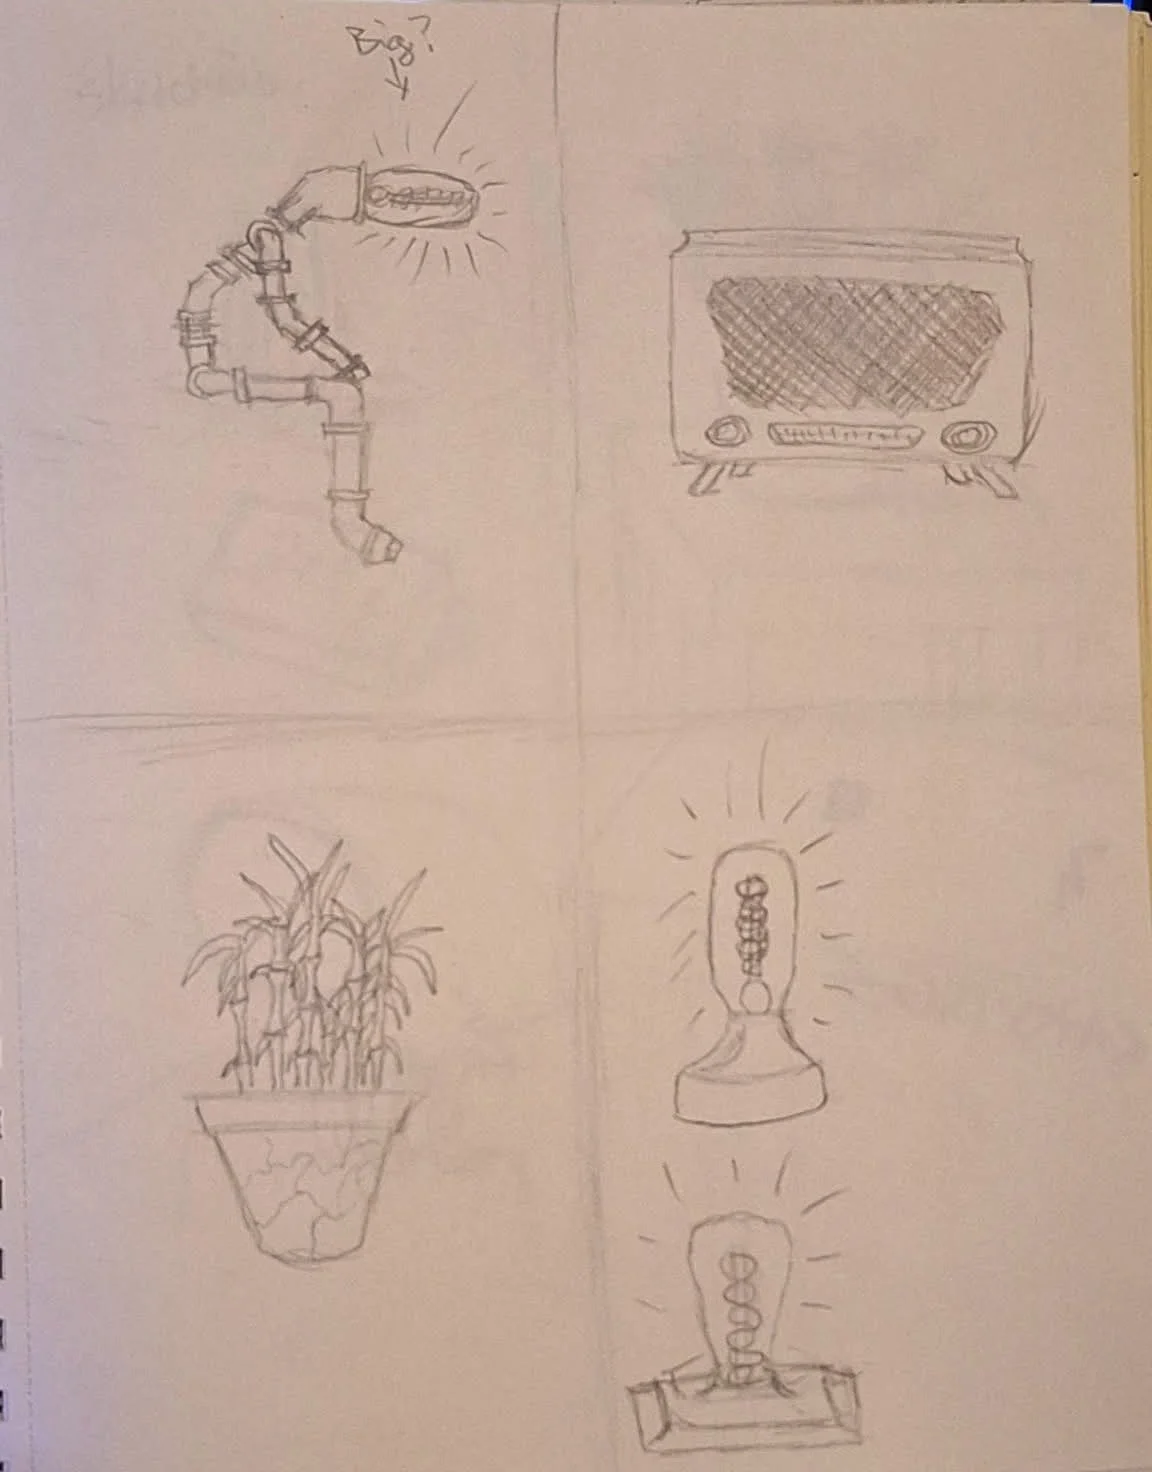
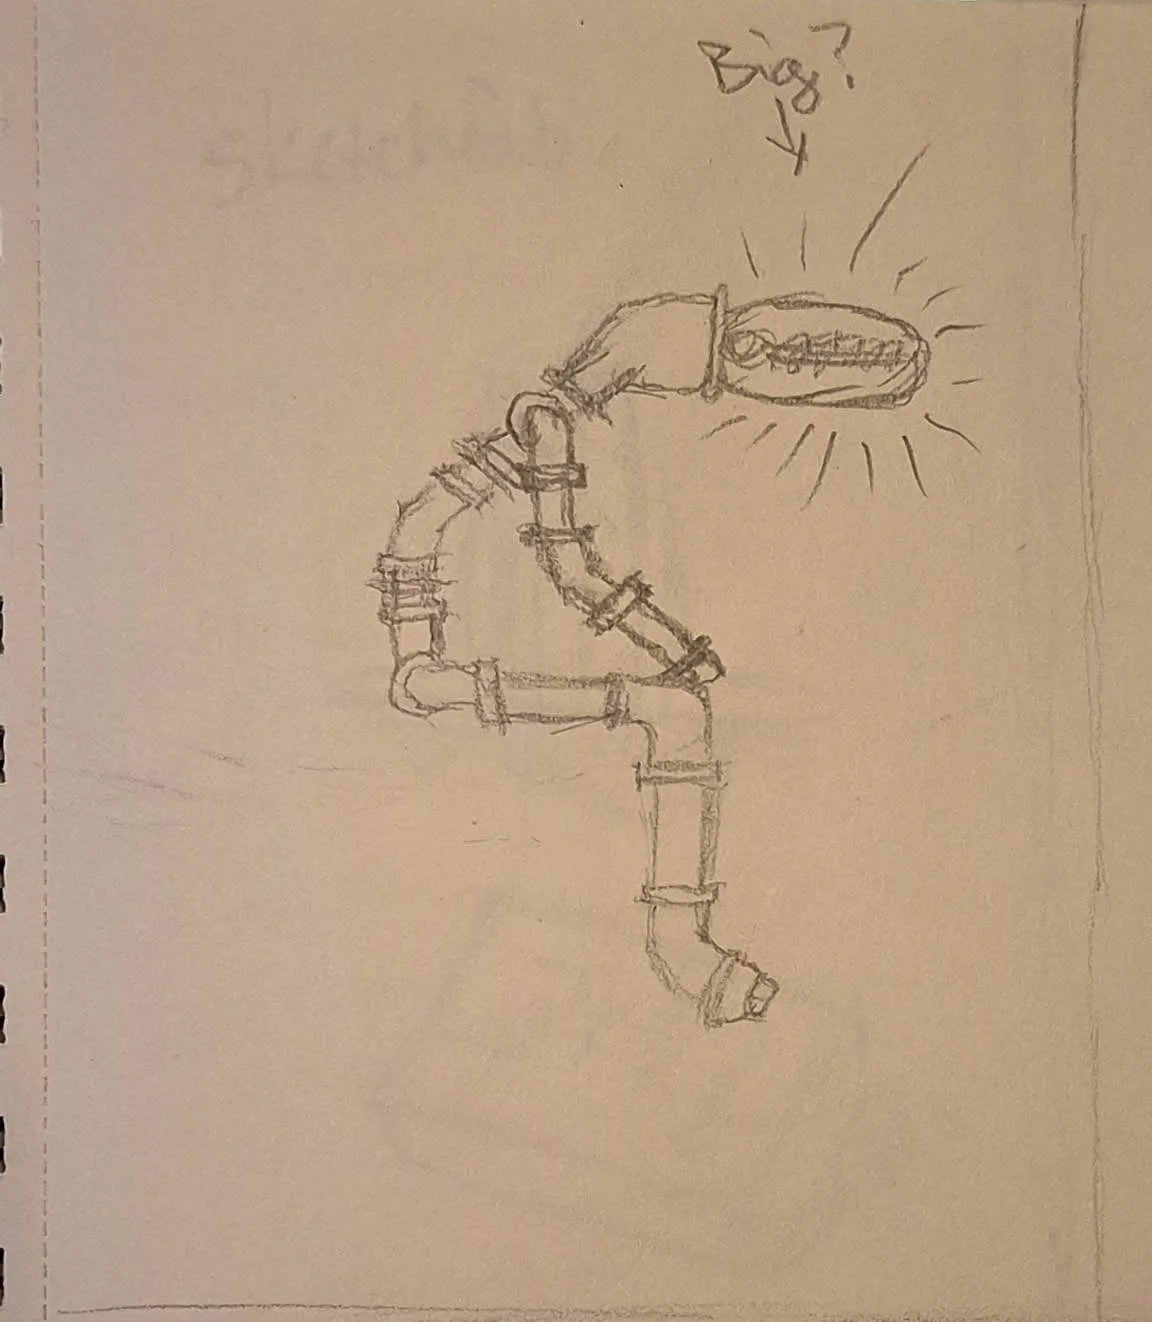
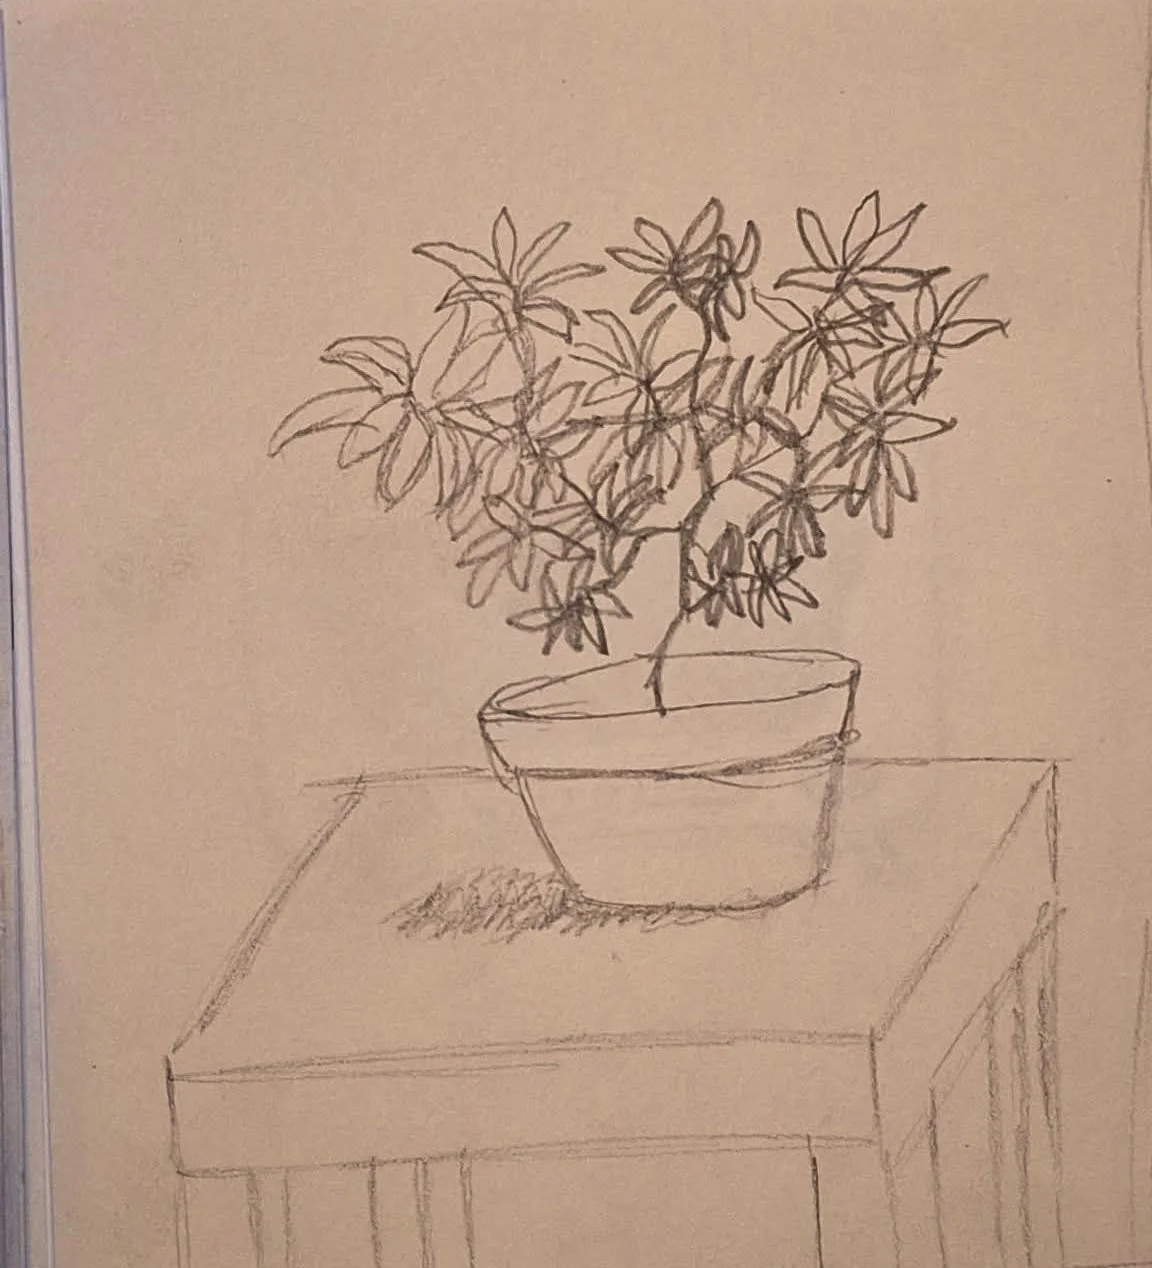
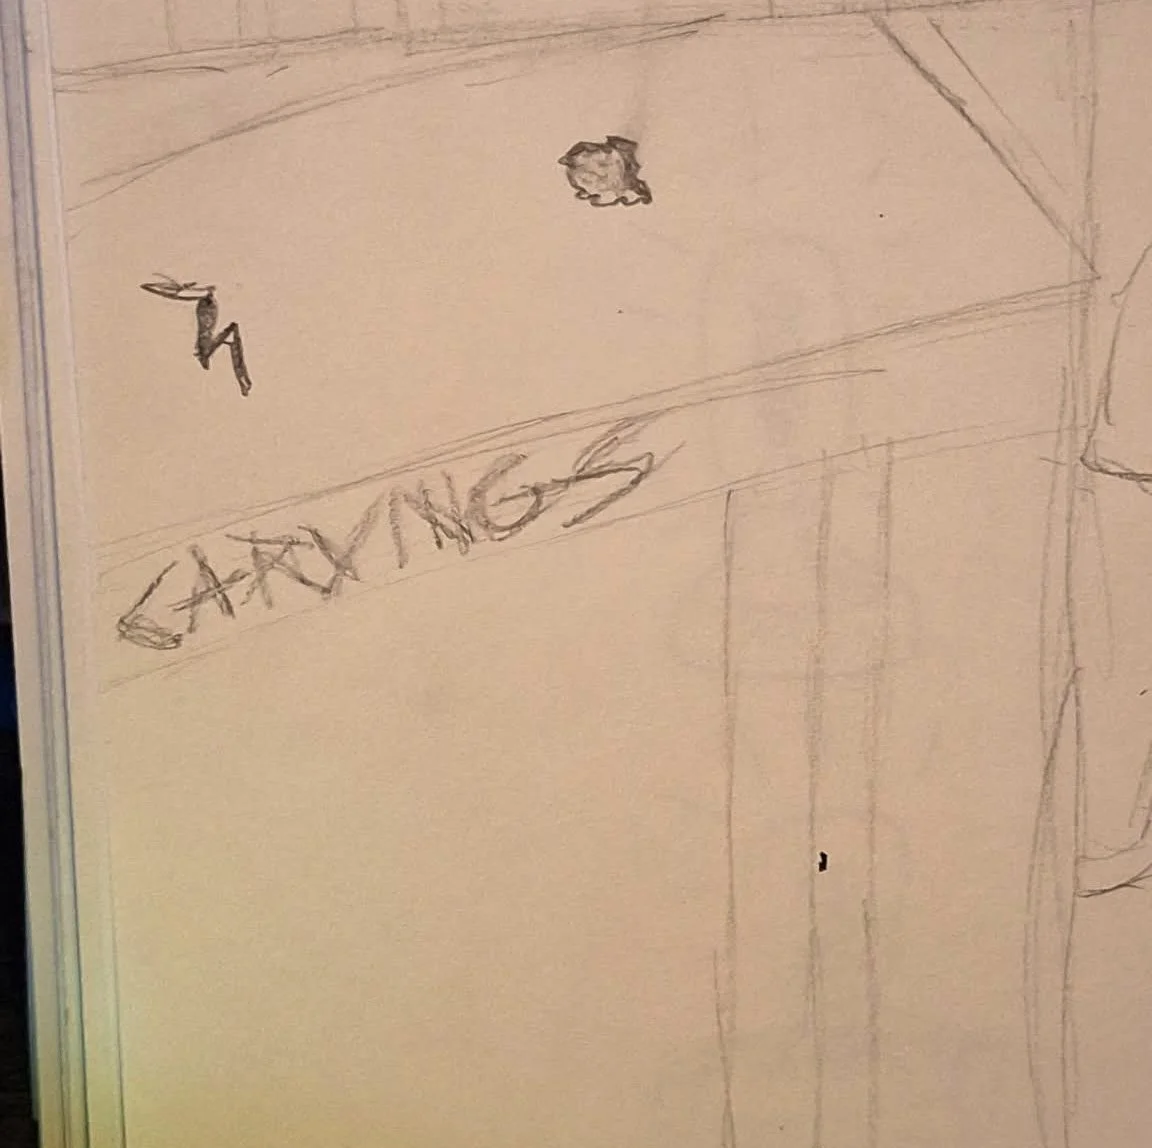
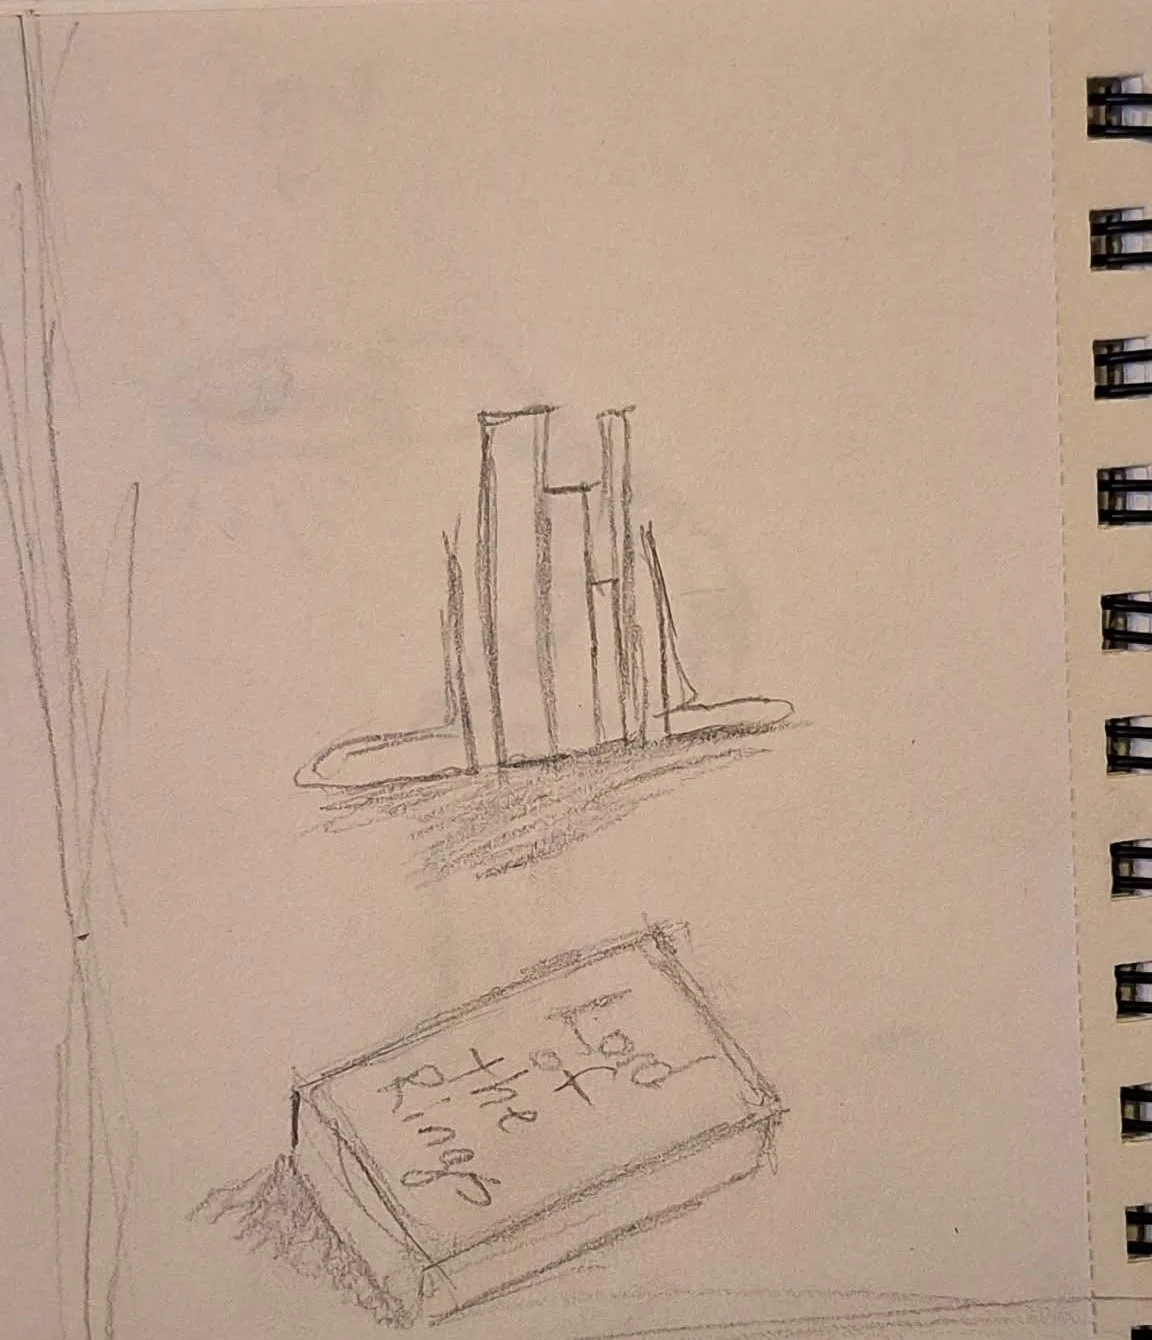
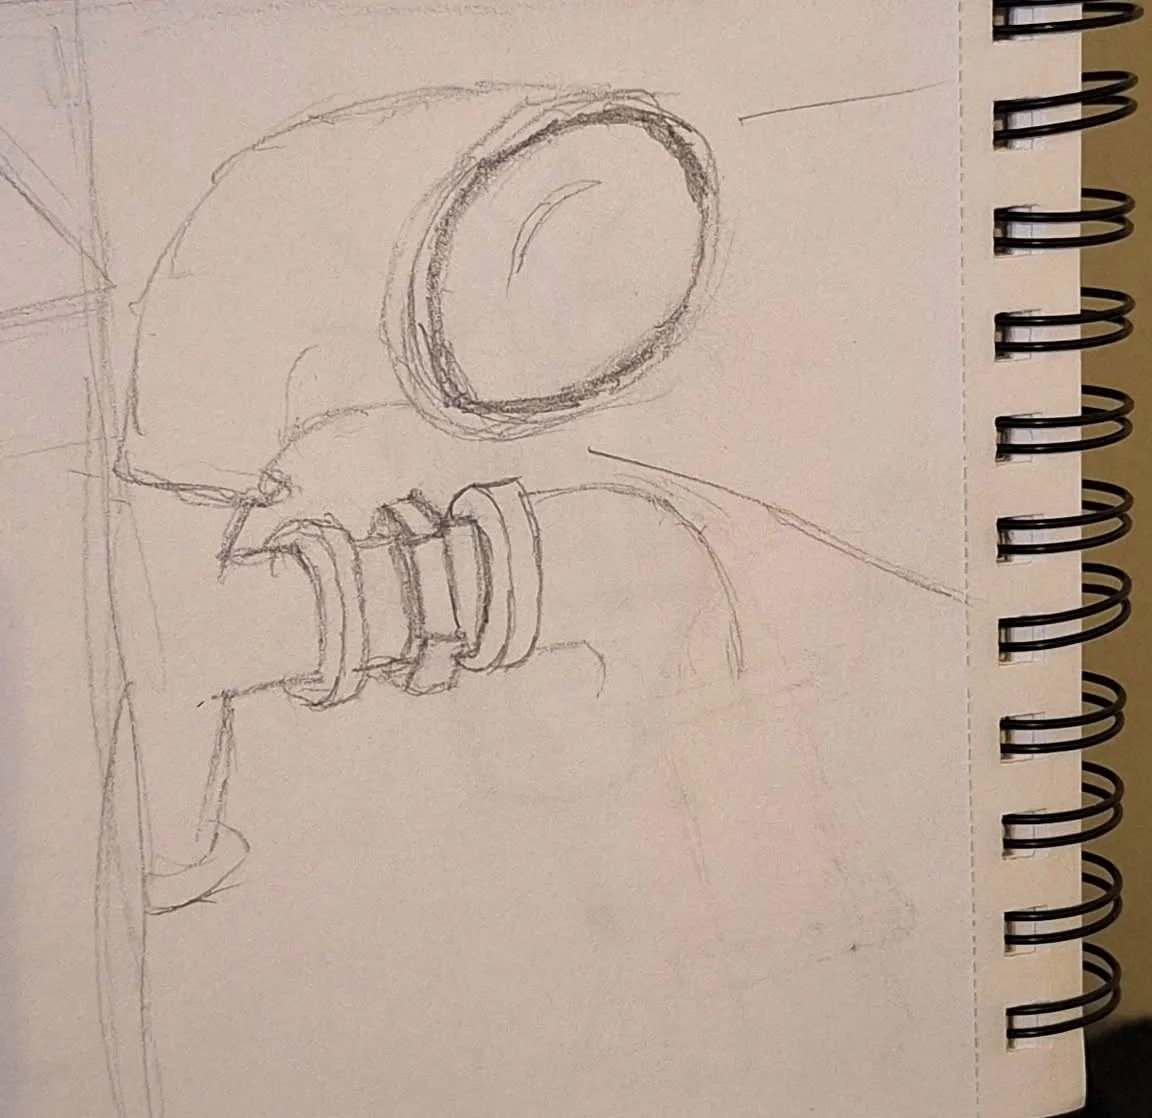
All great work has to start somewhere. After some encouragement from my professor, I decided to take on the task of building my own version of the original photo. As soon as I got home, I broke out my sketch book and started drawing my thoughts on how I would build a scene similar to the original, with a little bit of my own items to support it.
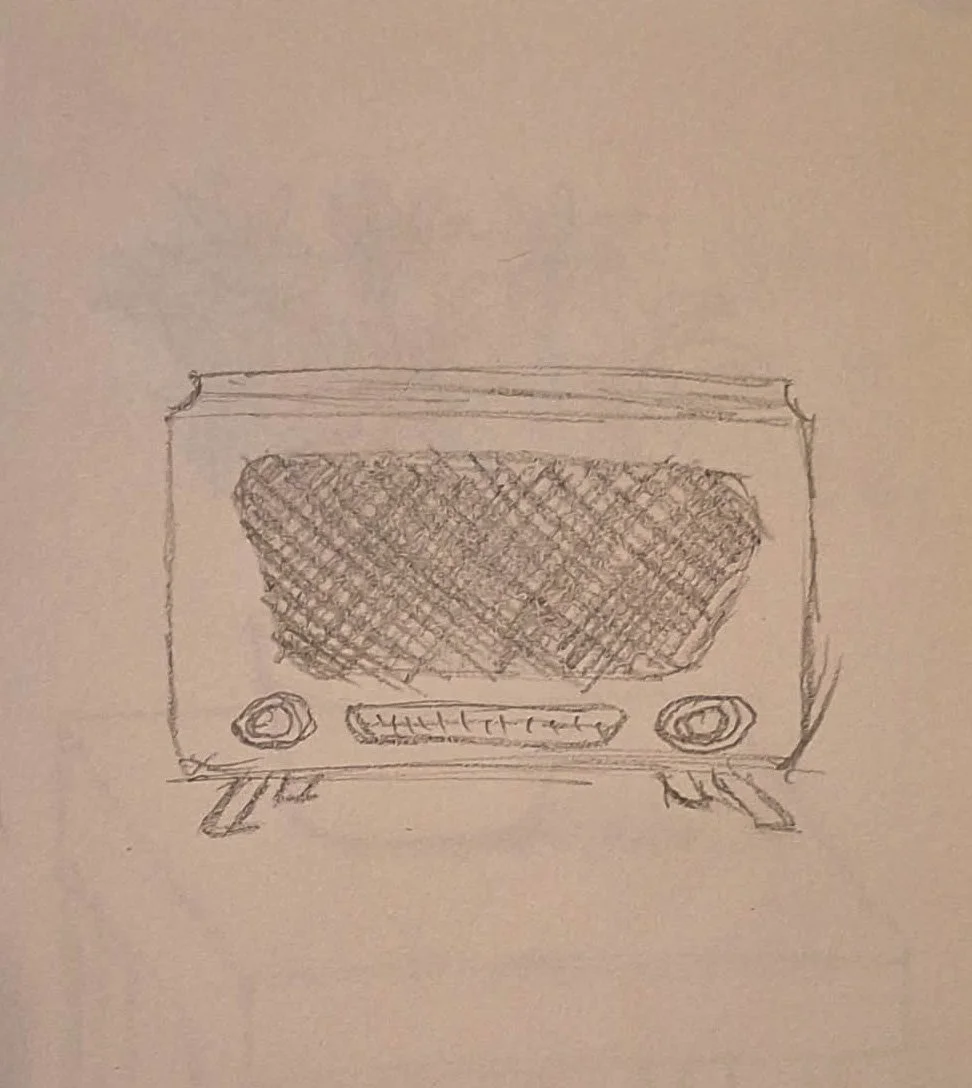
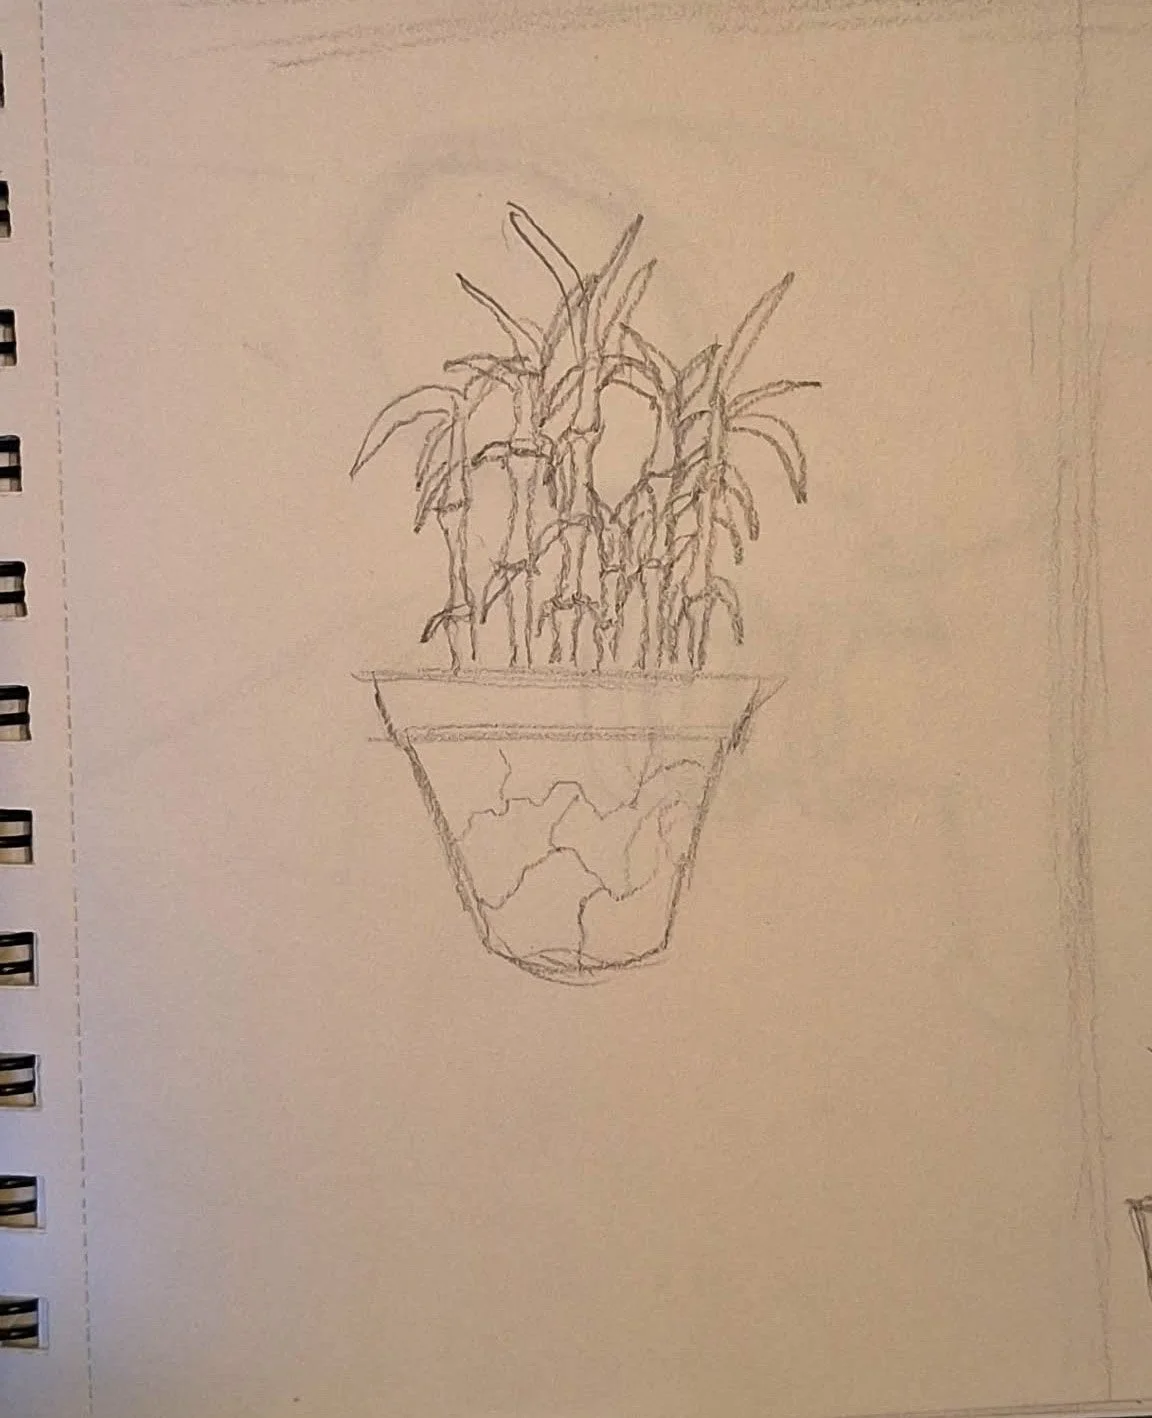
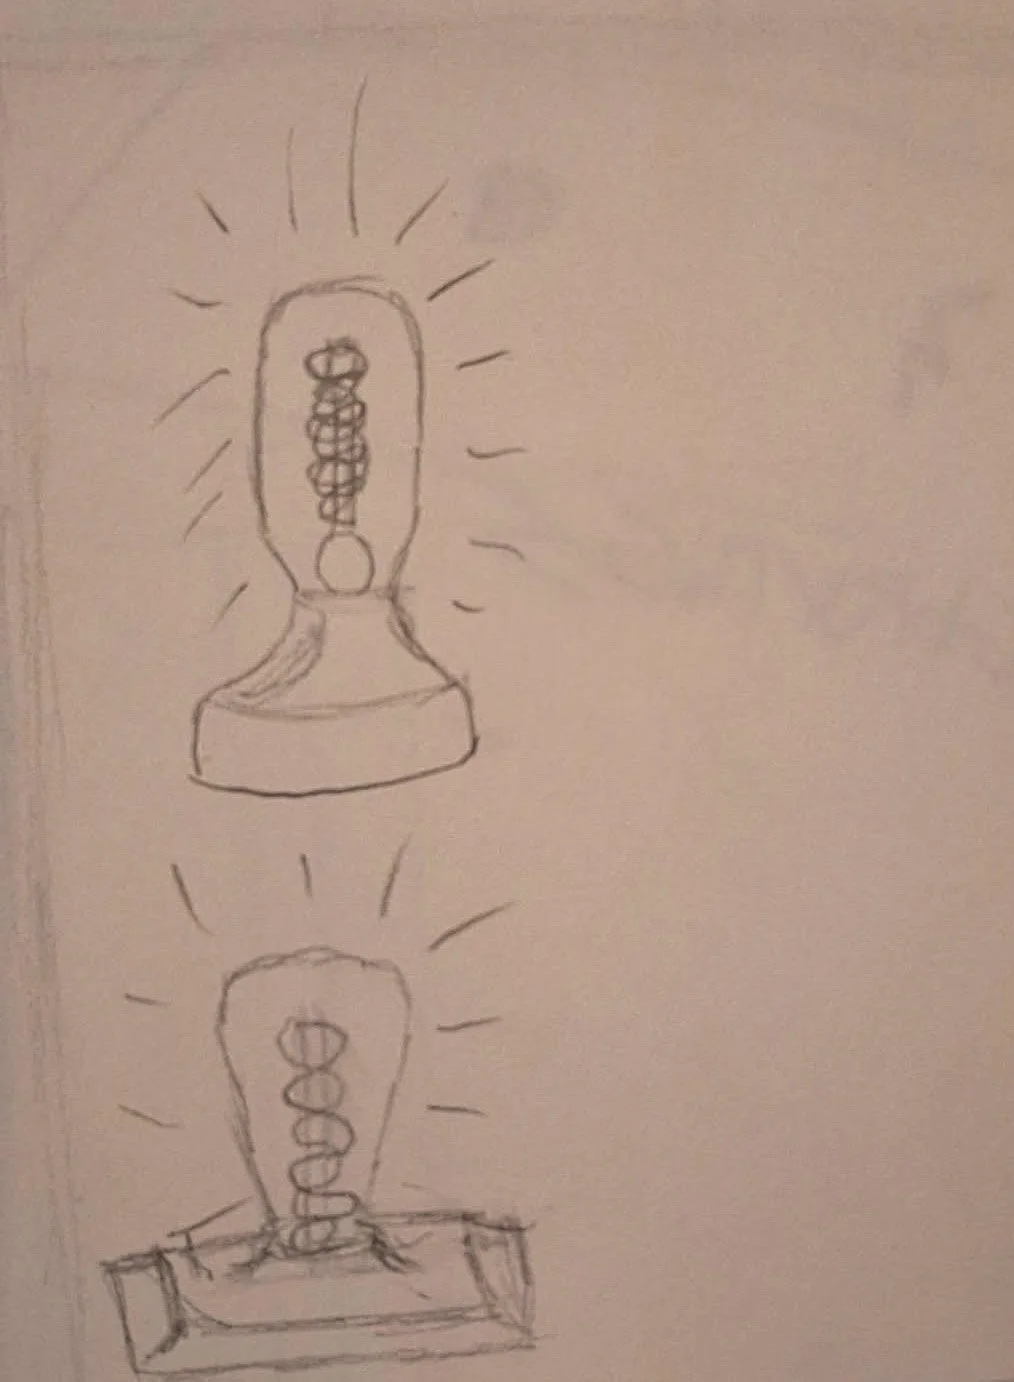
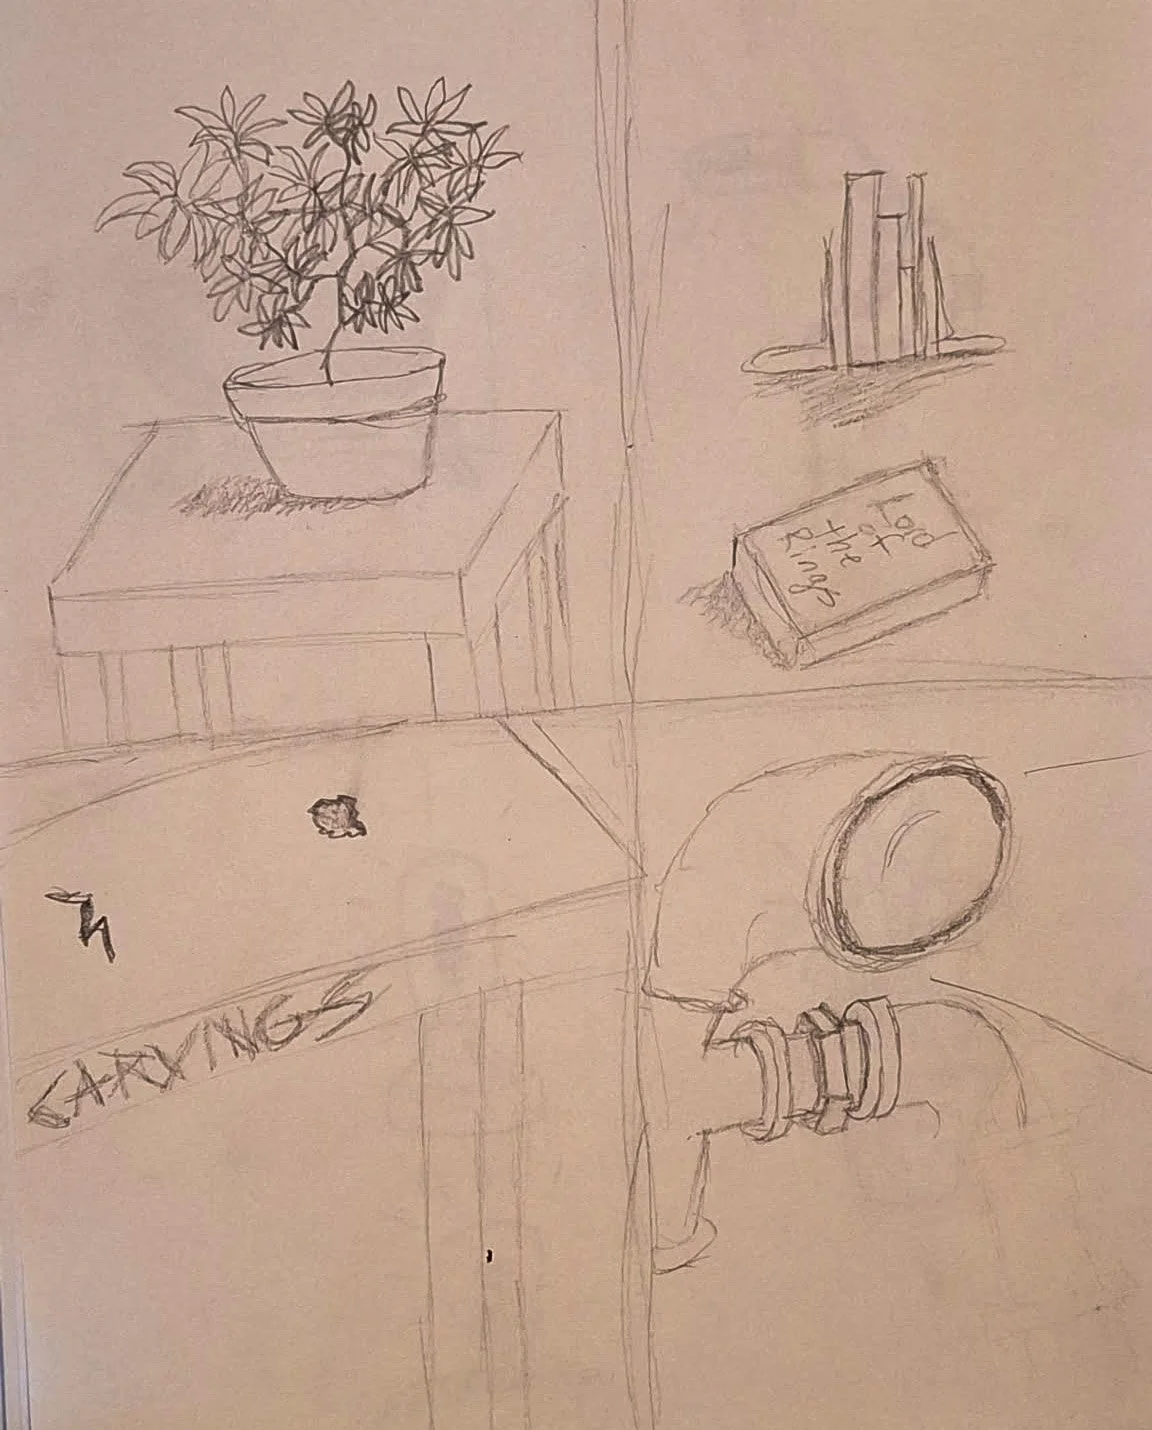
References
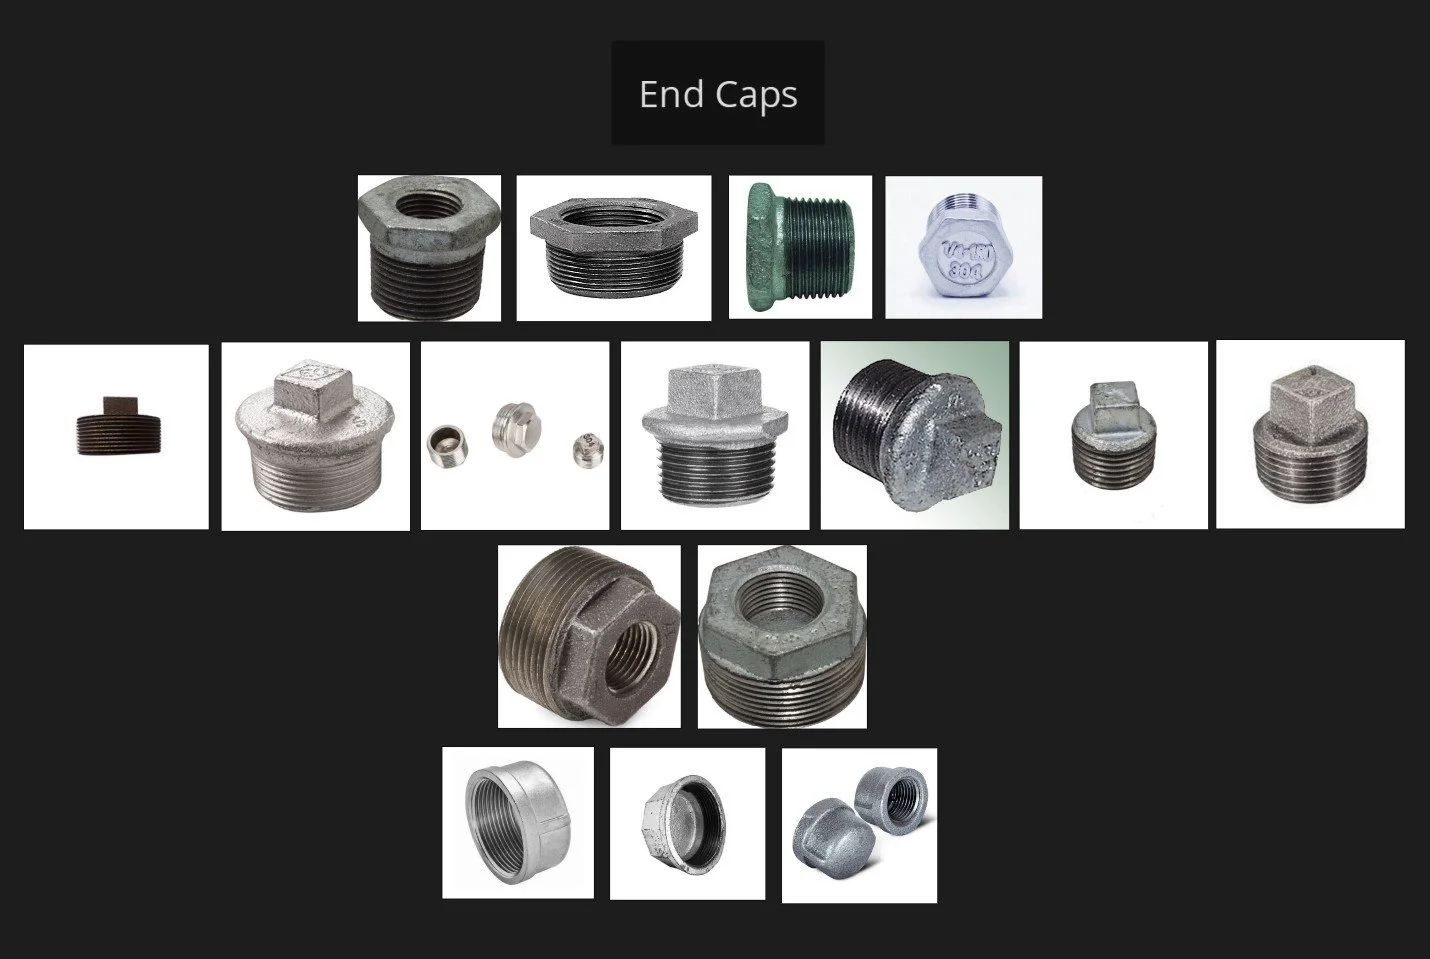
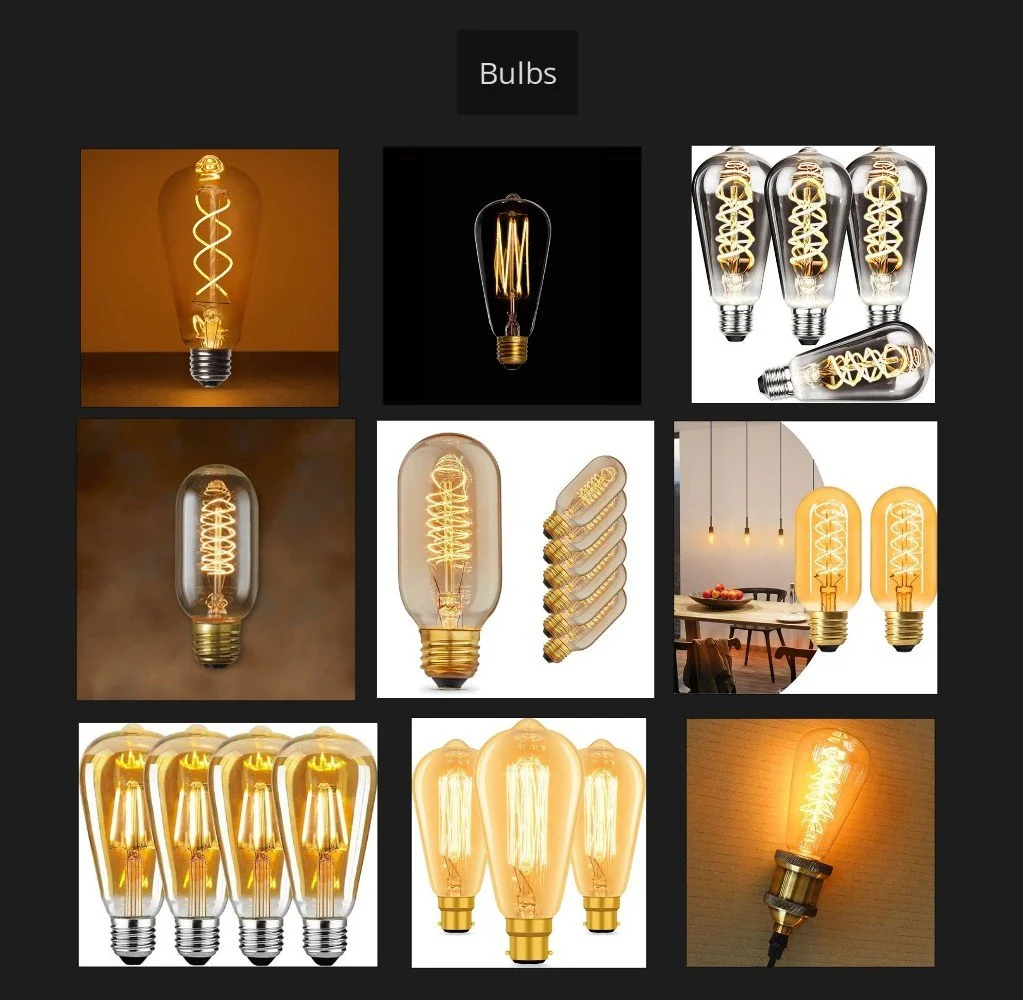
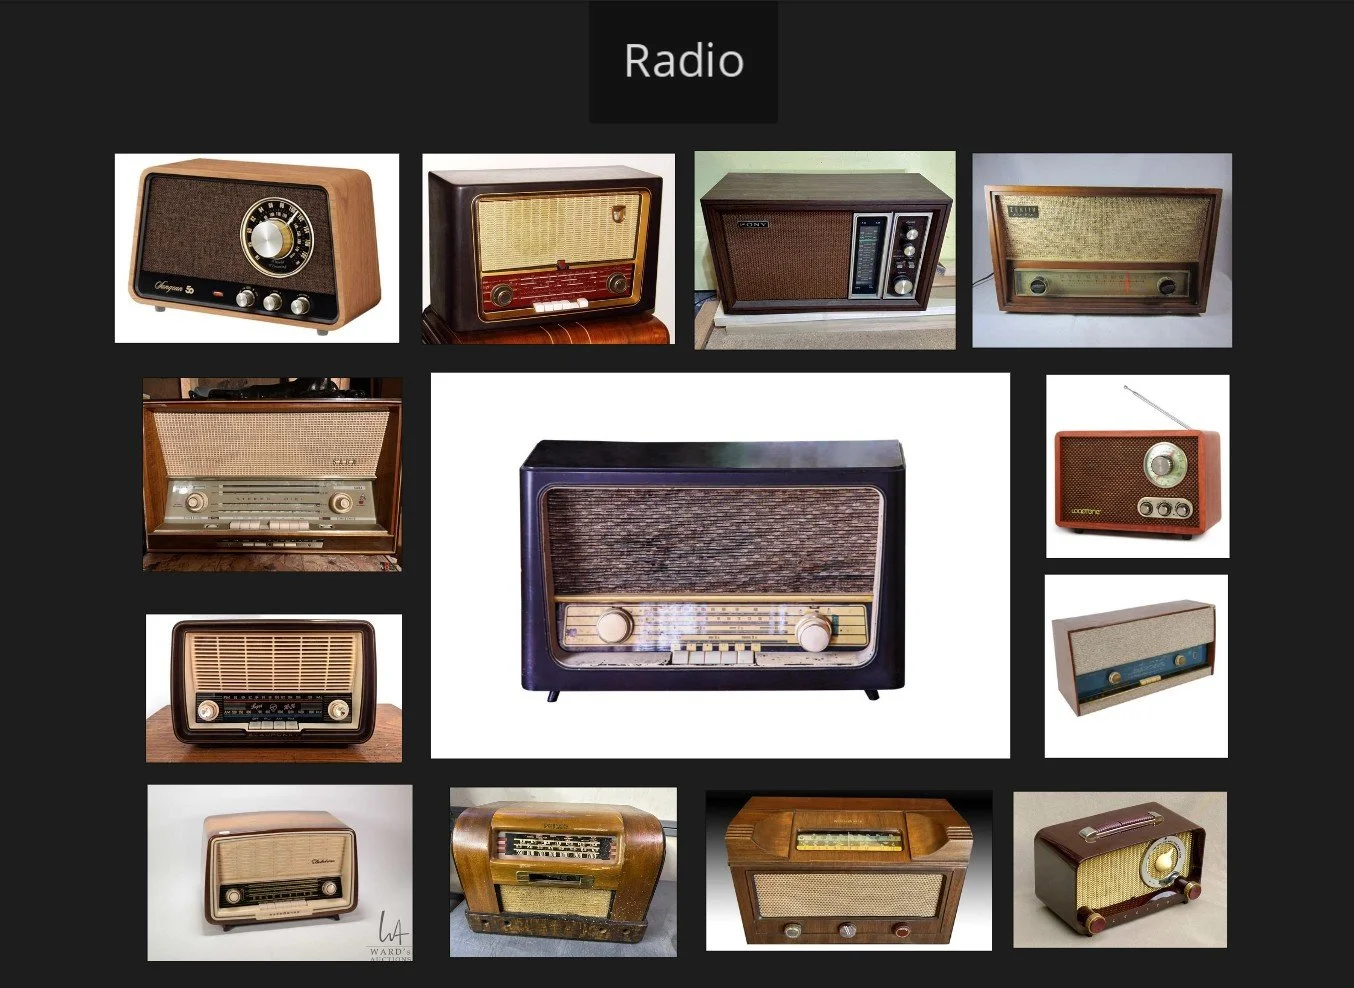
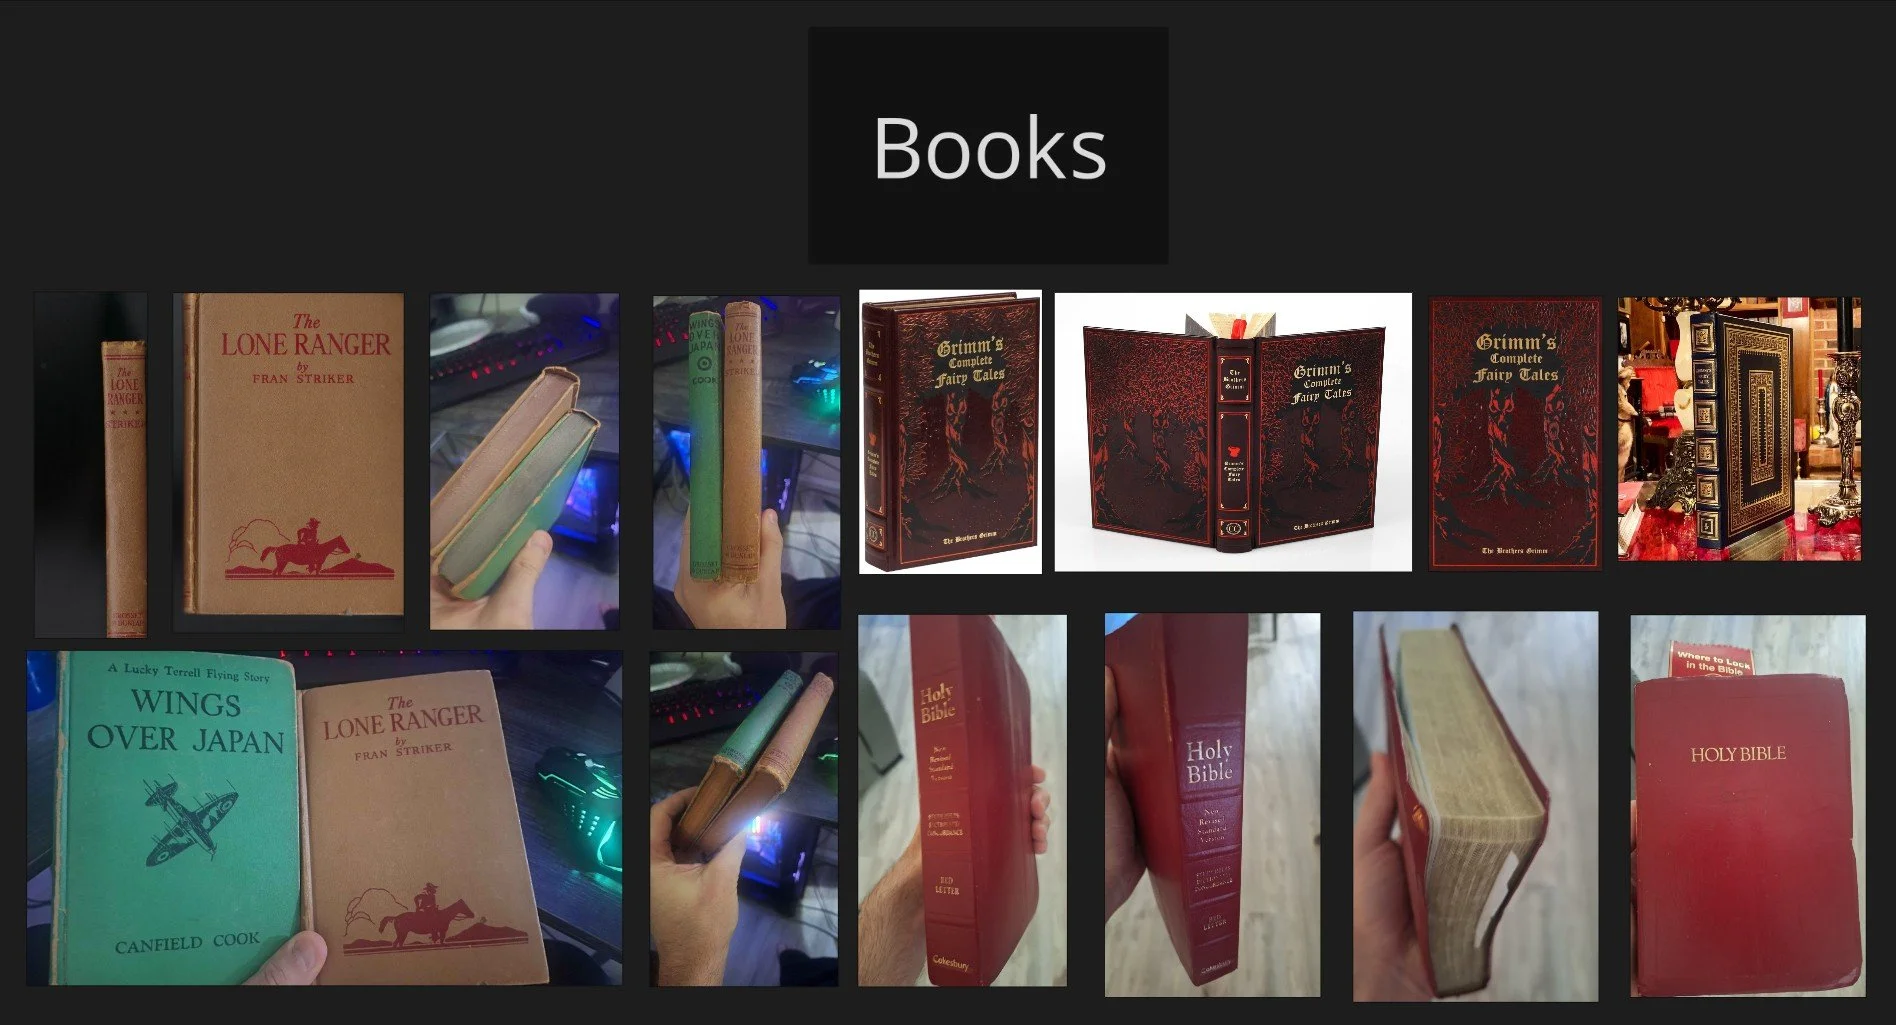
All I had to go off of was a picture. A simple picture. As my sketches reveal, my methods might have better been served if I had used the whole page to sketch out each piece. My excitement got the better of me and my eagerness was driving me to jump to a computer, but I soon realized I had nothing to help me understand how to build this scene…so I went searching for references…FOR EVERYTHING!

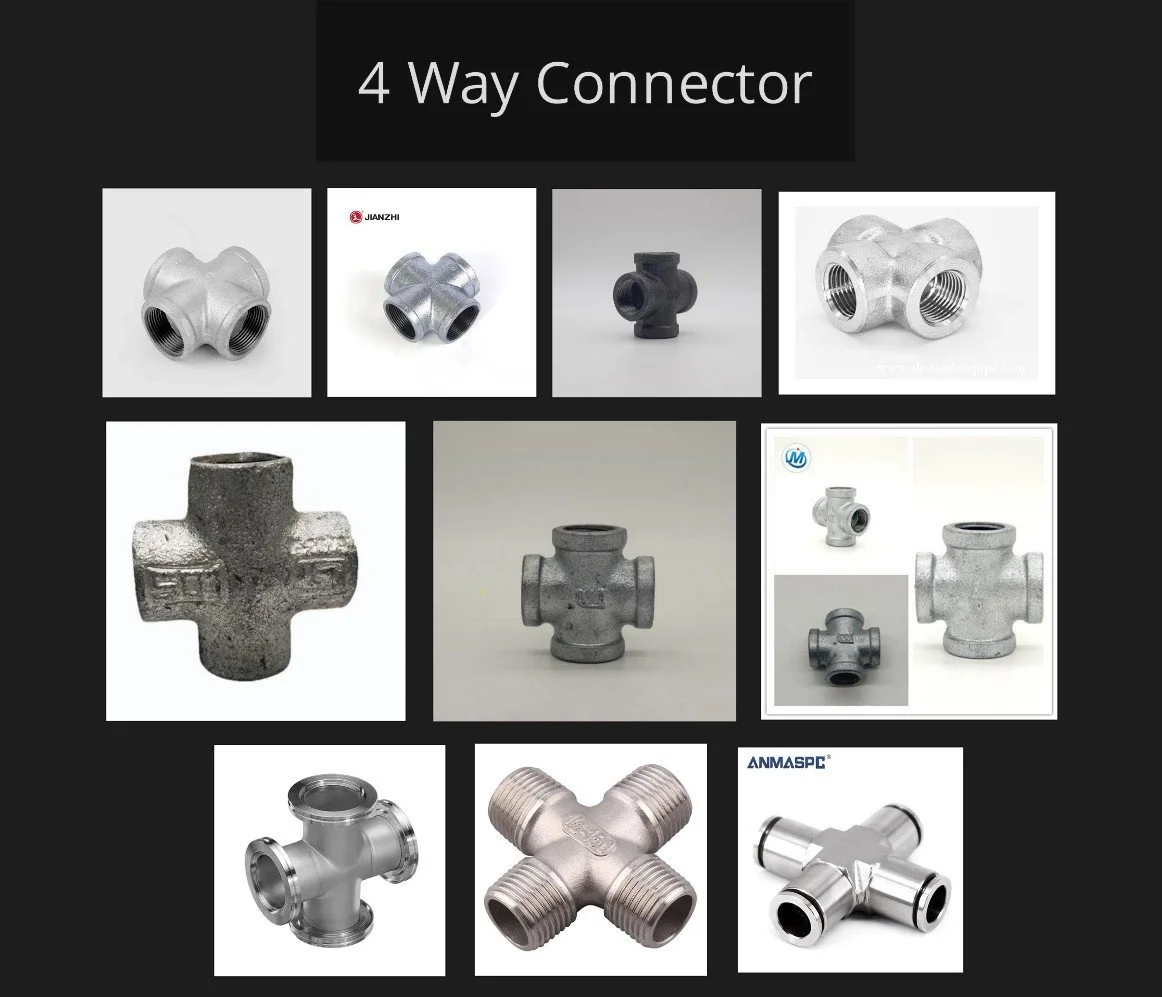
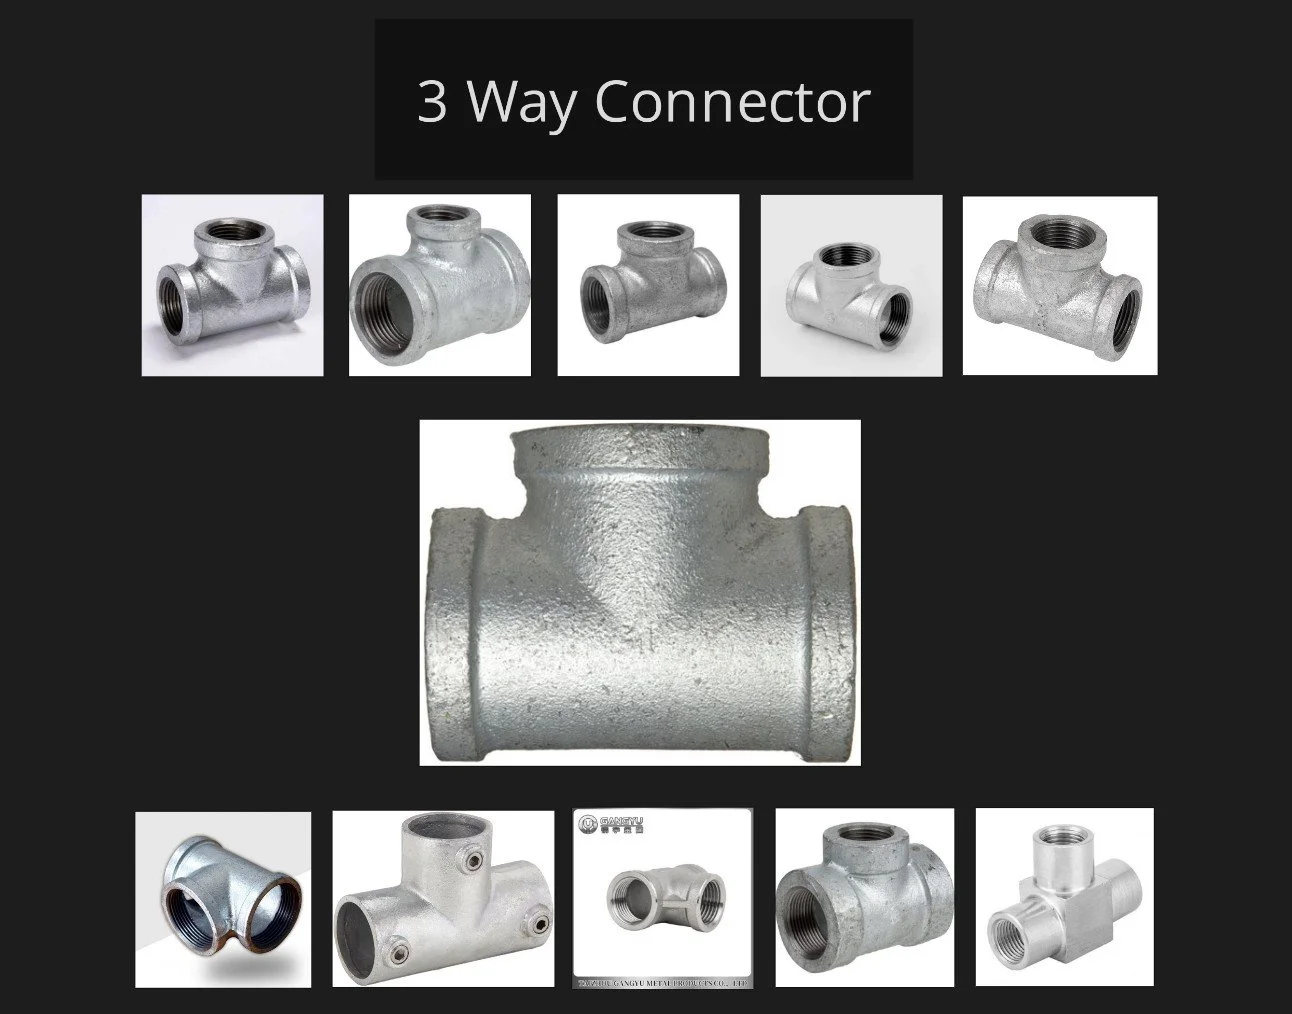

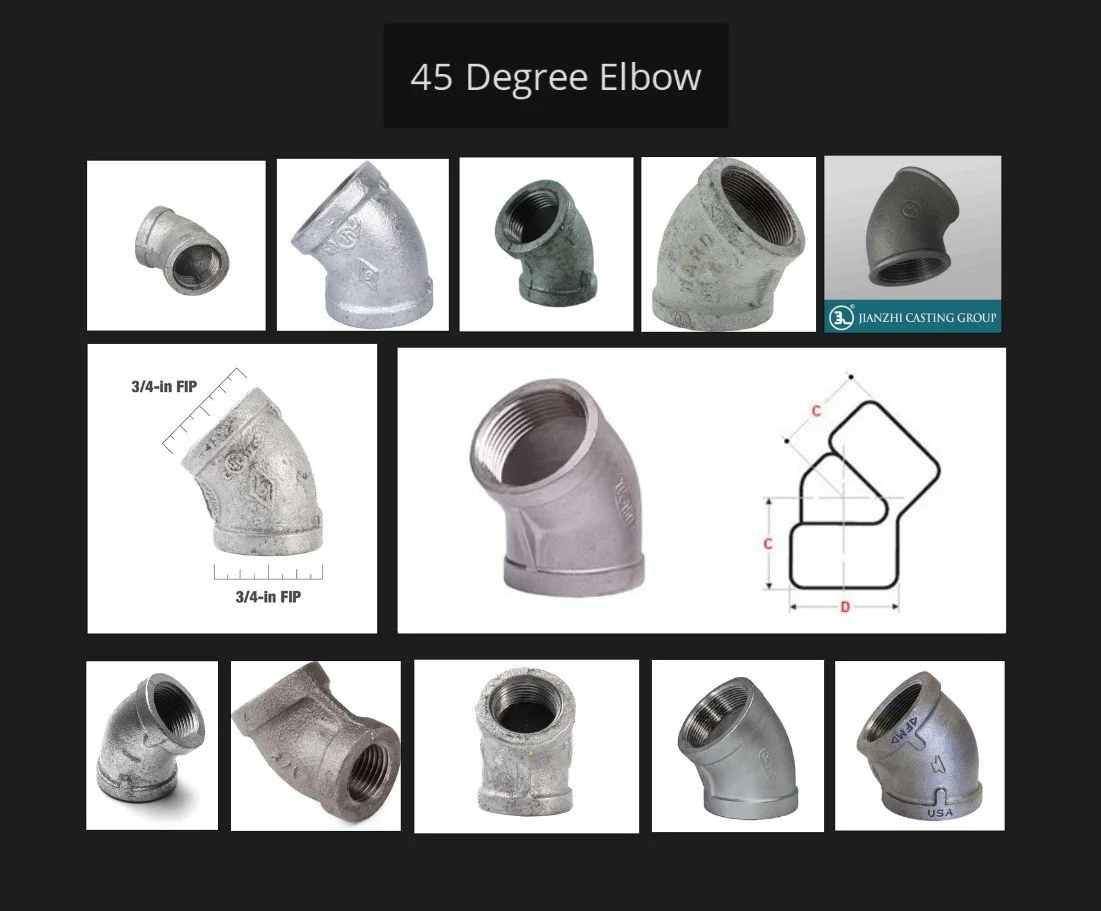
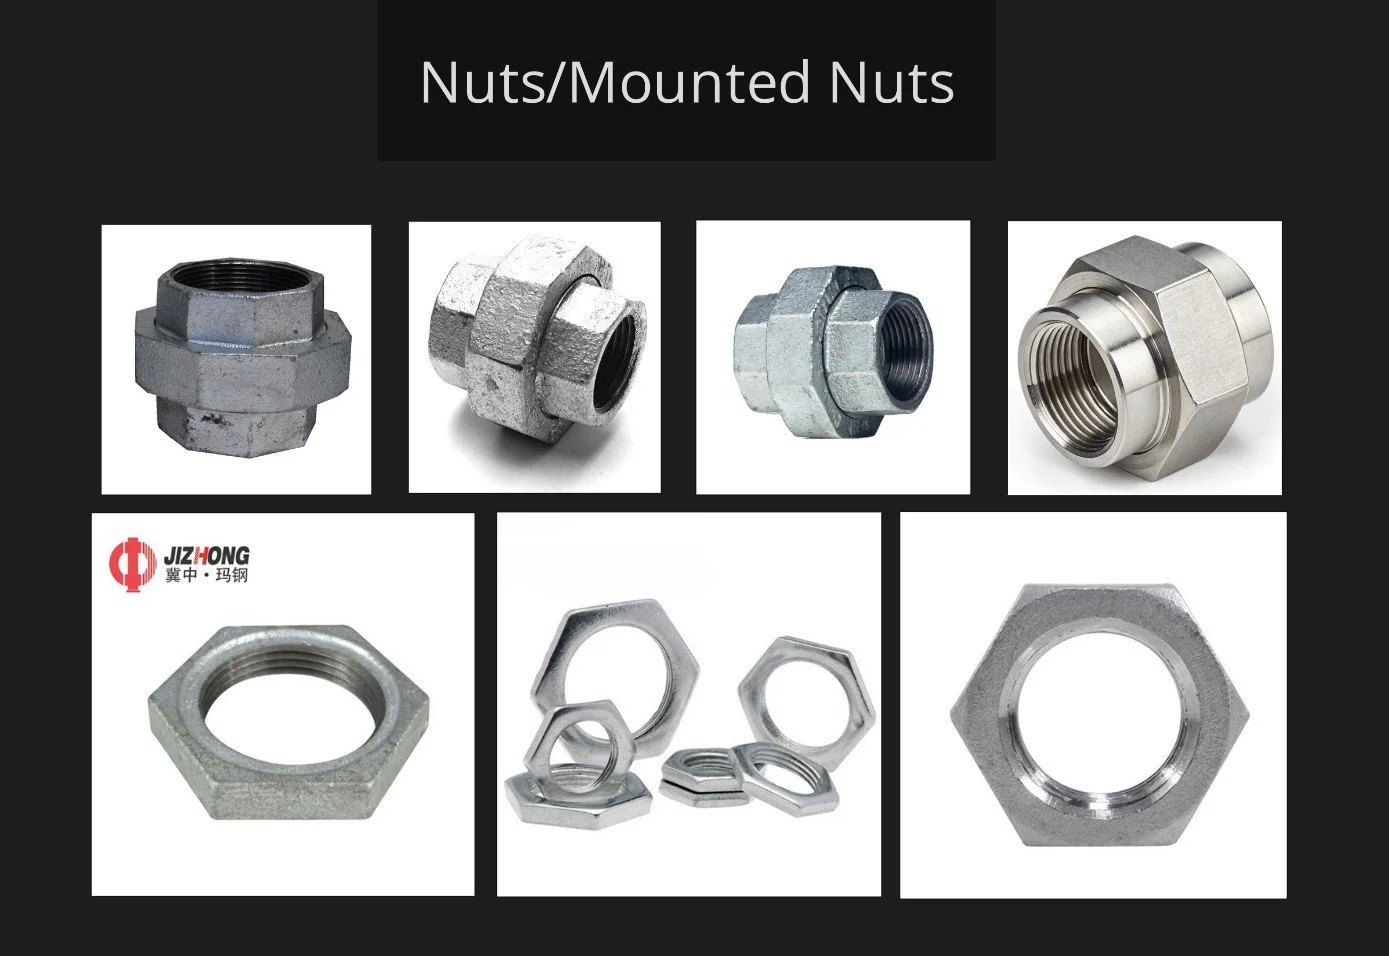
Construction
The idea had been manifested, the sketches had been drawn, and the references had been gathered. Now it was time to build!
Low Poly
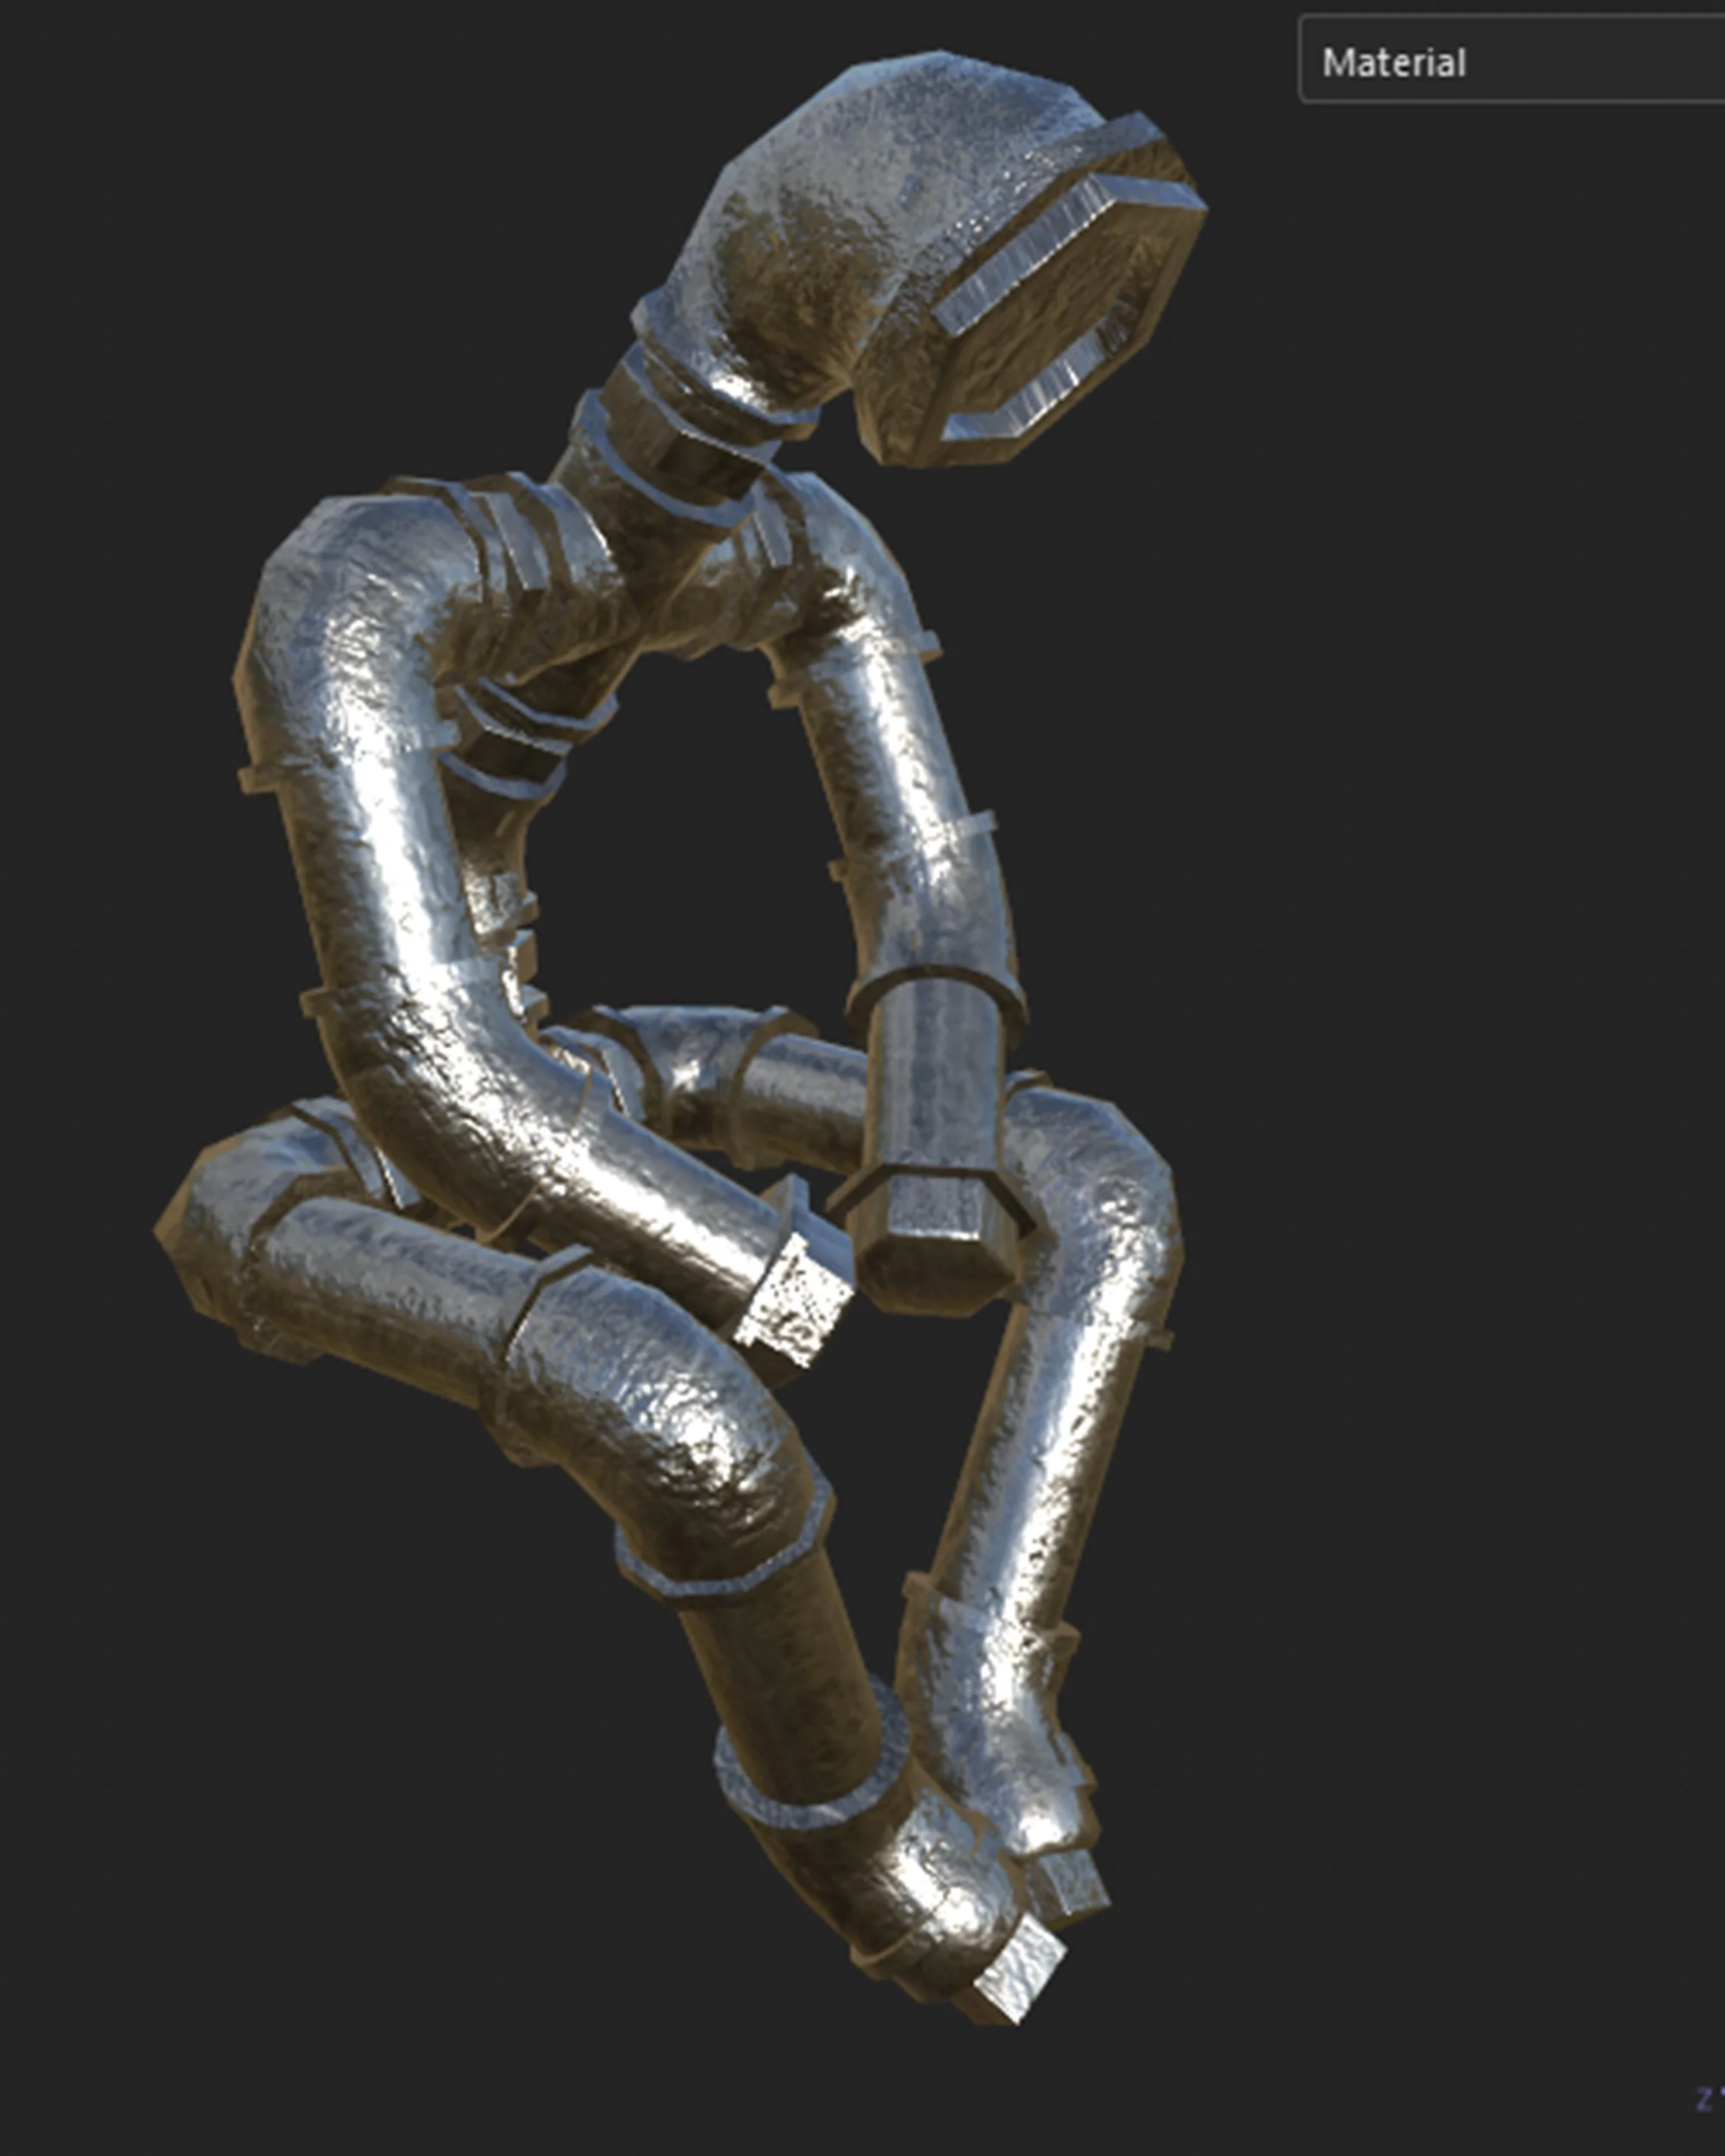
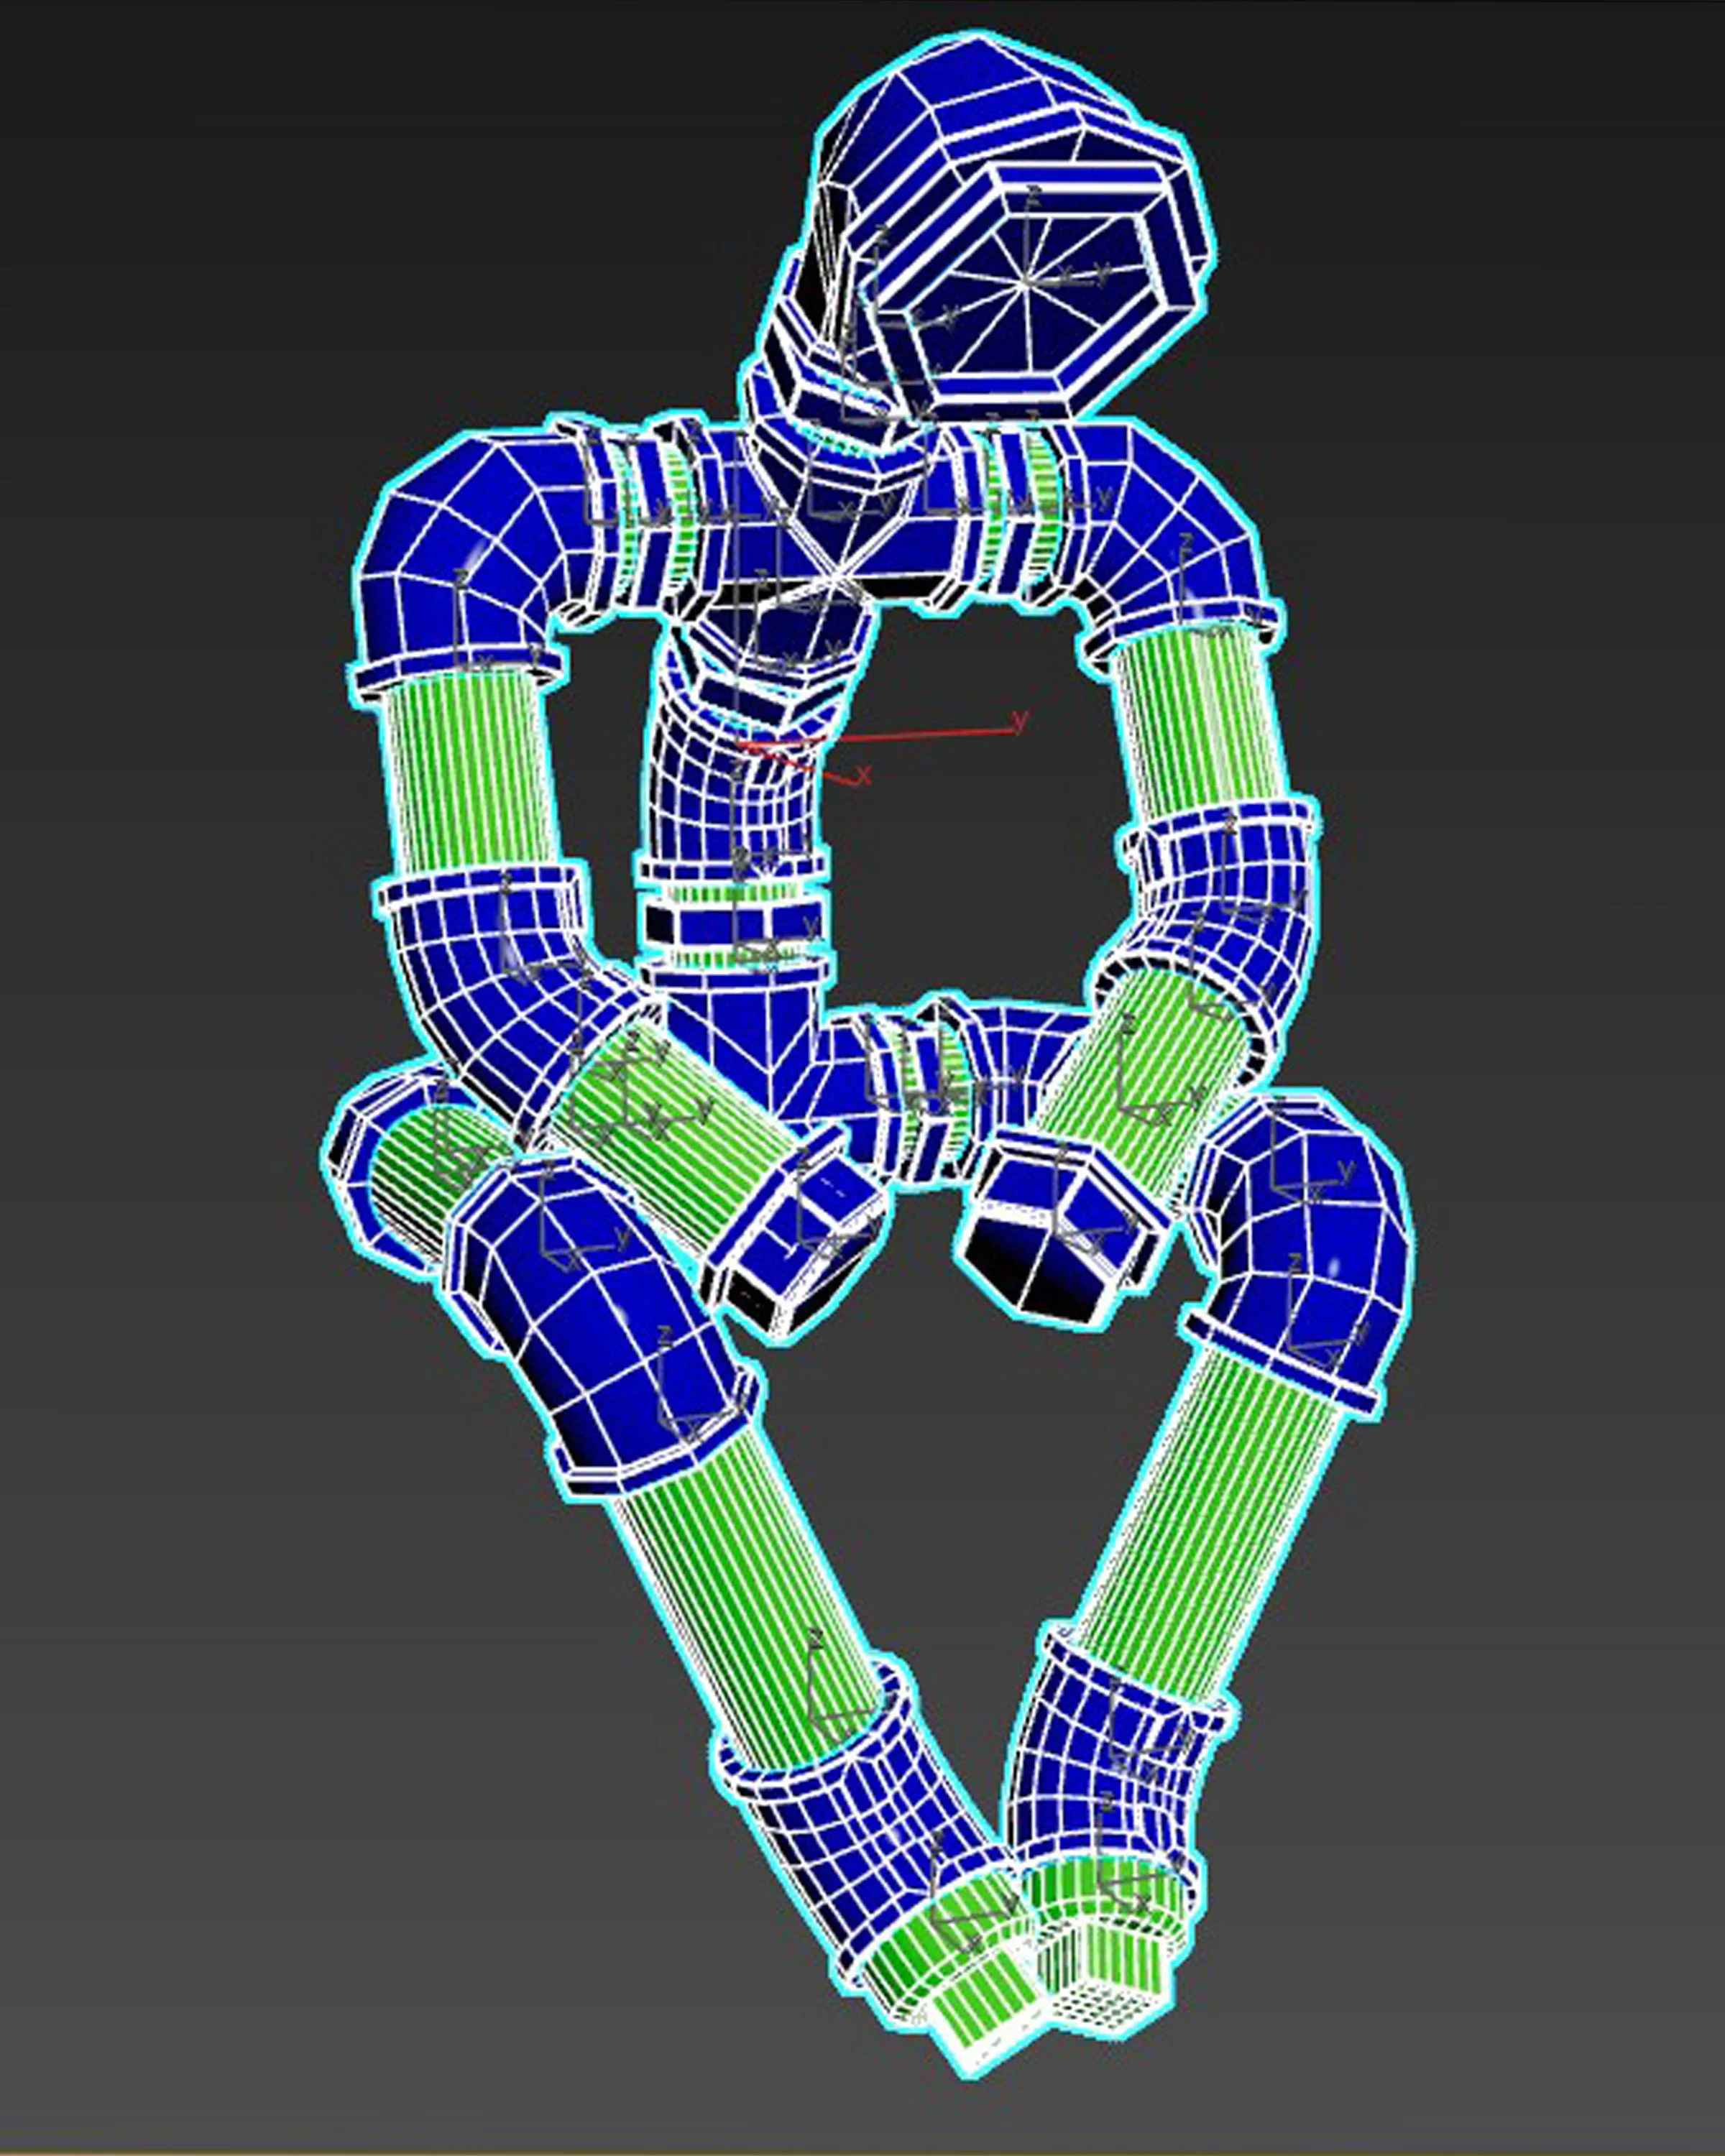
High Poly
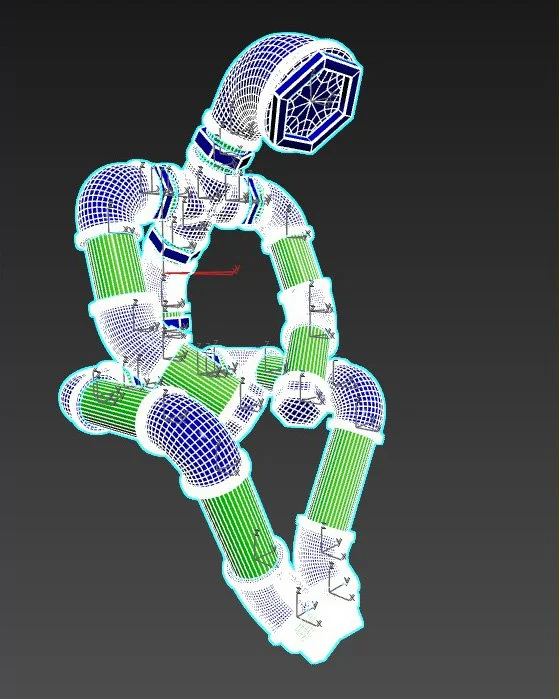
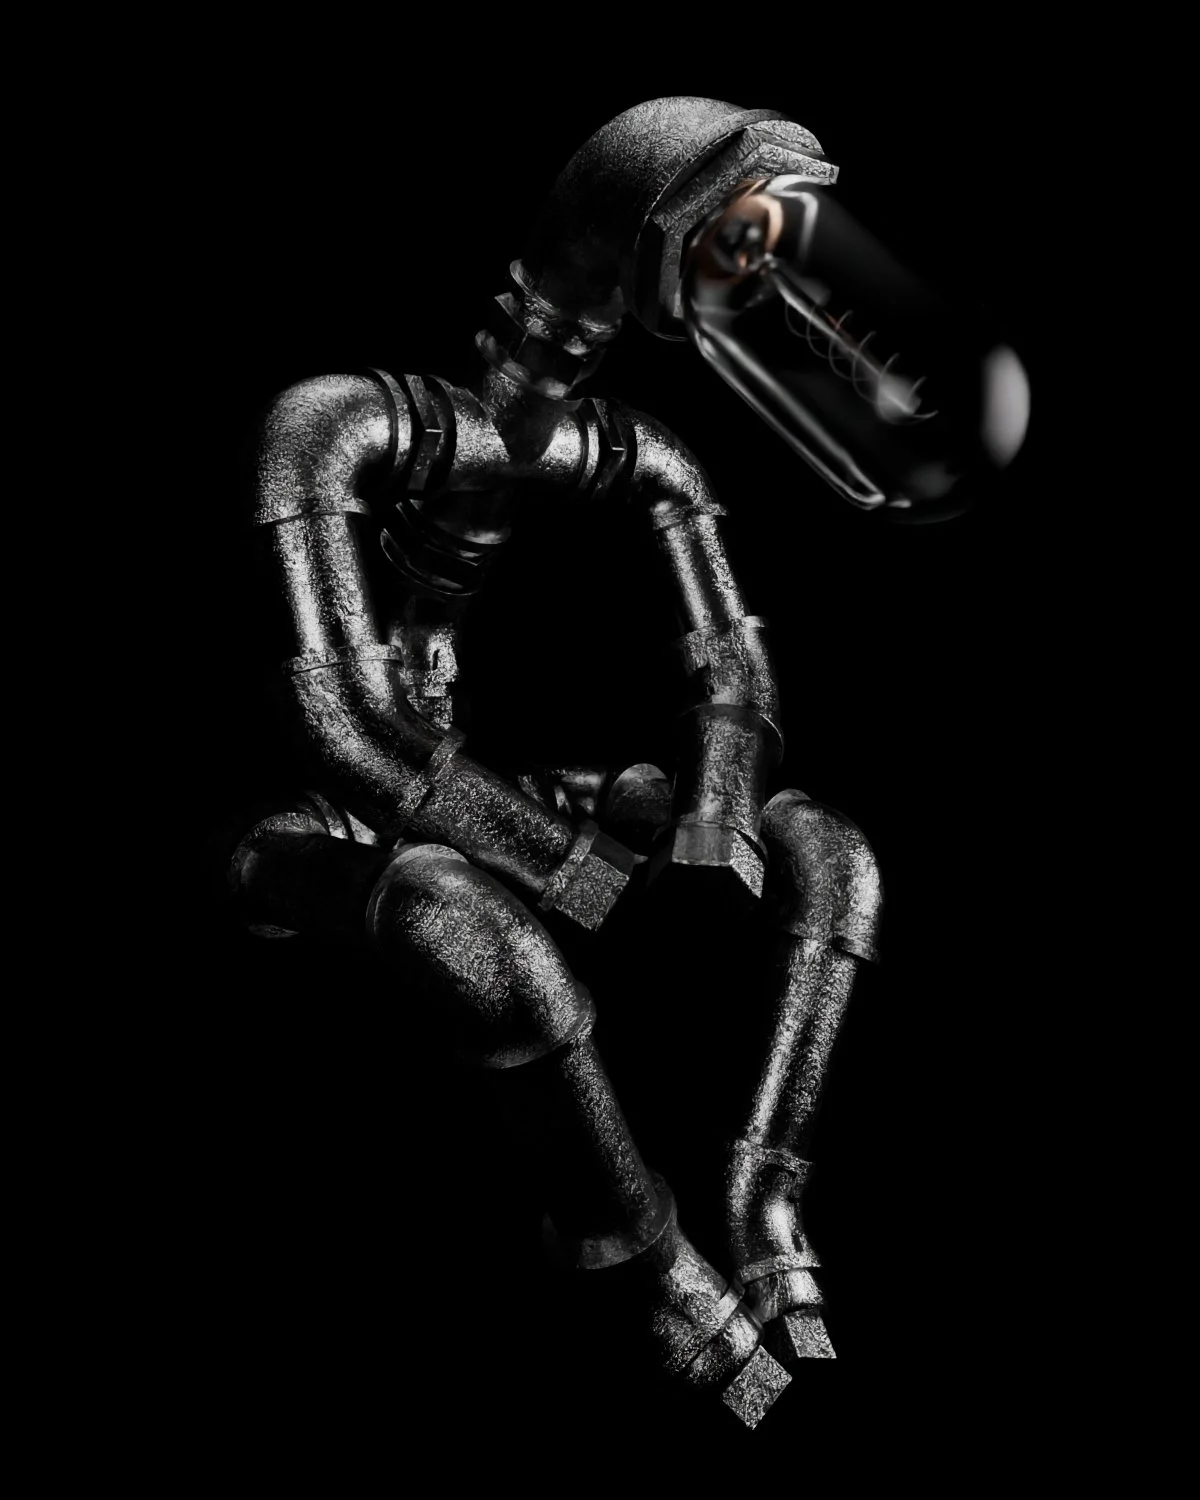
The Building and Unwrapping Process
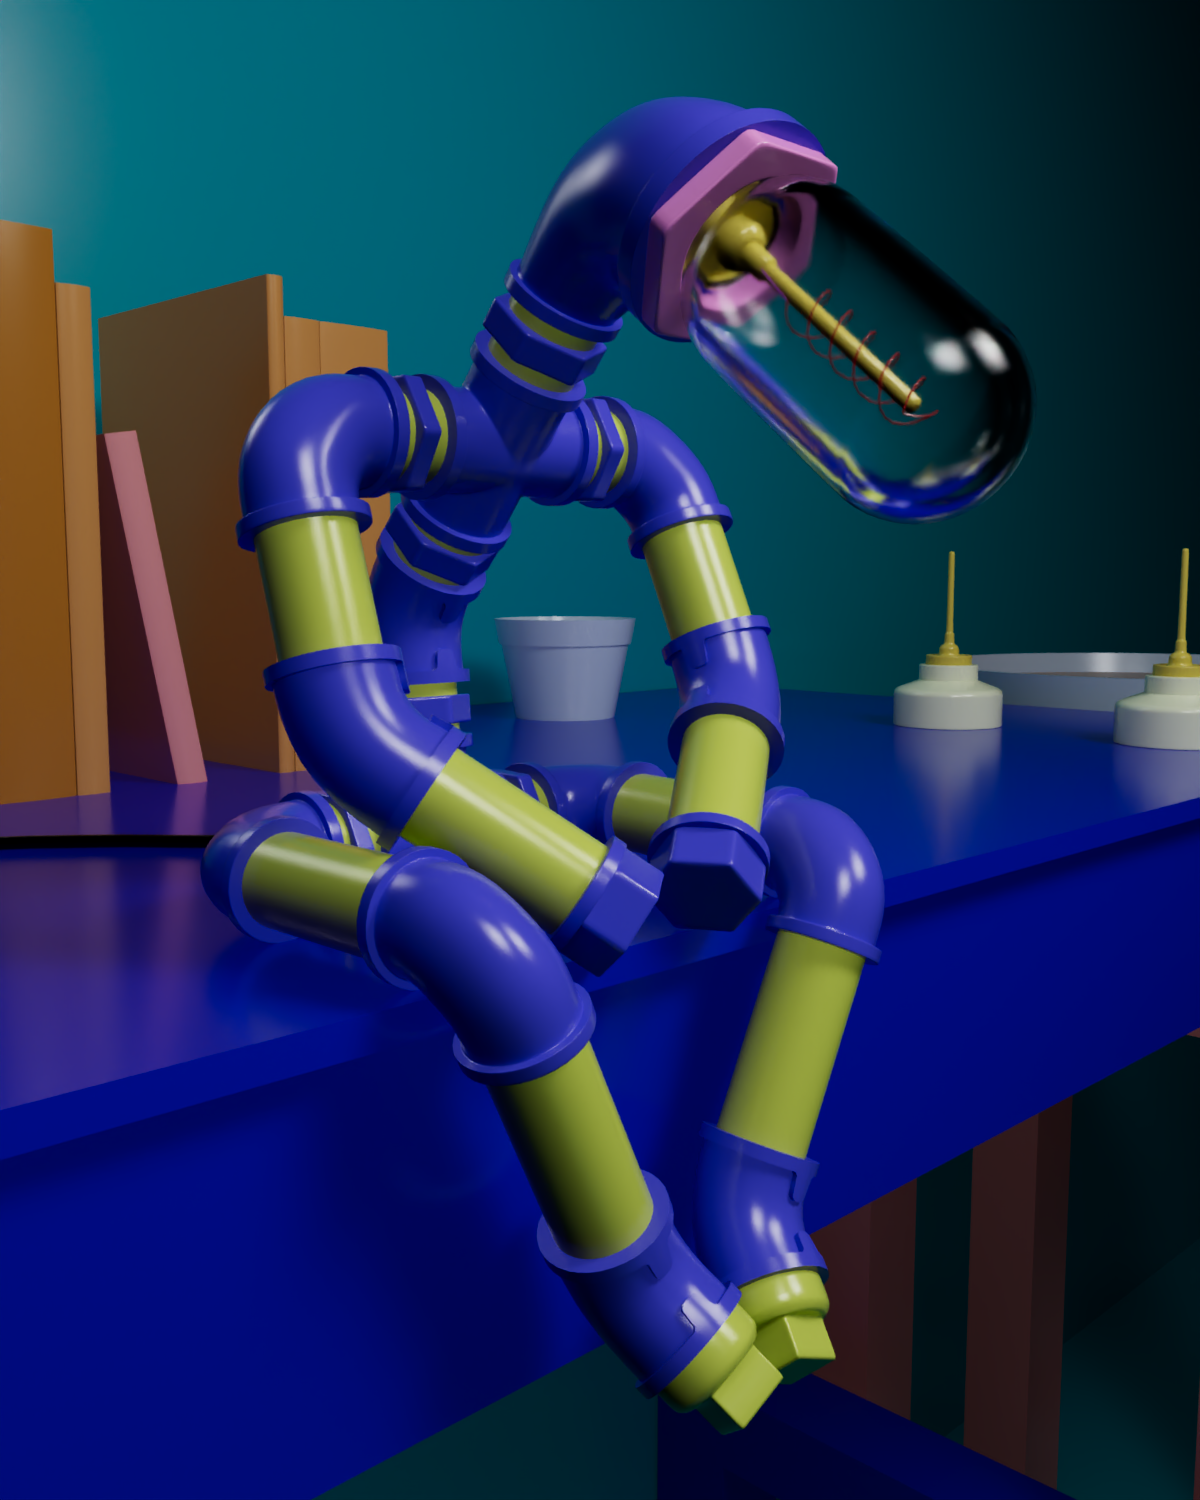
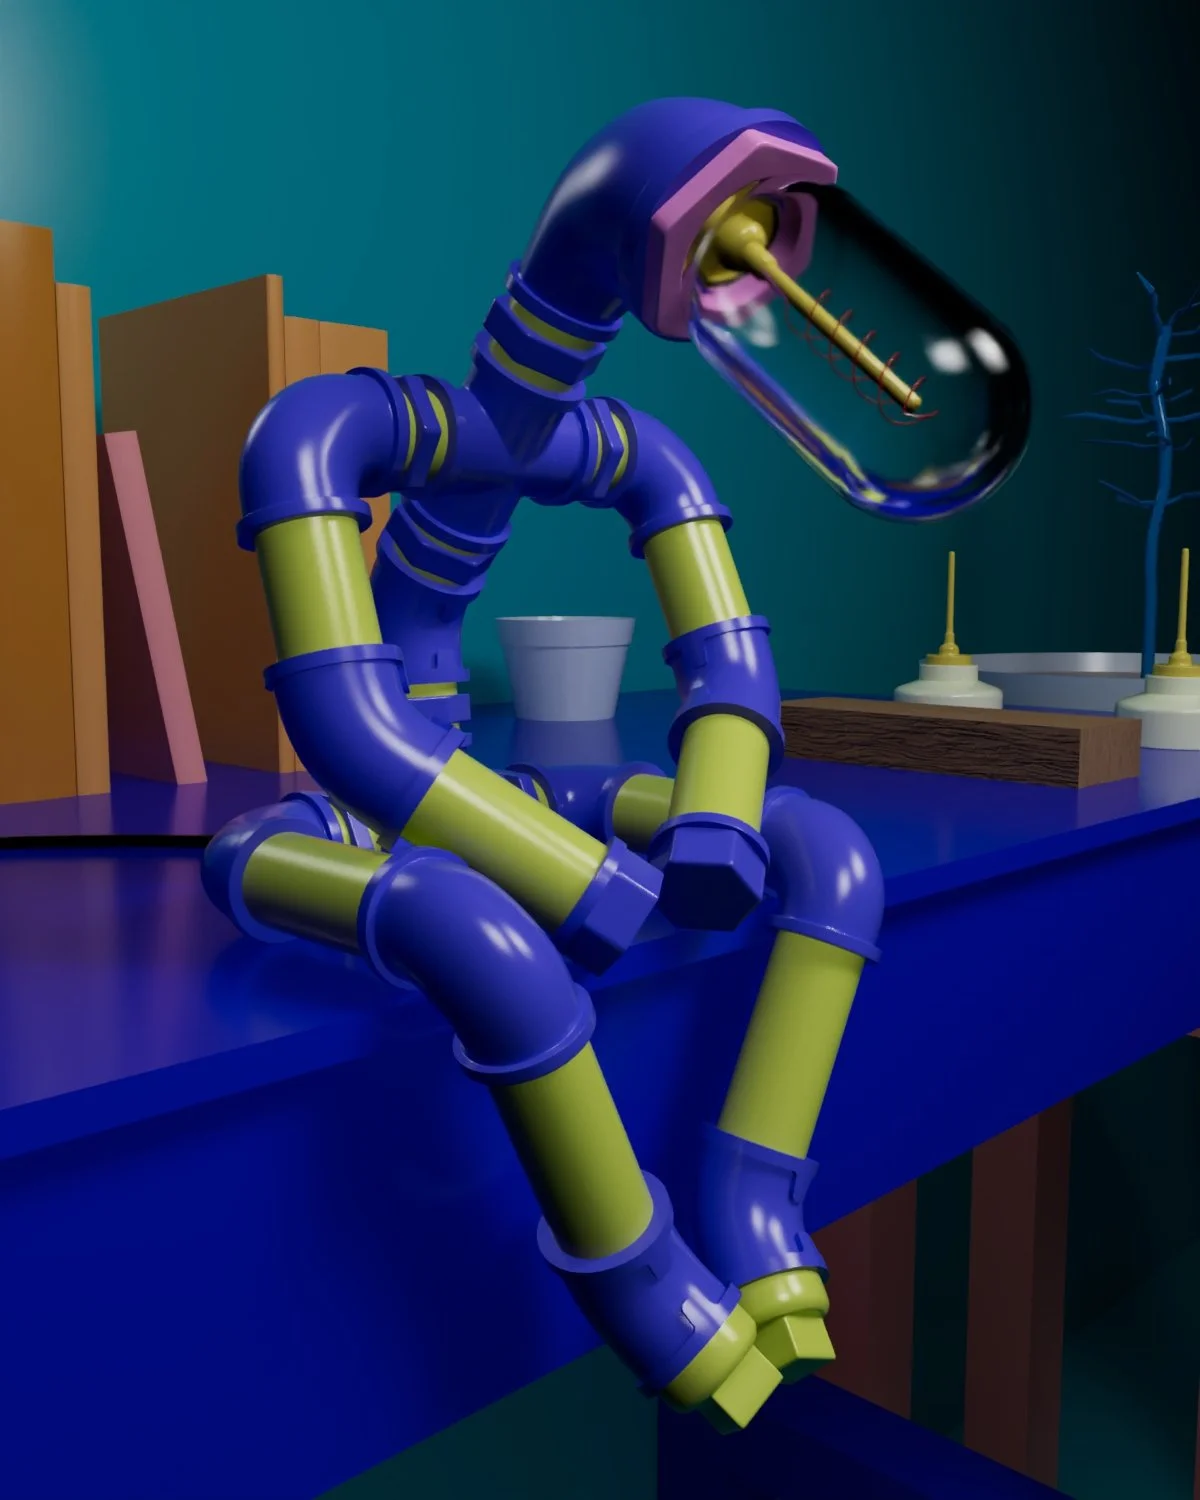
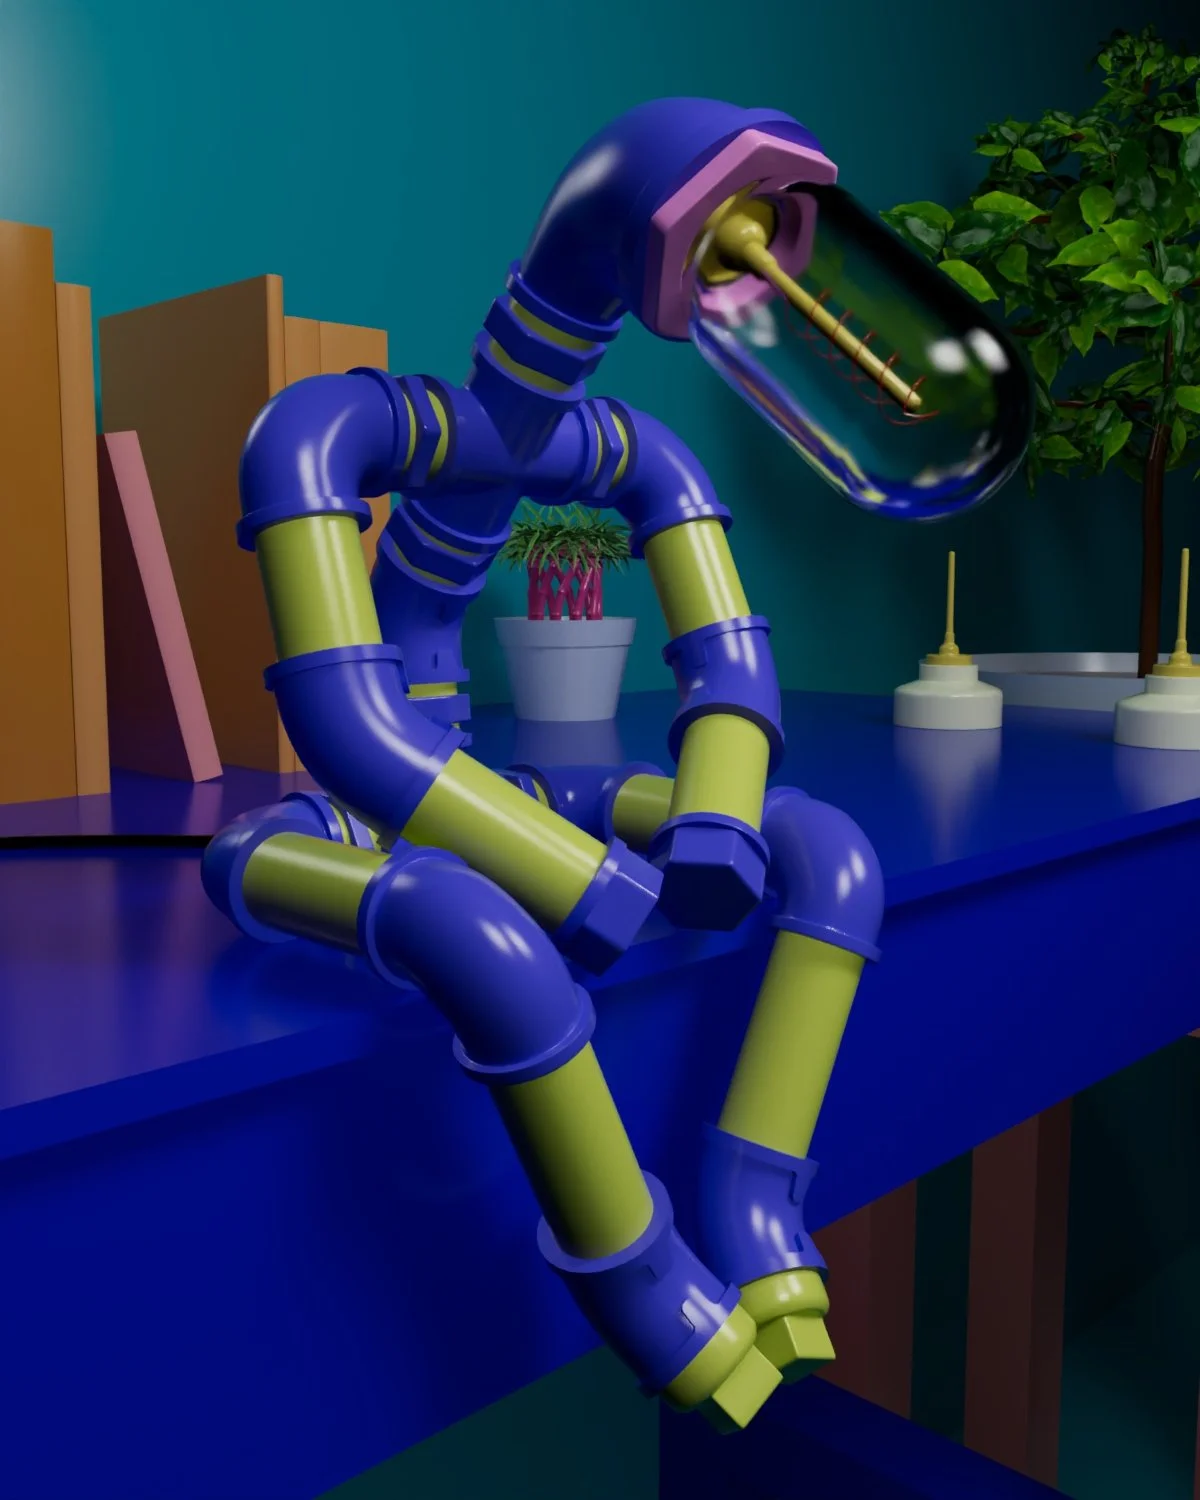
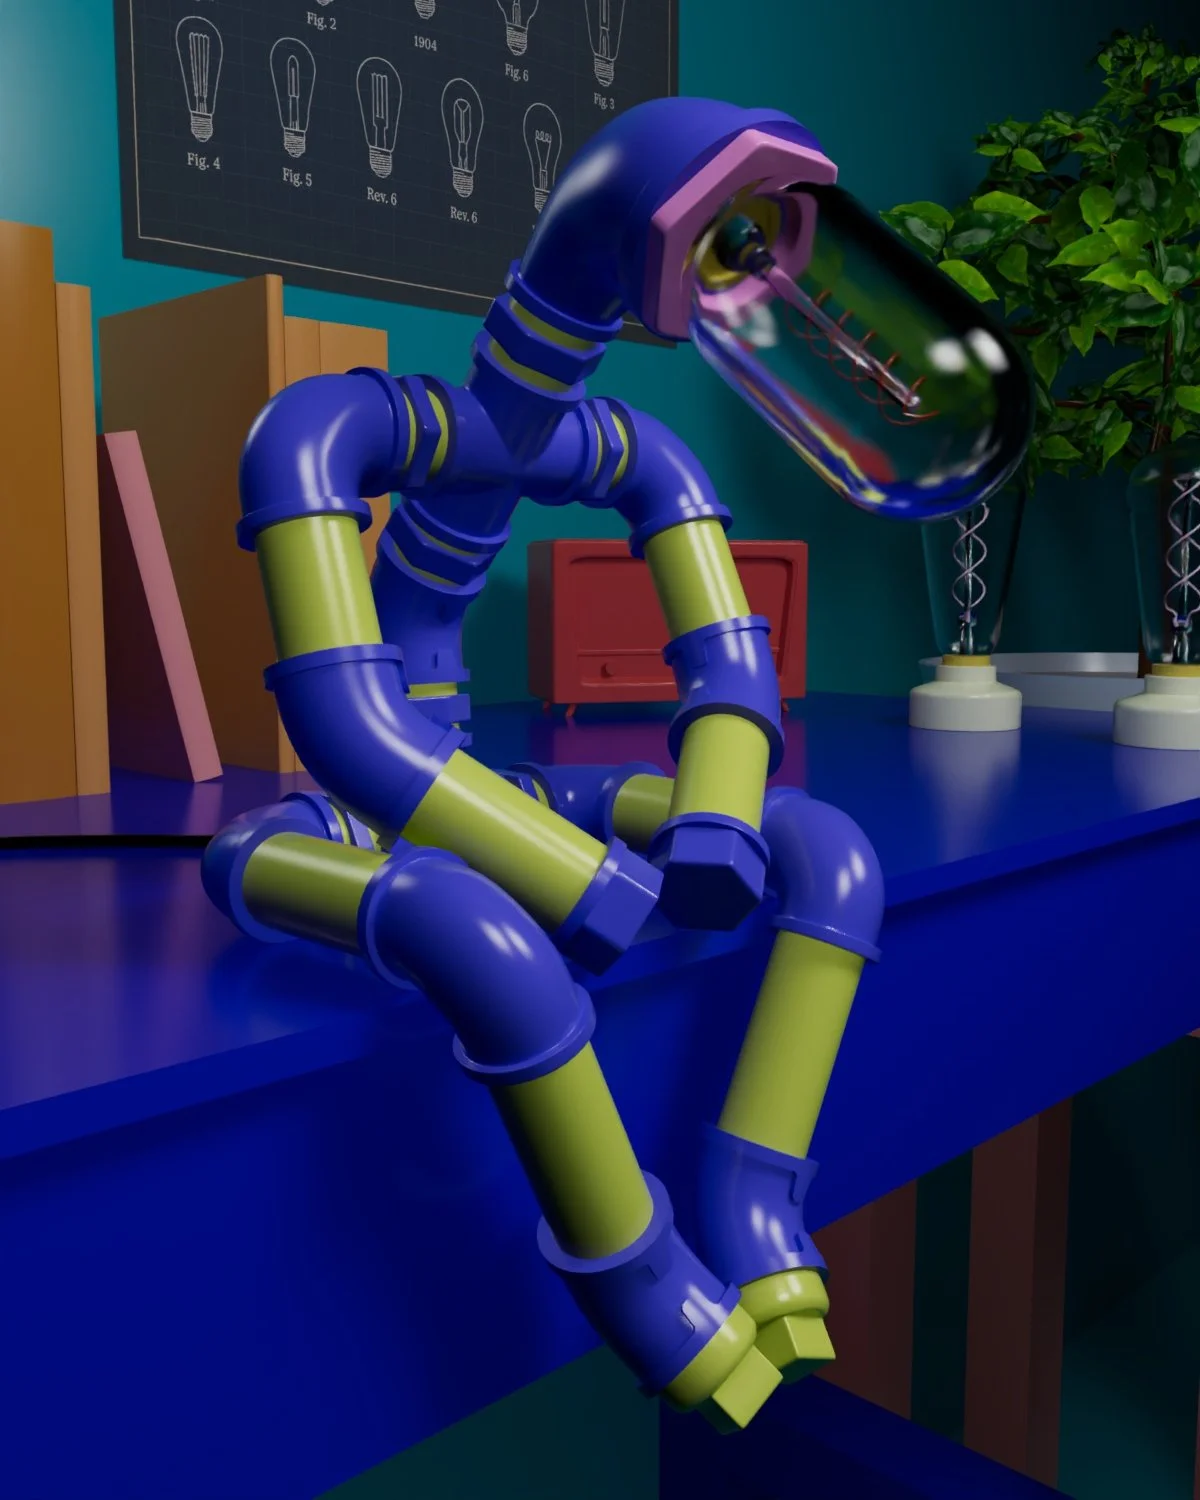
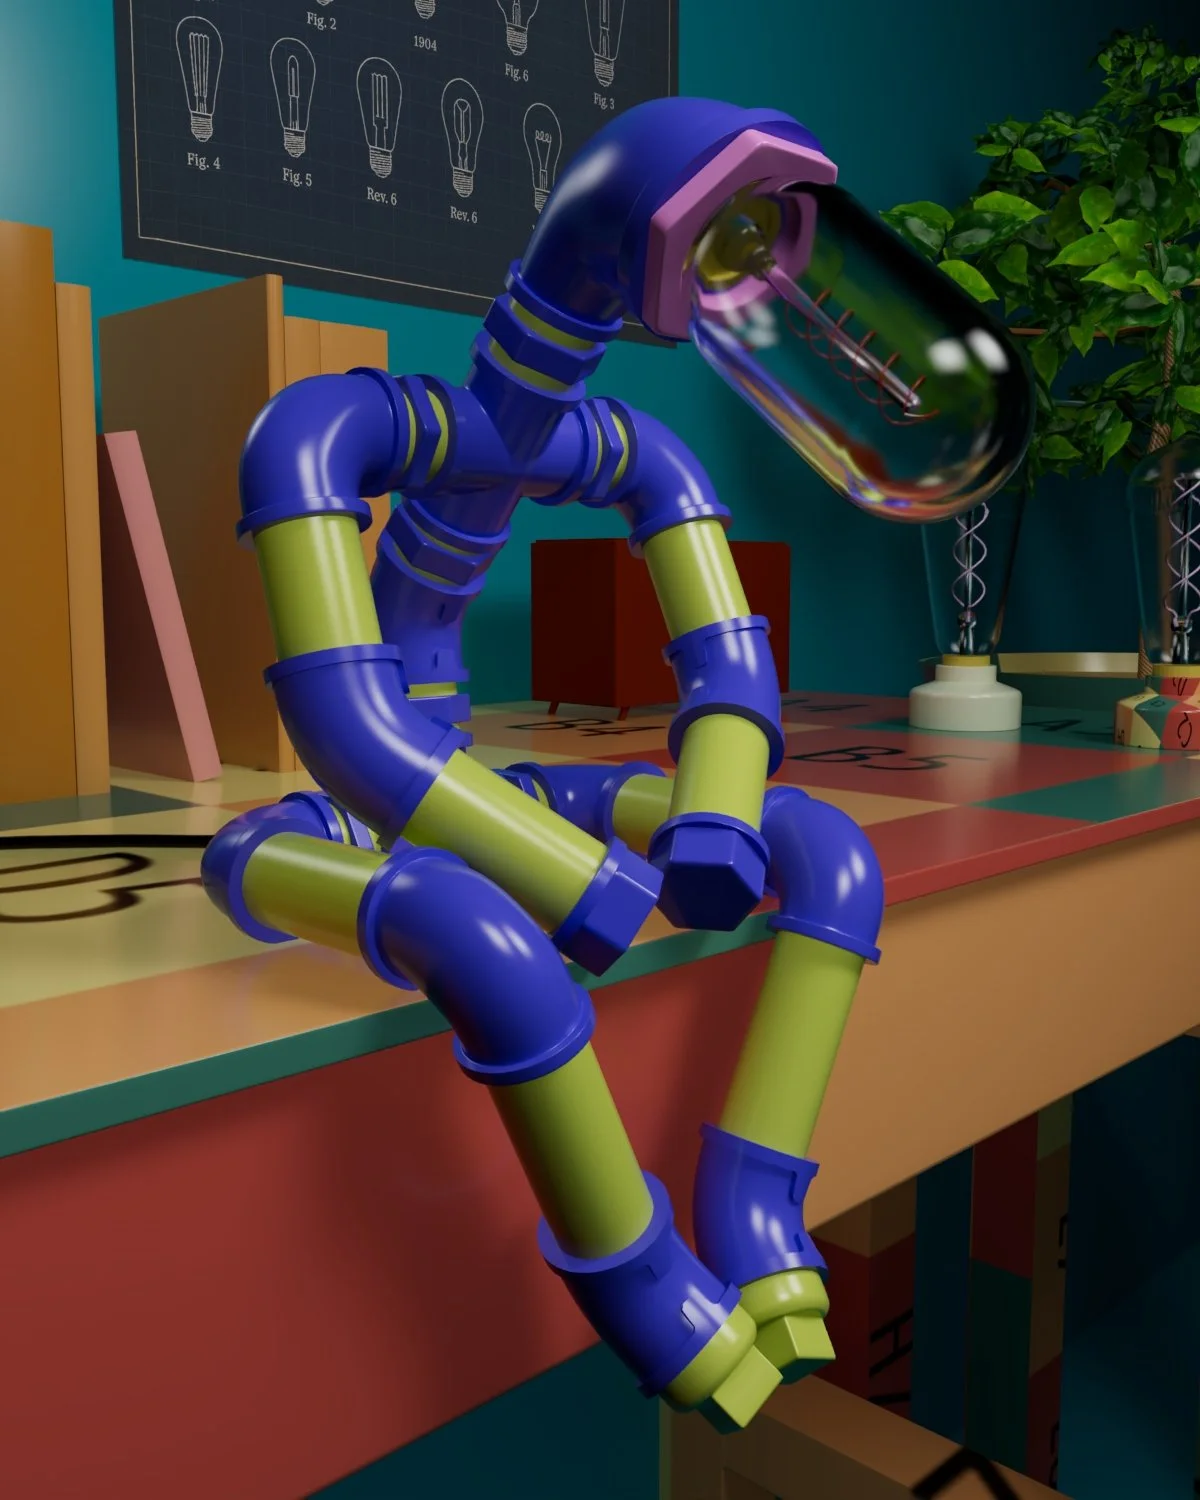
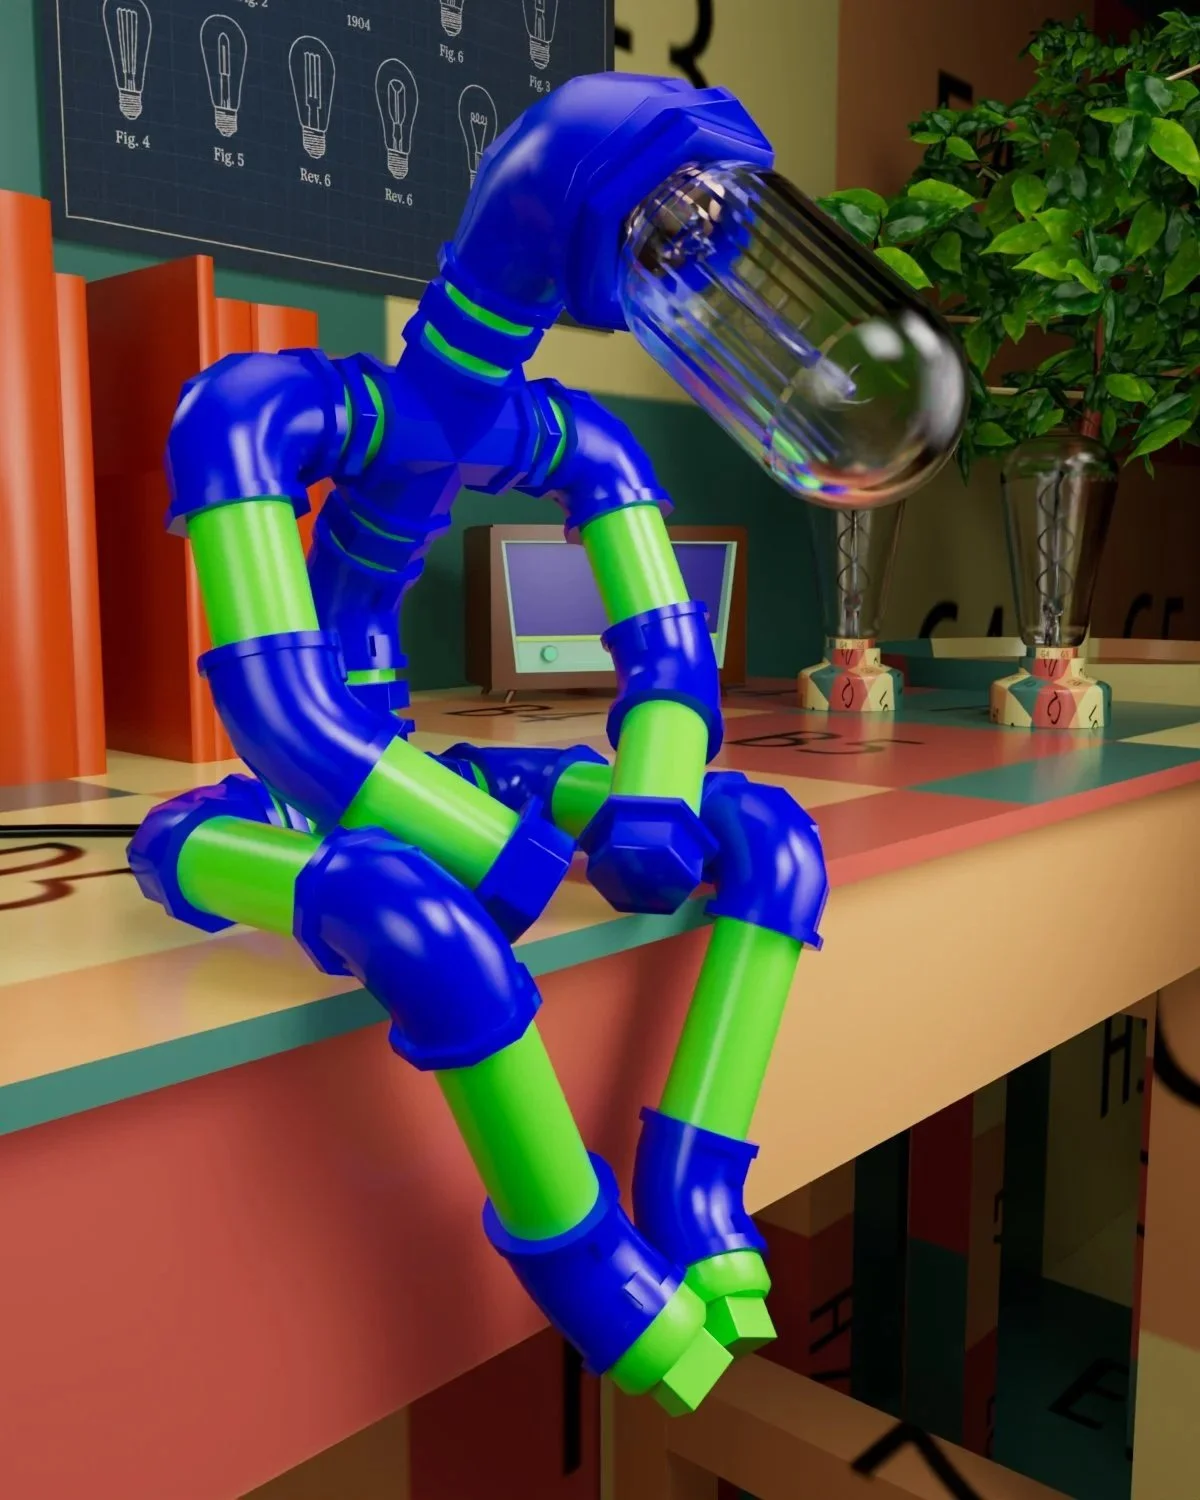
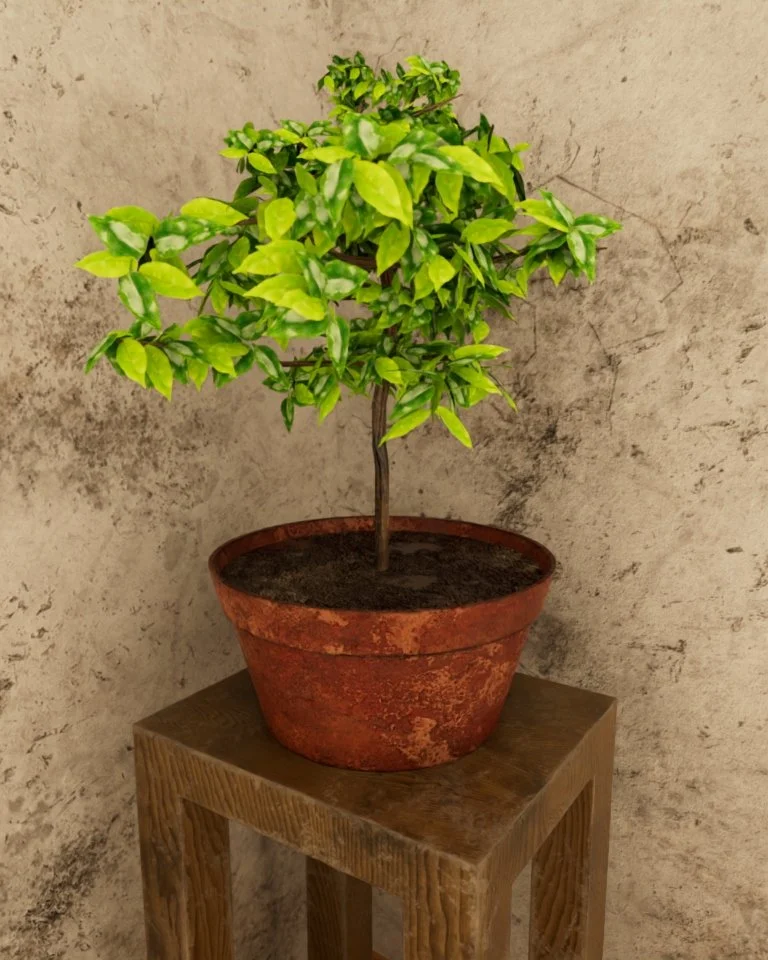
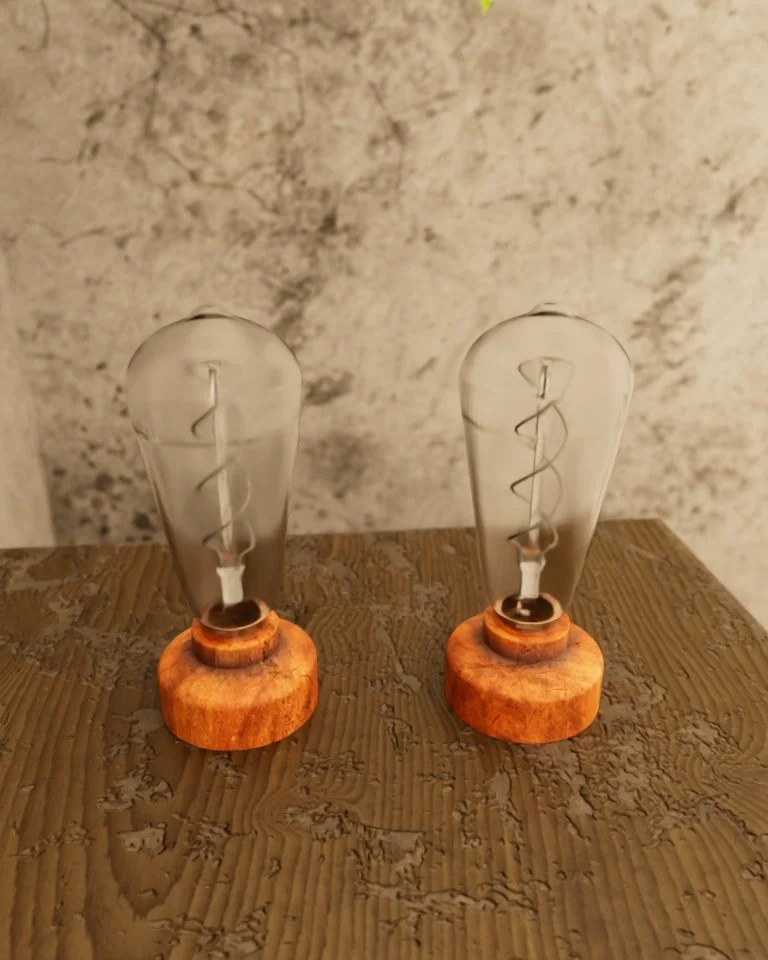
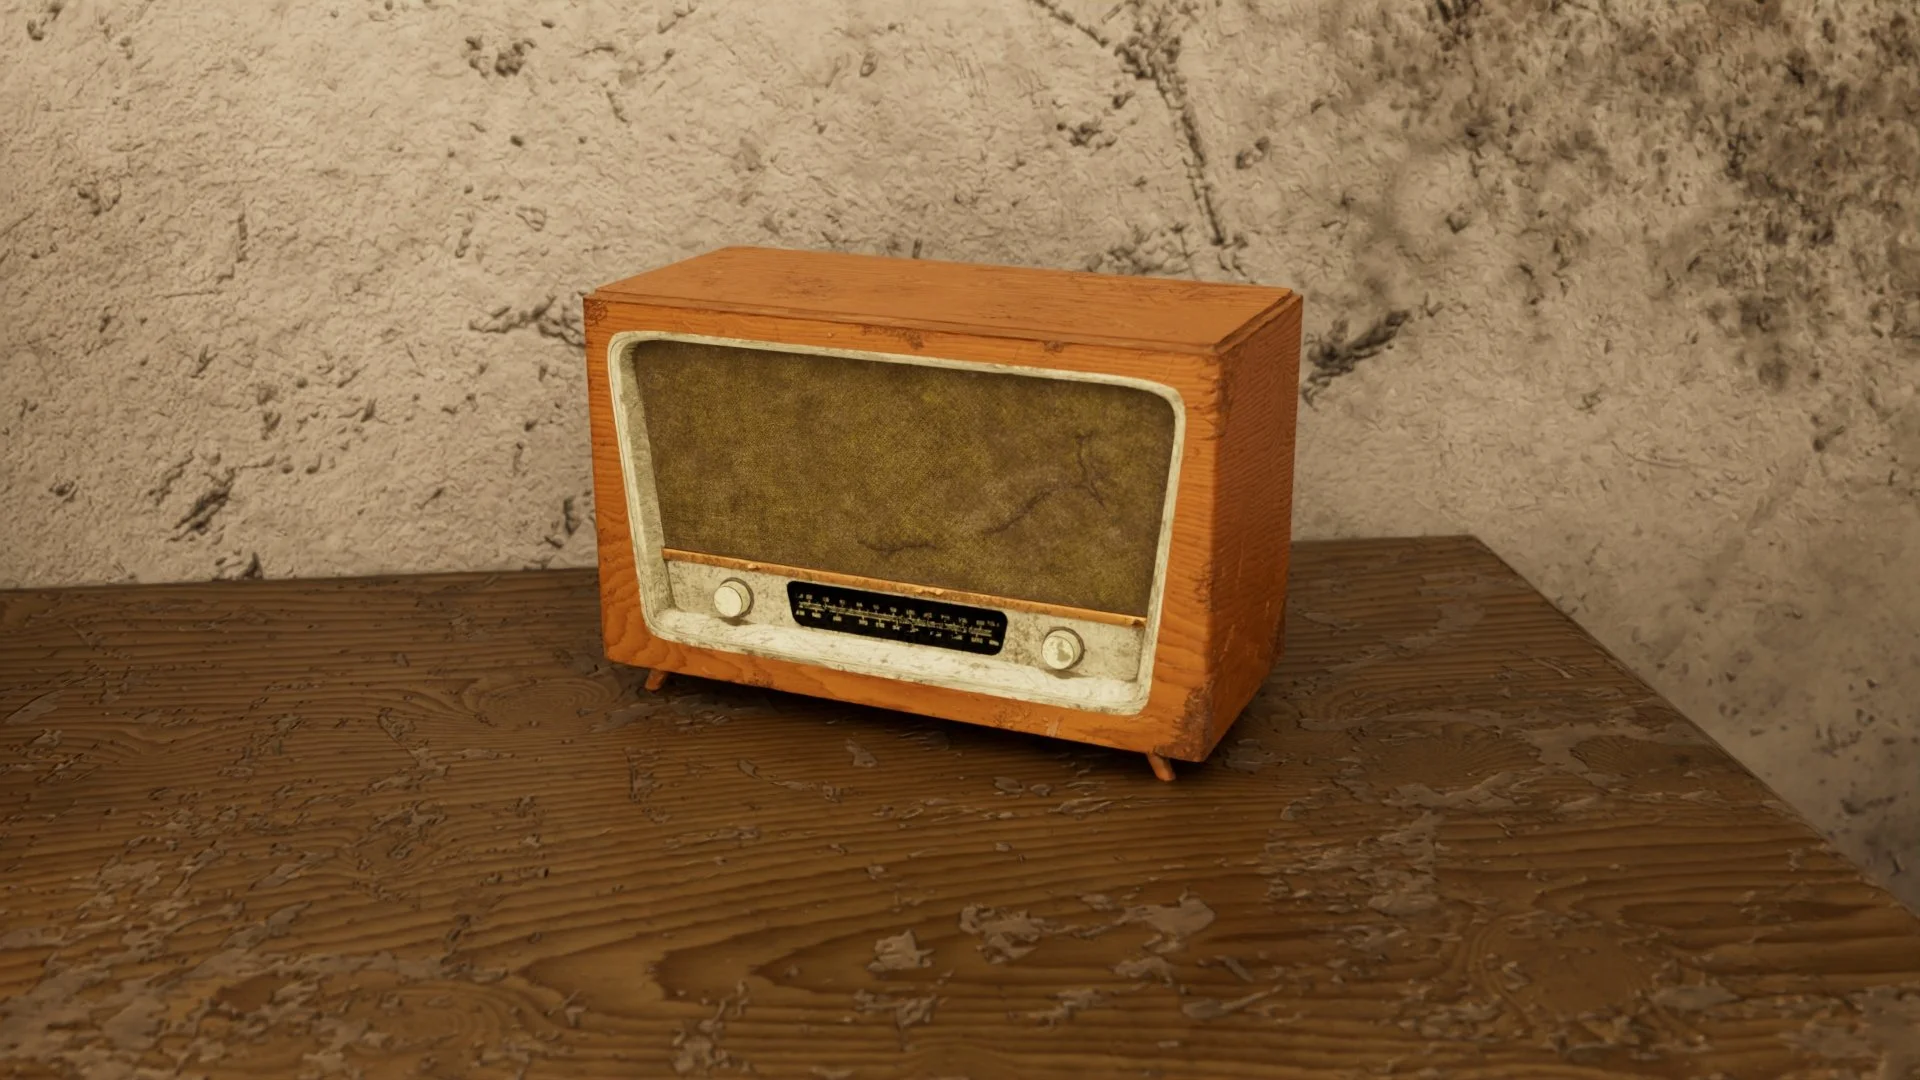
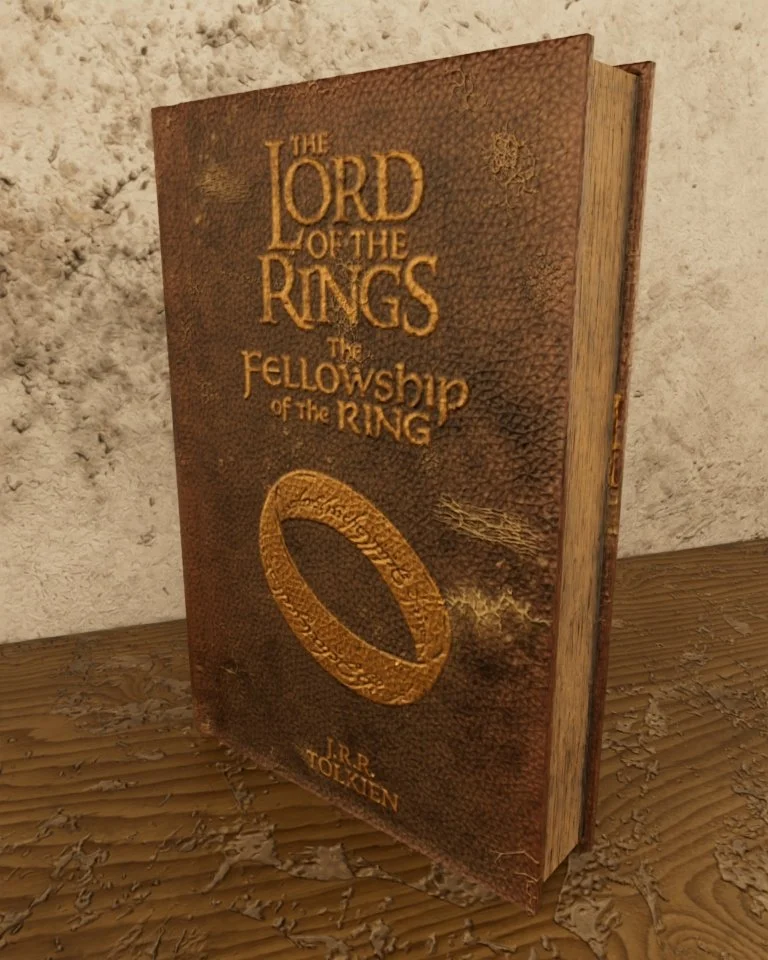
Other Scene Assets
The Lamp Man isn’t the only star of the show. I spent a lot of time making sure every asset in the scene was showroom ready.
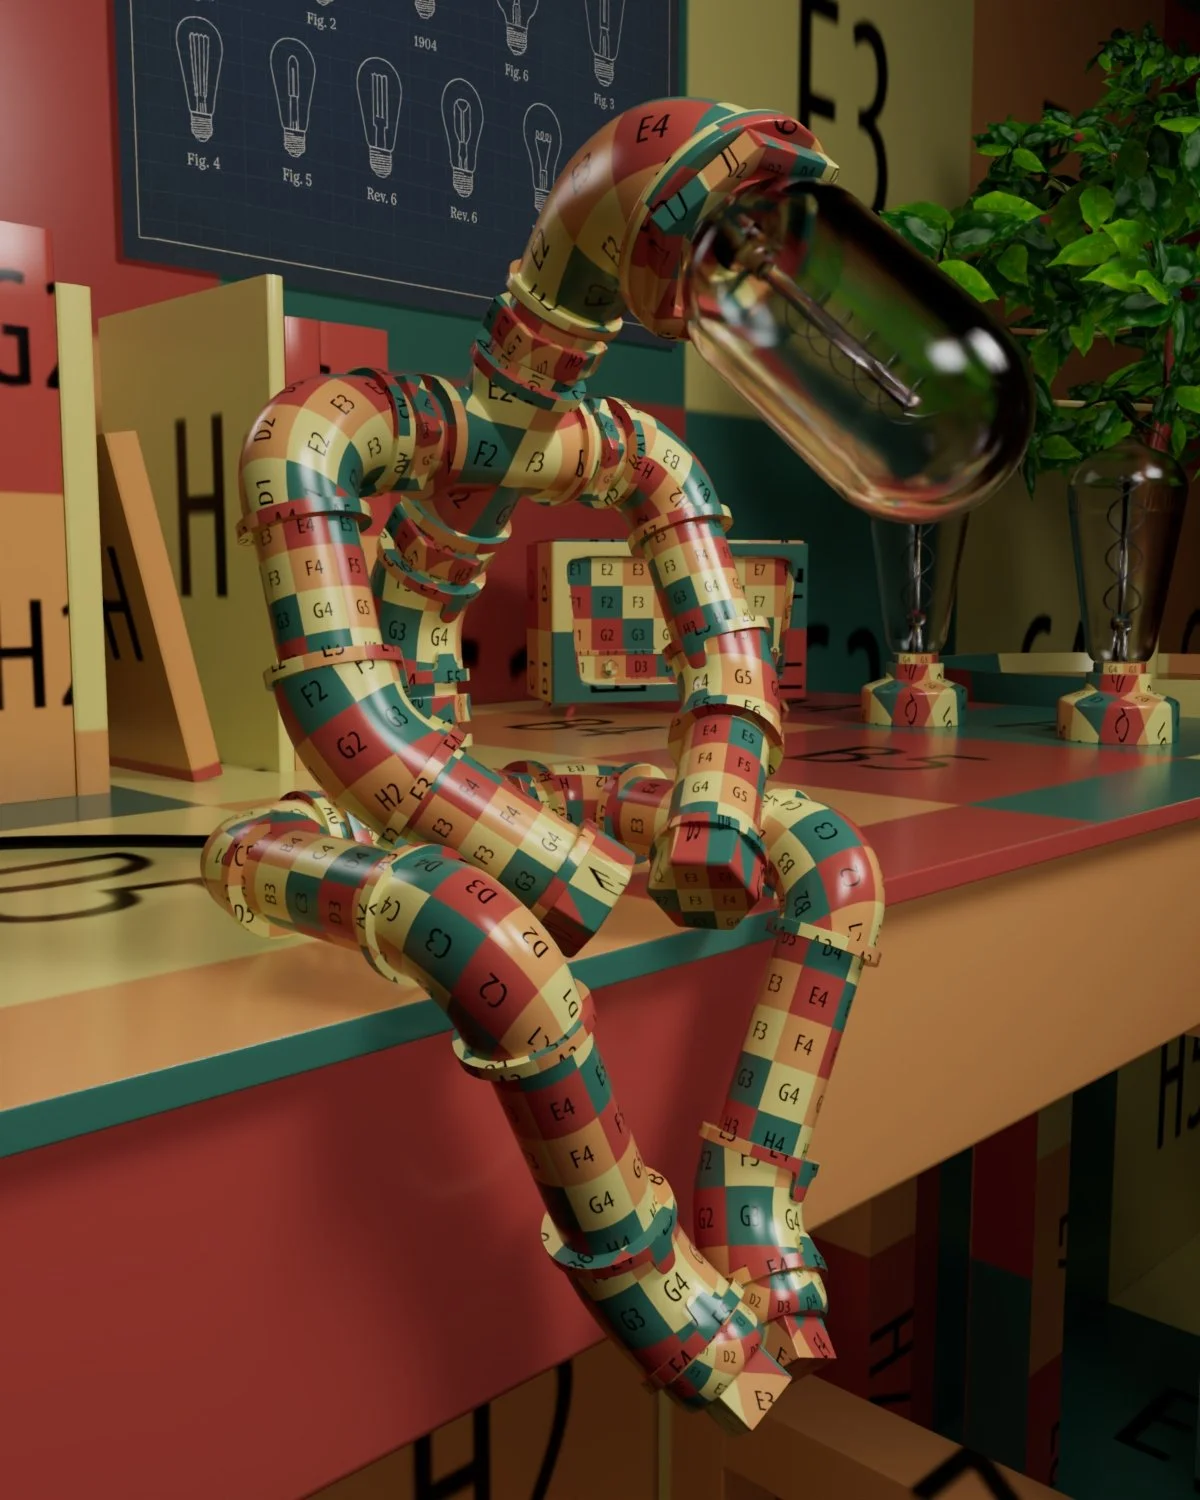
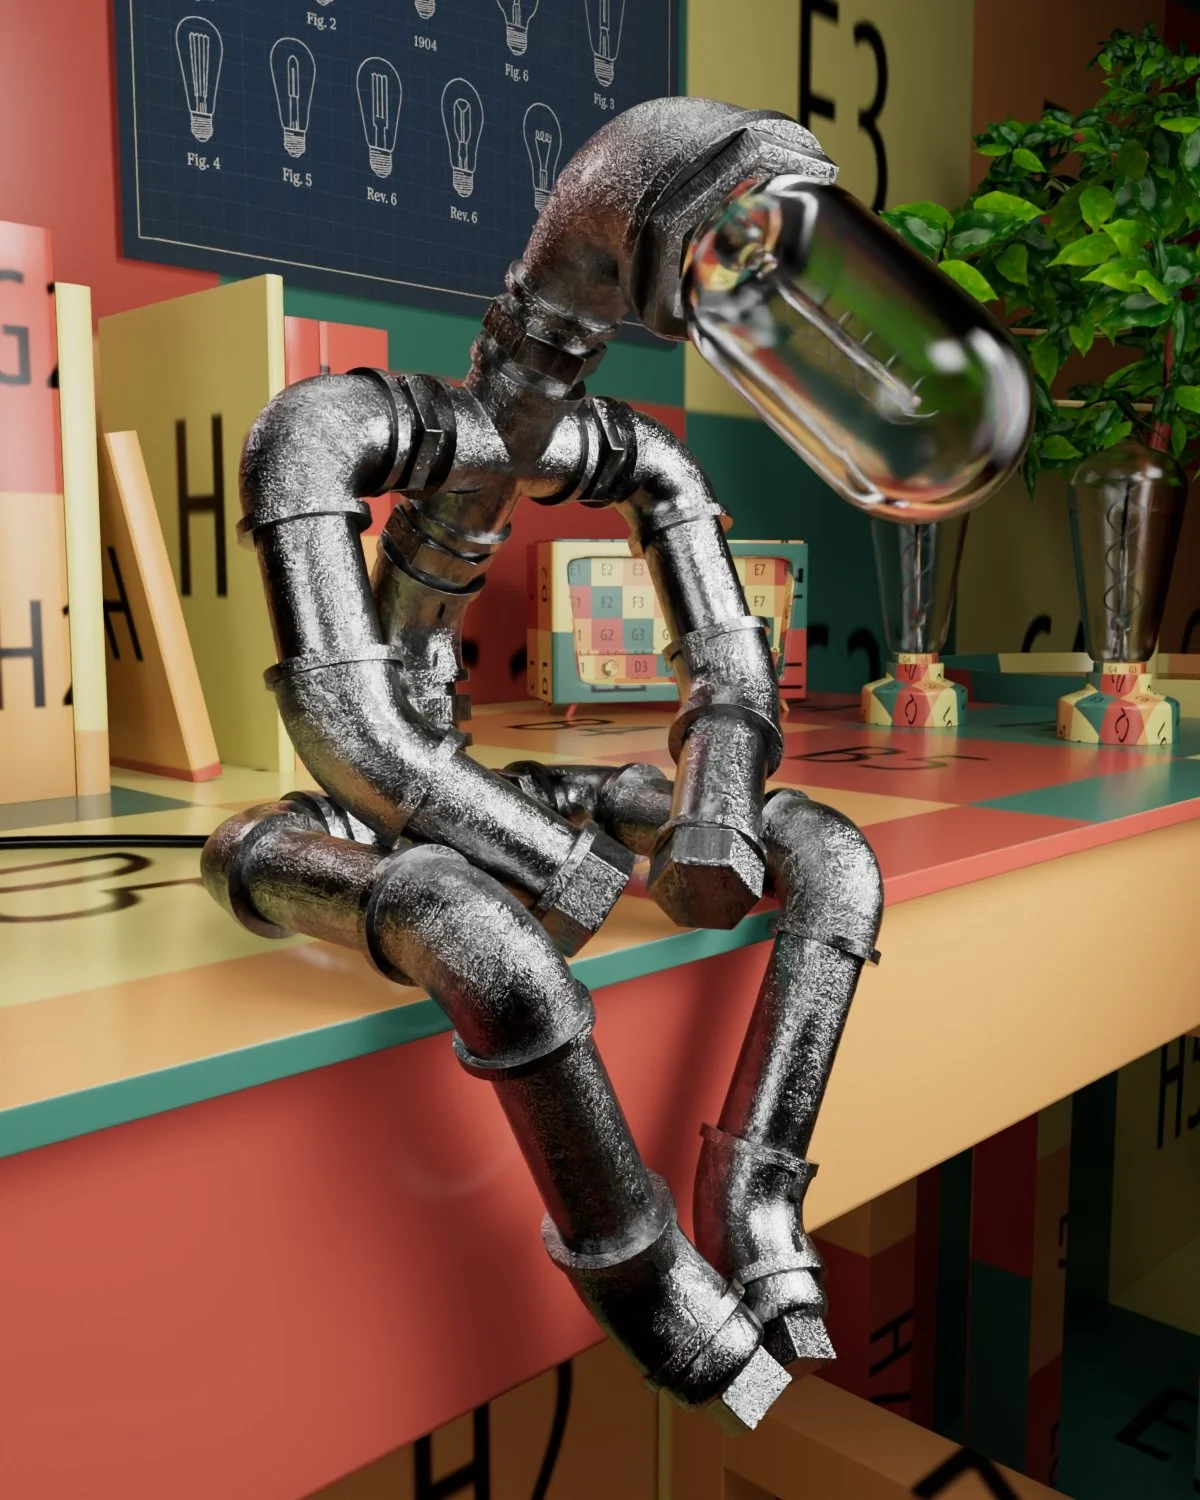
Texturing
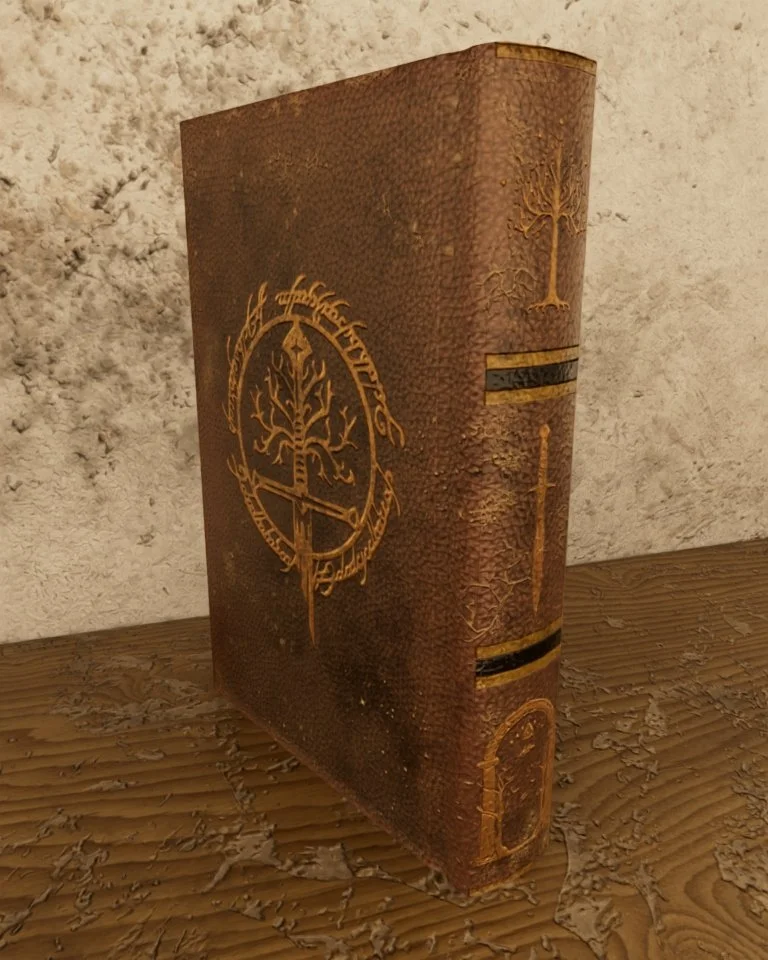
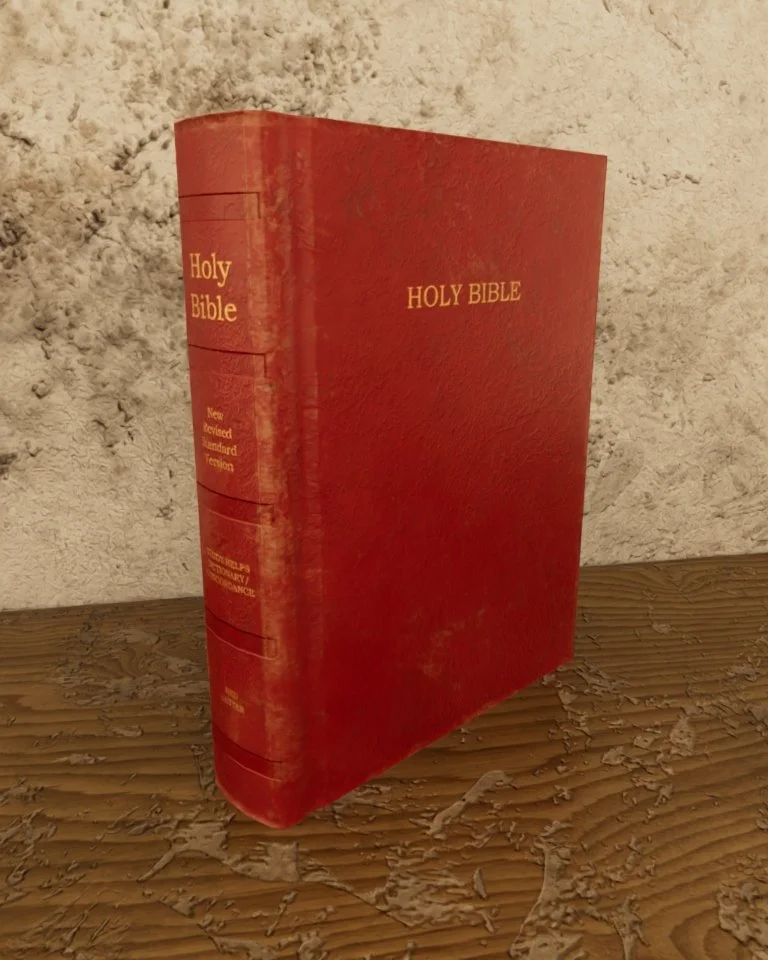
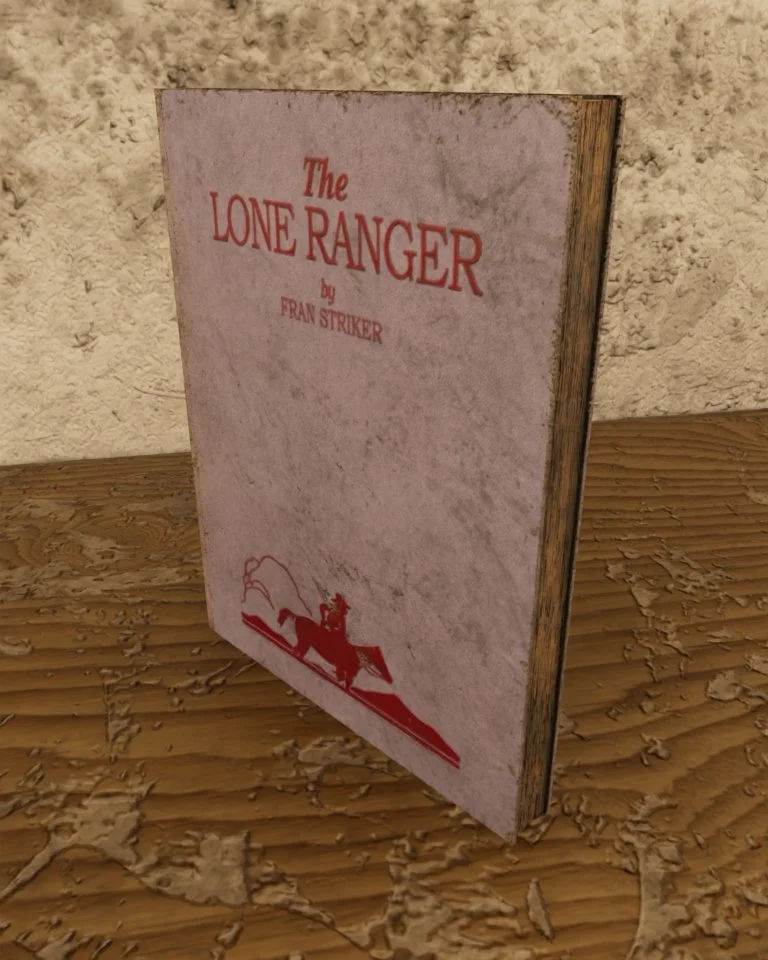
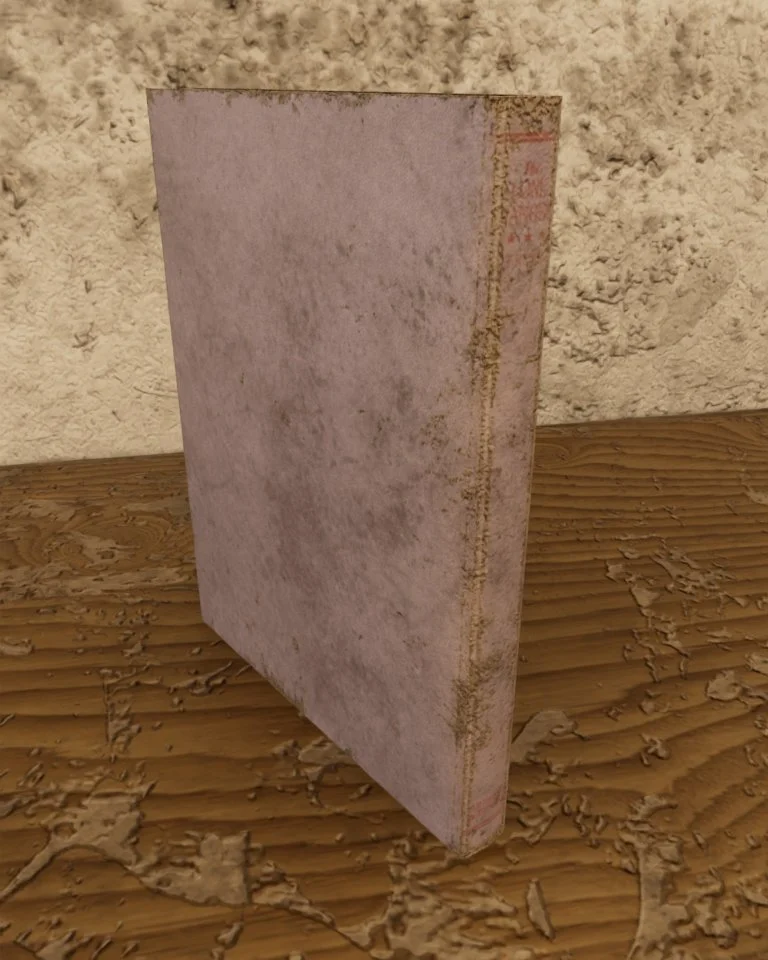
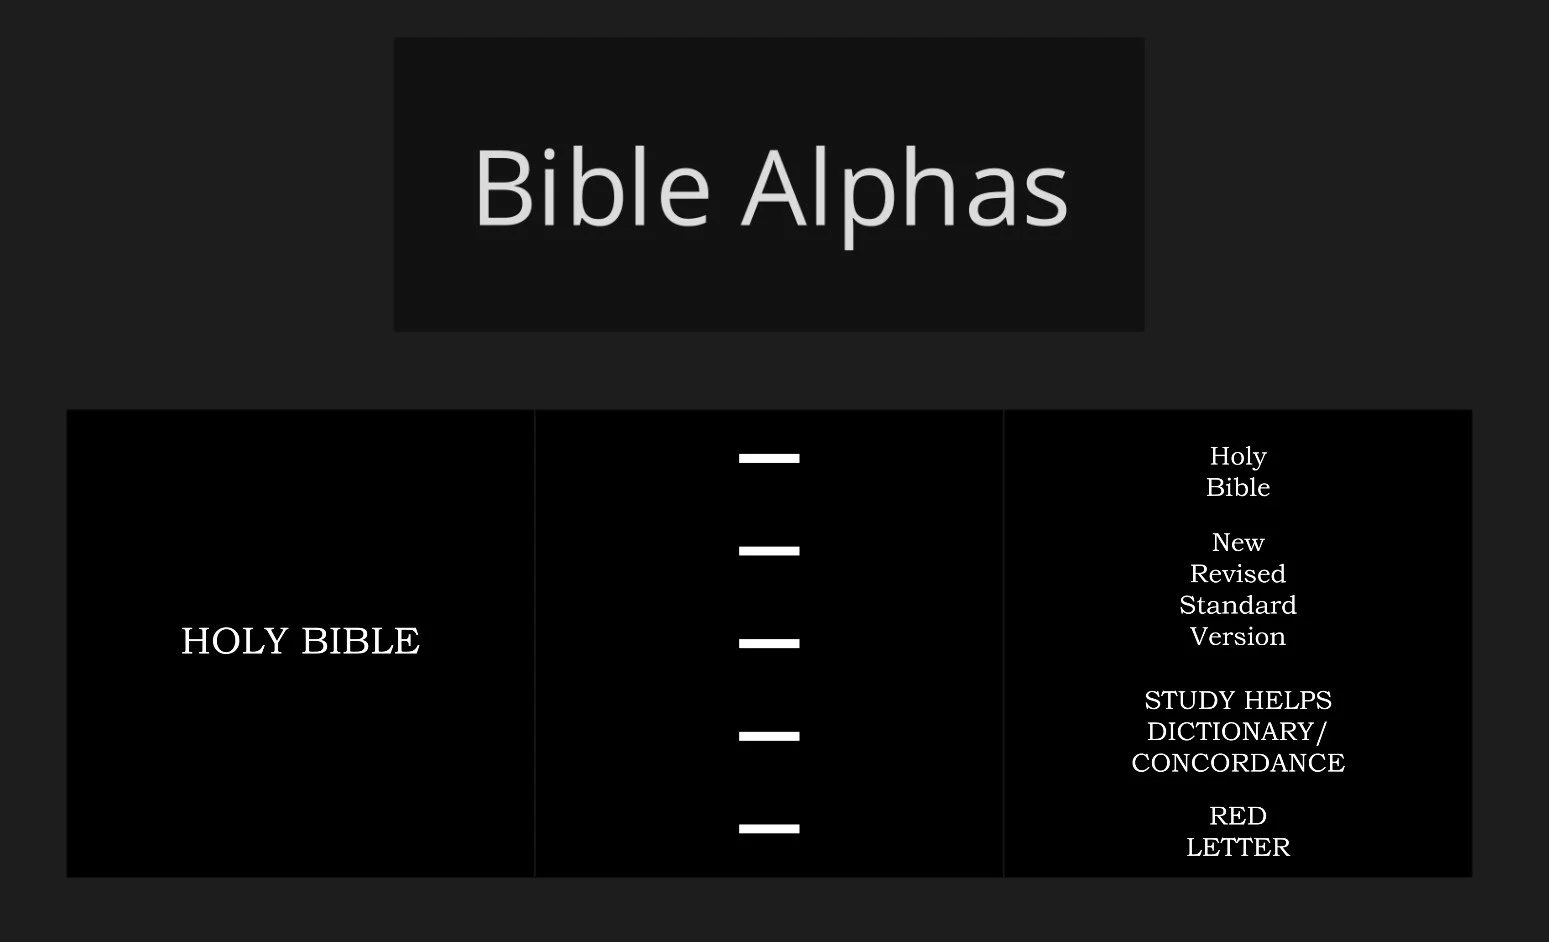
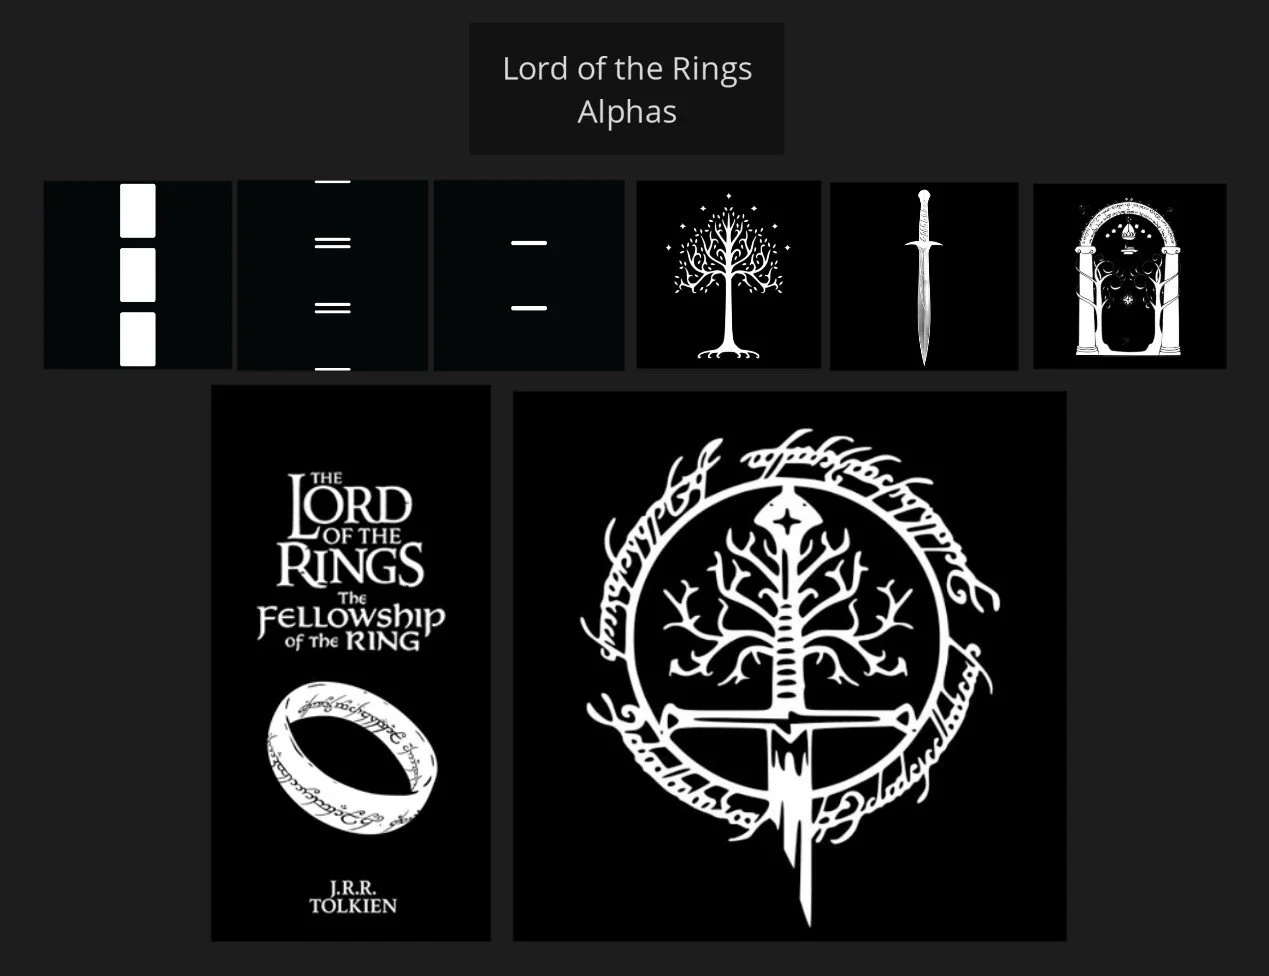
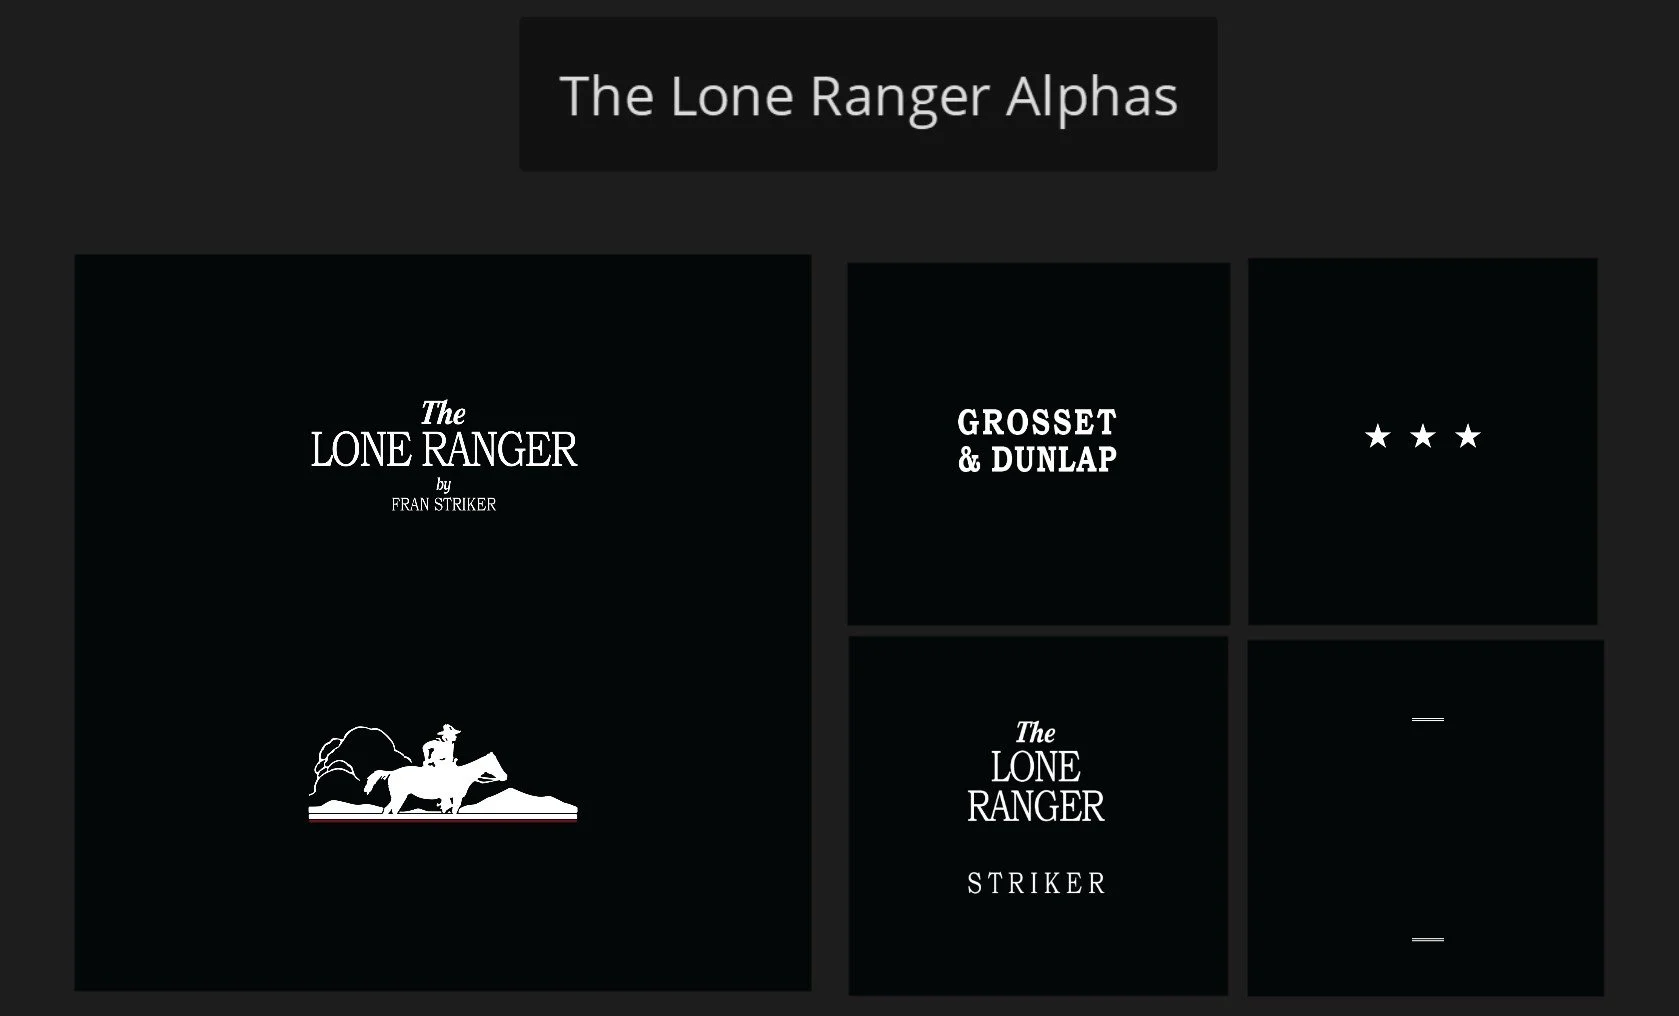
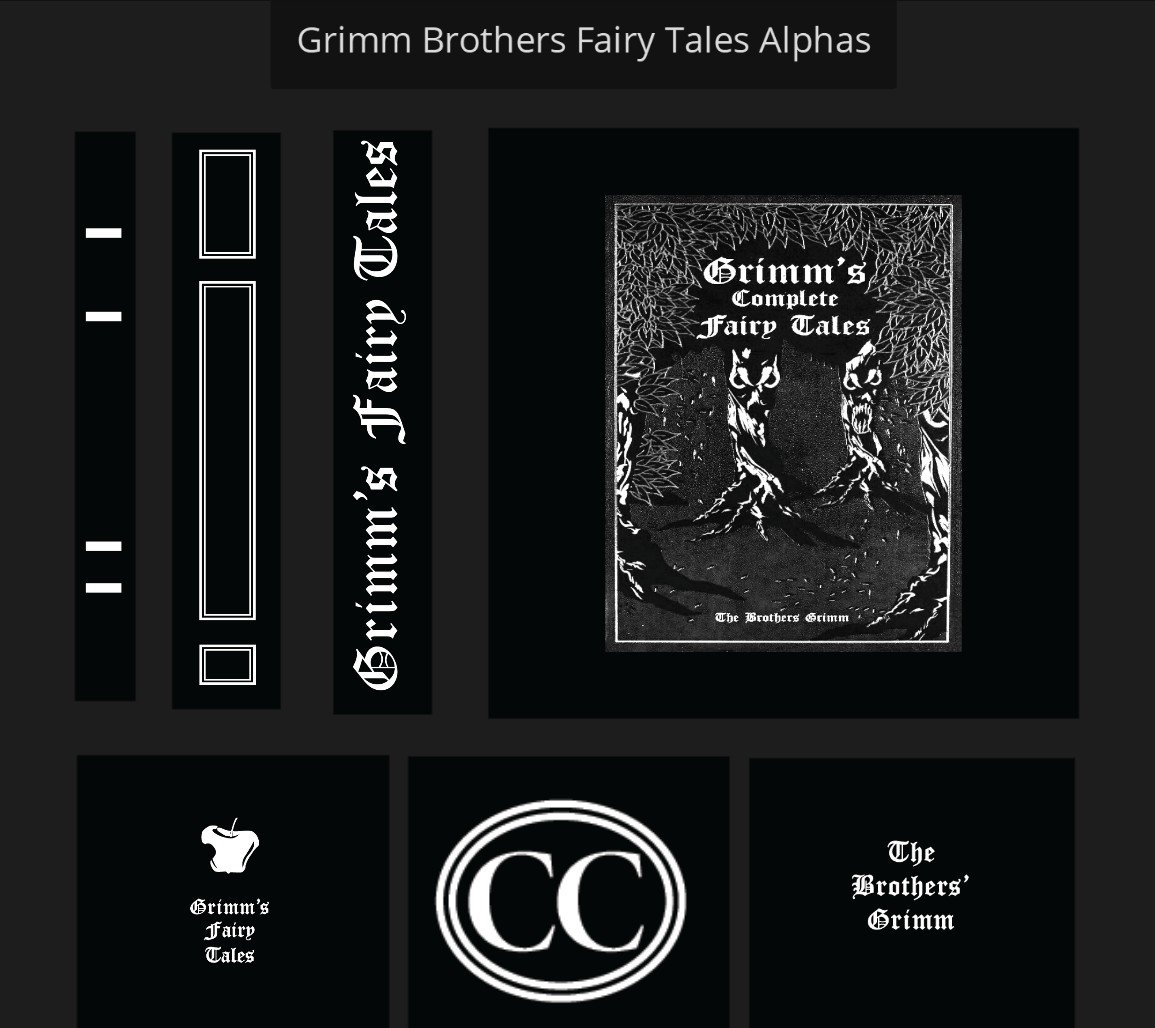
For comparison, let’s take a look at a few of the textures in Substance 3D Painter
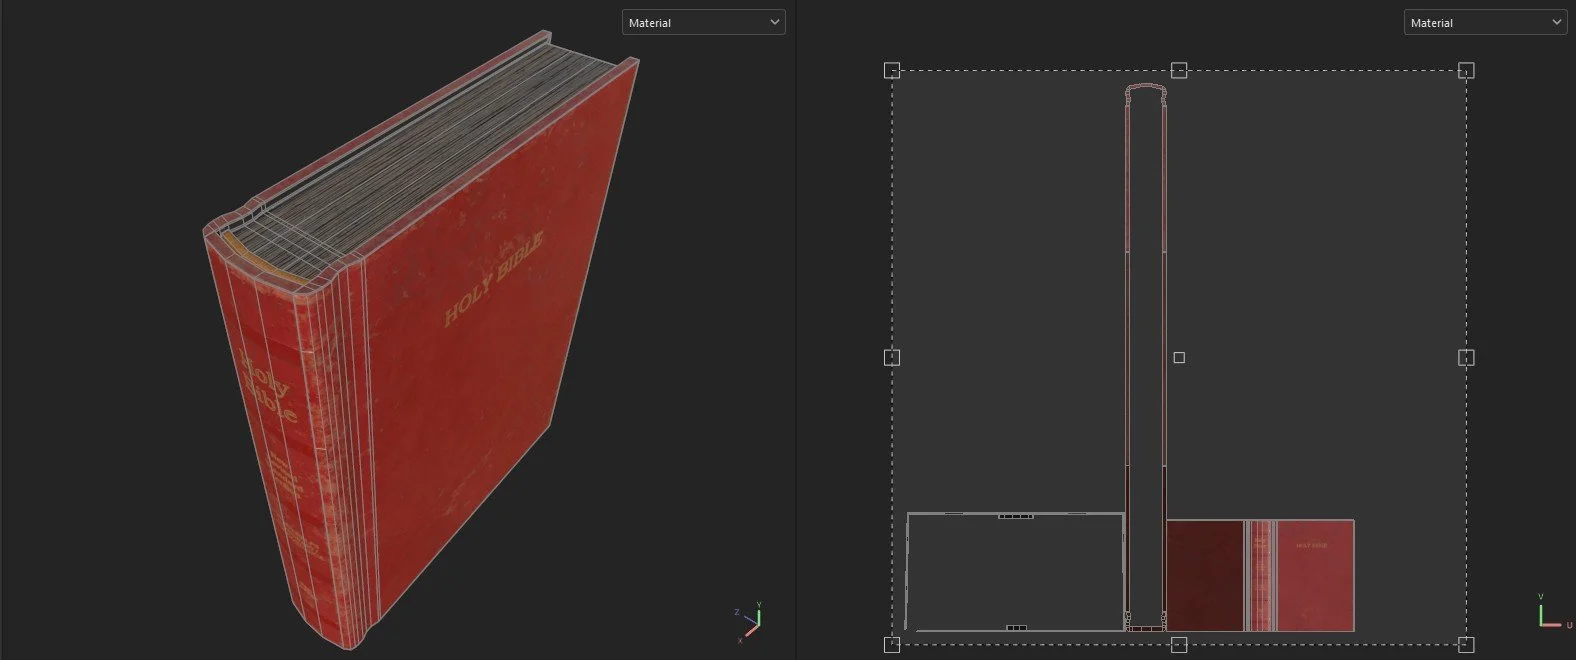
The Holy Bible
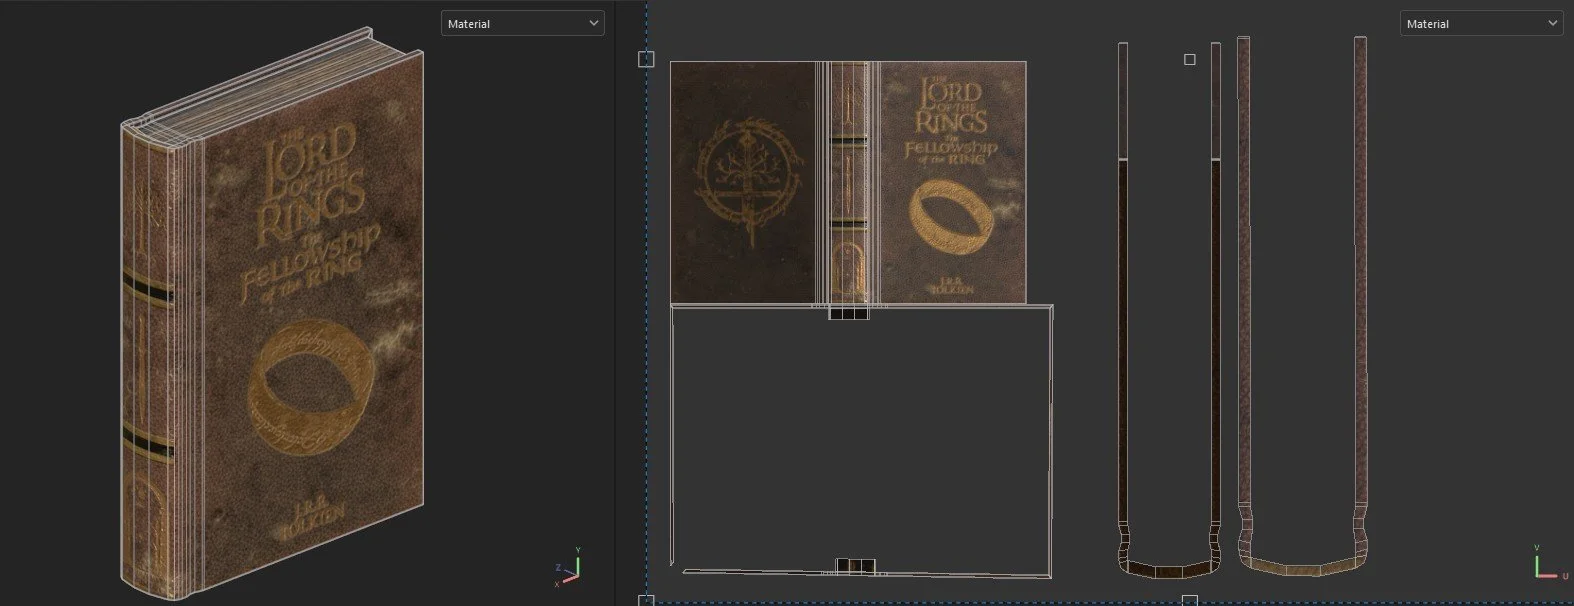
The Lord of the Rings
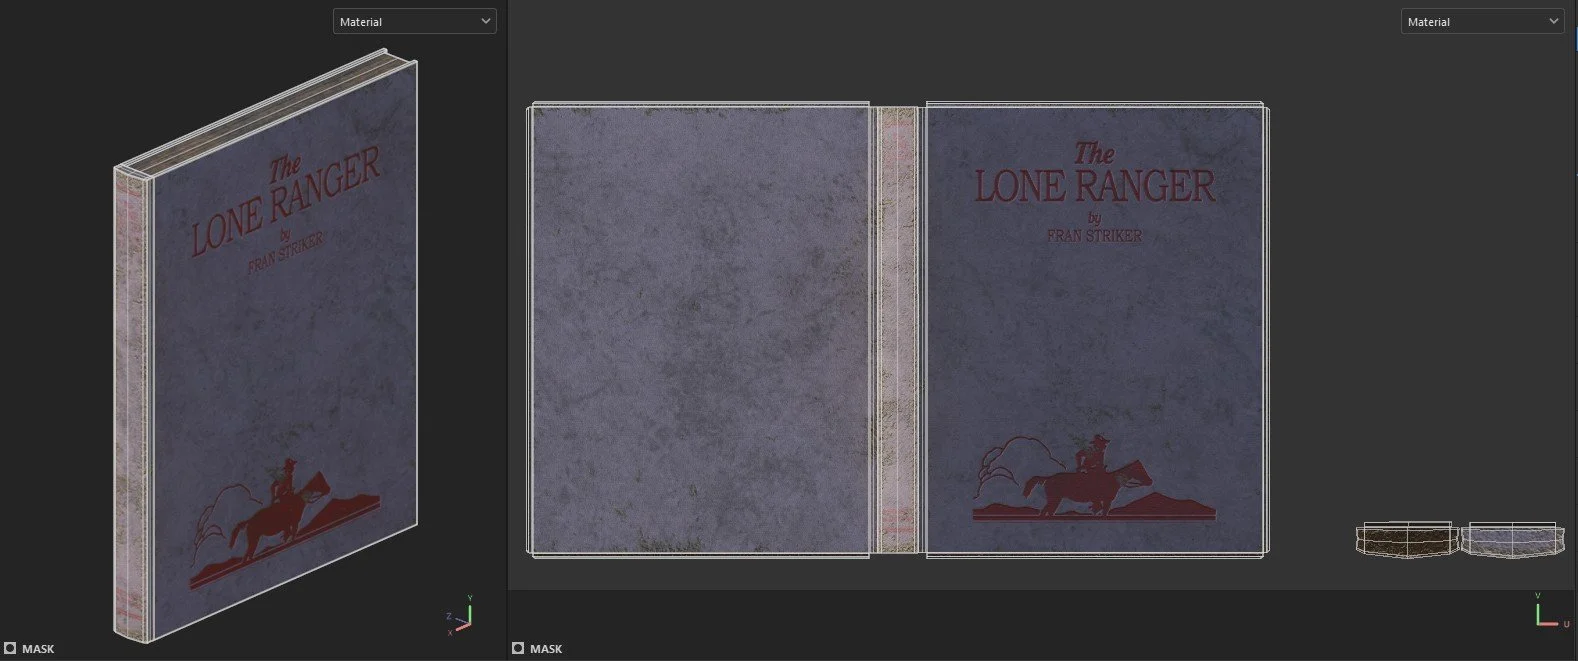
The Lone Ranger
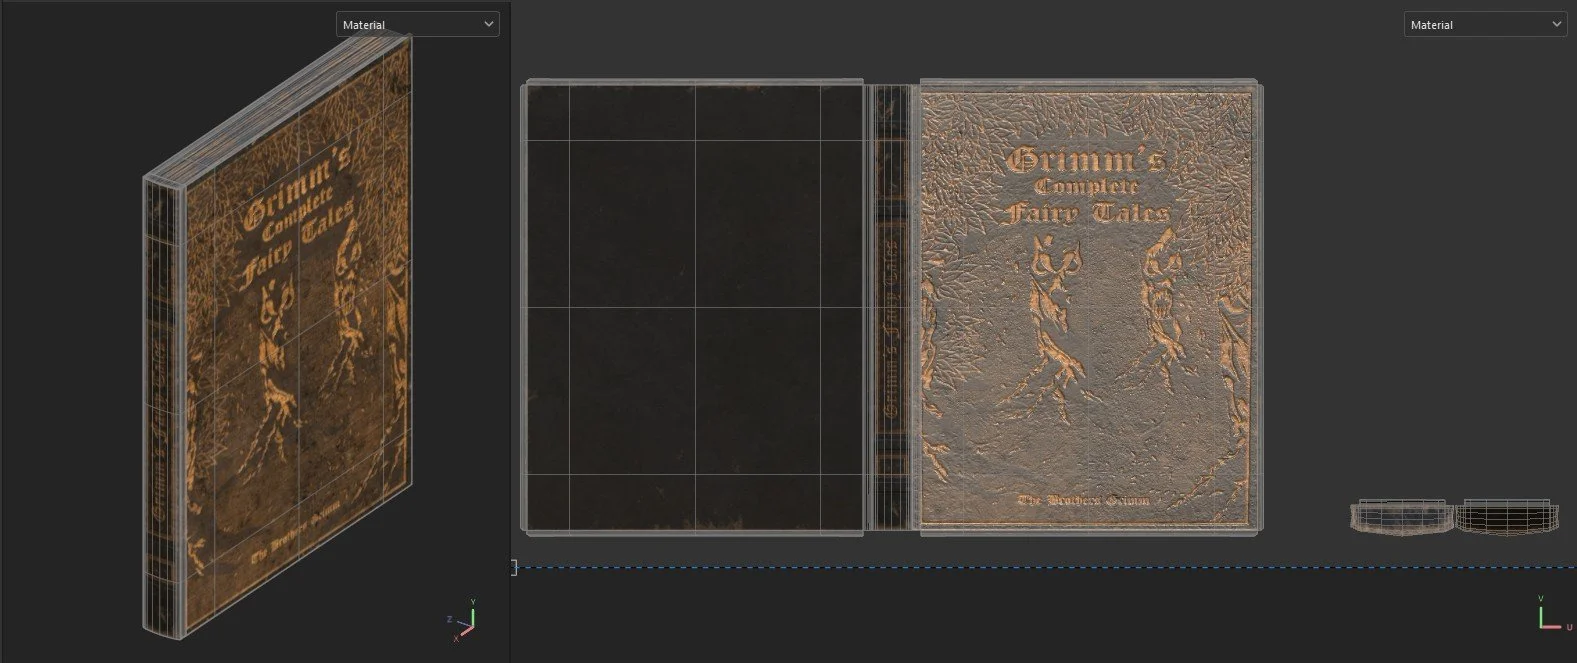
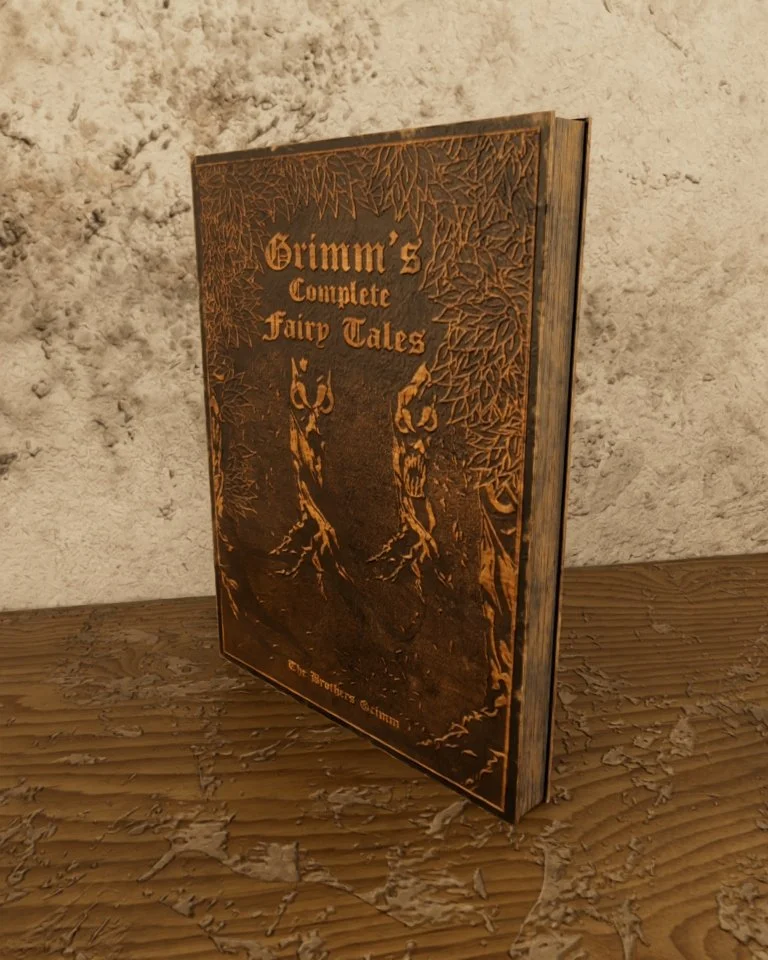
Grimm’s Complete Fairy Tales
Lighting
Lighting is that thing that can make or break a scene. It sets the tone, it projects the mood, and can alter everything with just a single adjustment. Here are some lighting difficulties I faced.
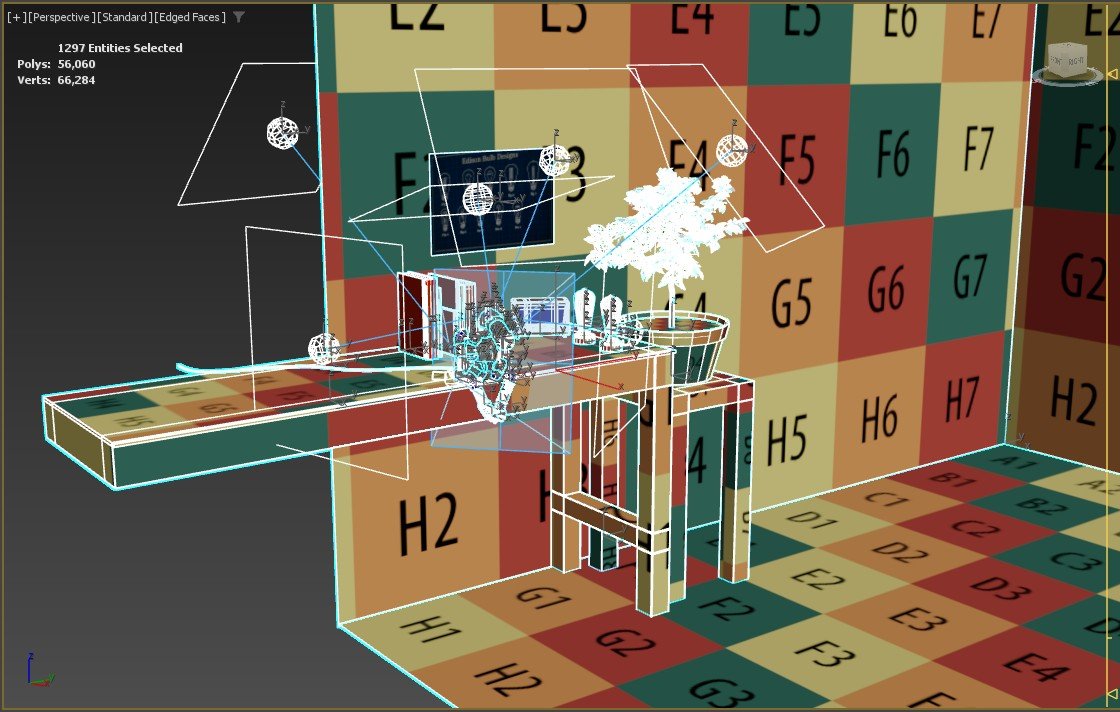
I start off every scene with lighting. I set up a basic 3 Point Lighting arrangement and adjust to where I can see my workspace through the camera. When the scene is built, I will add or adjust lights in order to illuminate what strikes me. In this scene, it looks like I went a little overboard and you would expect it to be brighter than the sun, but that was not the case. The Lamp Man was reflective, dark, and every part of him was round. Certain parts of his body were not illuminated to my liking to present the aesthetic I was looking for. So one by one, I would turn all the lights off and get specific areas lit exactly the way I wanted them to be.
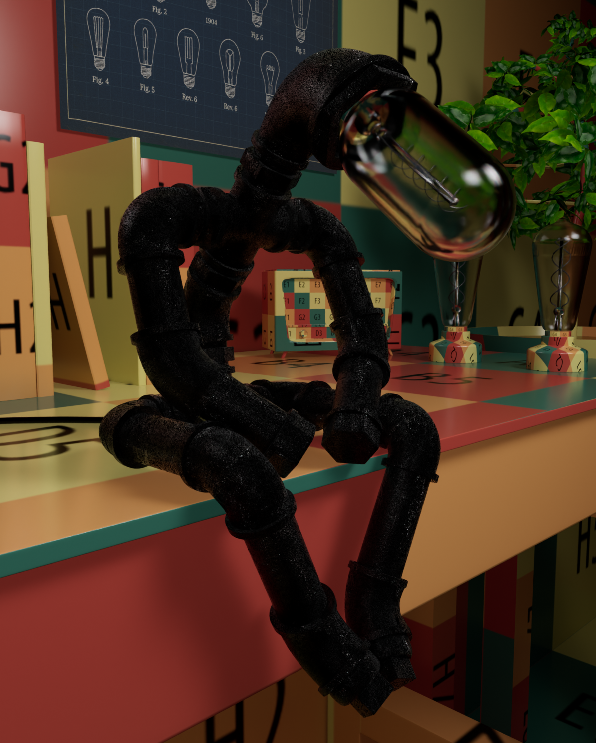
This is an excellent example of the first moment after building. I’ve applied the mass of textures, everything is how I want it, I go to render and my model looks absolutely charred. It was odd at first because the rest of the scene is illuminated fairly well. I remembered I took off the specular because of the first texture test with the pure metal. To me, that model just radiated like the sun. It was pretty, but not what I was looking for. So I experimented, added another light, moved it closer, and then another, and then another. At the end of it all I had 6 lights that served me well. They were all very dimly lit to fit the ambiance I was after, but something was missing.
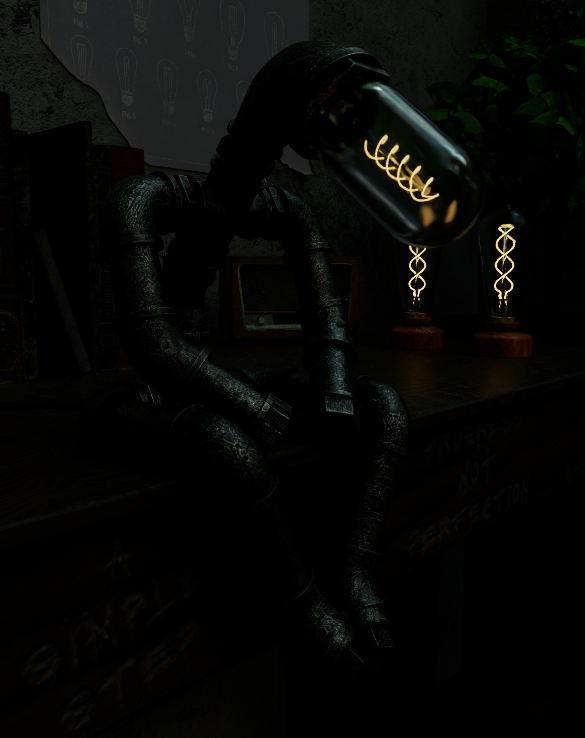
I said there were six lights before. Something was missing. There was a warm ambiance about the room that didn’t quite seem to be there. So I set up an environment light to add a little extra glow to the scene and get an extra accent onto the bulbs for depth (at the recommendation of one of my professors). Here you can see how that ambiance gives the scene the feeling of being lit by the moon through a window.
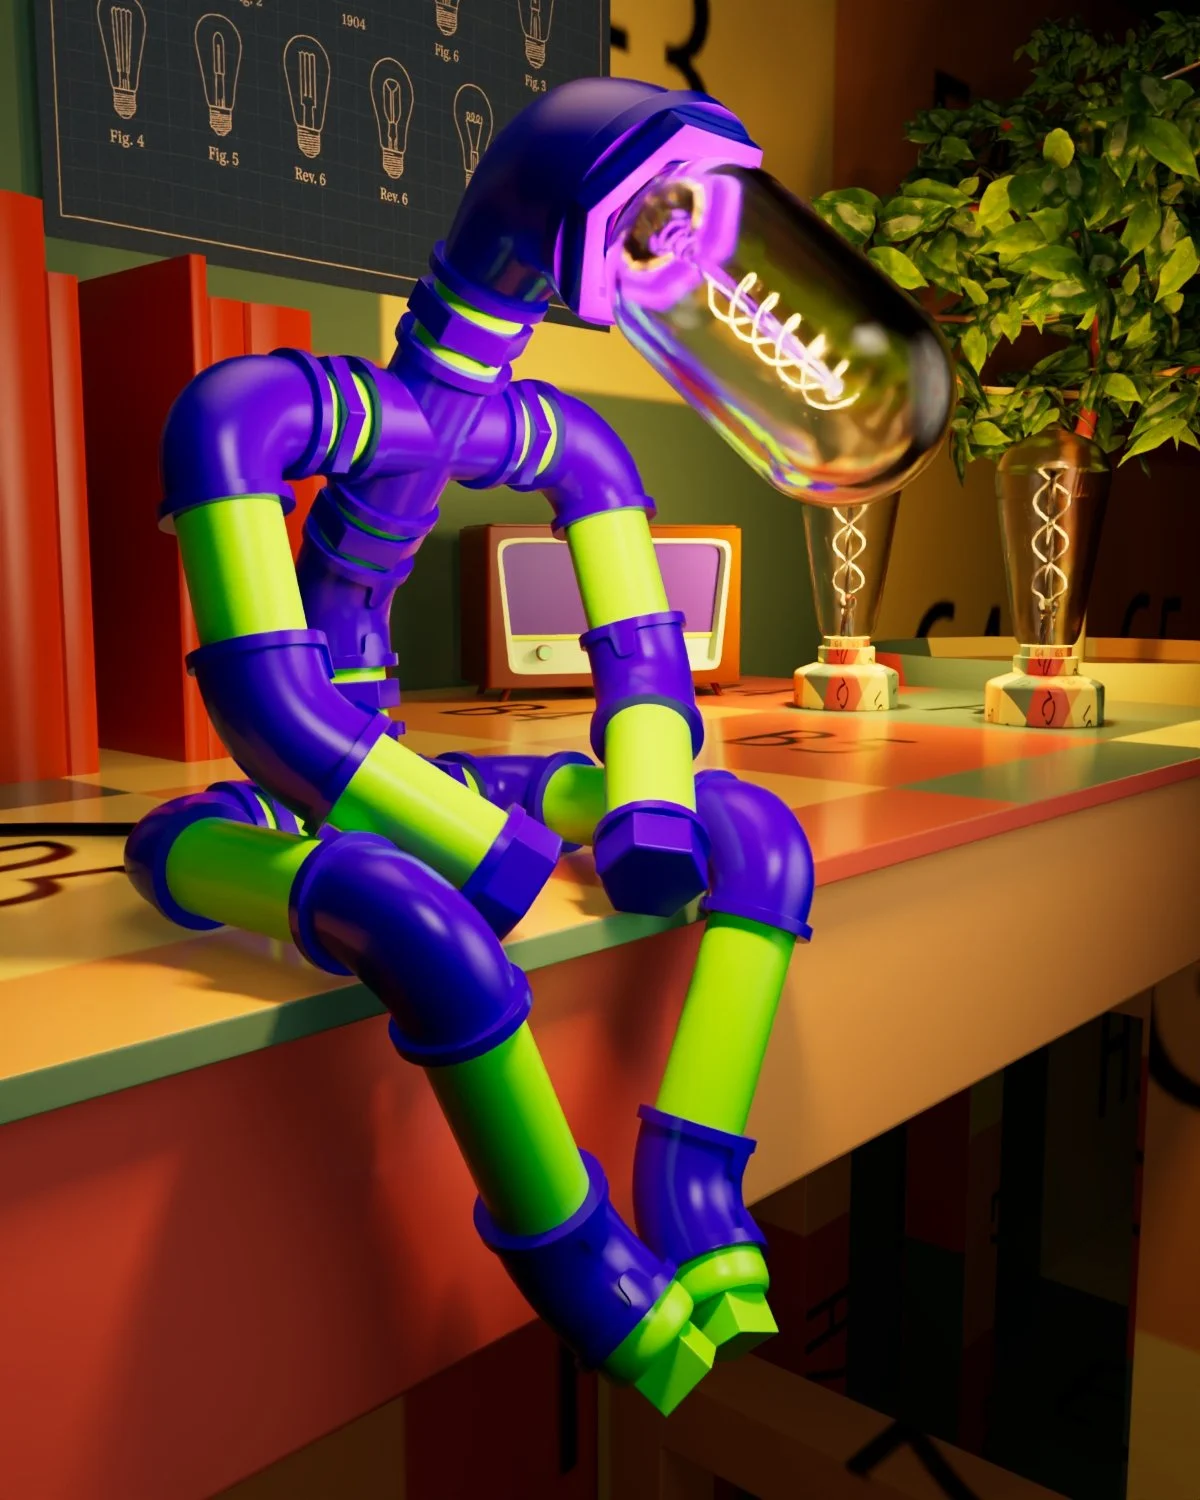
That last thought had me wondering, “The moonlight effect is cool, but that’s no the right energy we’re going for in this scene.”
I had to calm down. I can get carried away when it comes to creating and this was not the time to at abstract concepts to what I was doing. The only thing missing was the glow of the bulbs. They serve as the main light source of the whole scene and illuminate a majority of the objects that surround them. So I got to work.
At first I had set the actual filaments to act as mesh lights and project outward. It worked, but it was slowing down the rendering. So I deleted those and adjusted by adding the three extra lights. Yes, I said it. MORE LIGHTS! I now have 9 lights in this scene.
Instead of mesh light, I set up each bulb to have a light positioned directly in the middle of each filament and EUREKA! We had a warm cozy glow around each bulb that projected to the walls and the surrounding areas.
In the picture you can really tell how much the yellow of the bulb hits the tree and the desktop; as well as the front facing side of The Lamp Man.
The Last Thing
In my haste to get the bulbs glowing, I had forgotten to adjust our moonlight ambiance. The fix was simple. Change the color of the ambient light, change the mood of the scene. When I found the one I liked, I saved my file and I was done!
The Kelvin Scale, in light bulbs, is used to measure the color spectrum of light we receive. It actually measures the “temperature” of the light coming out of the bulb. Warmer colors shine more red, and cooler colors shine more blue. The cooler side of the spectrum is measure with a higher number and the warmer side is measured with a lower number.
In the pictures below you can see the color change on the wall as you go from left to right.
3500 Kelvin
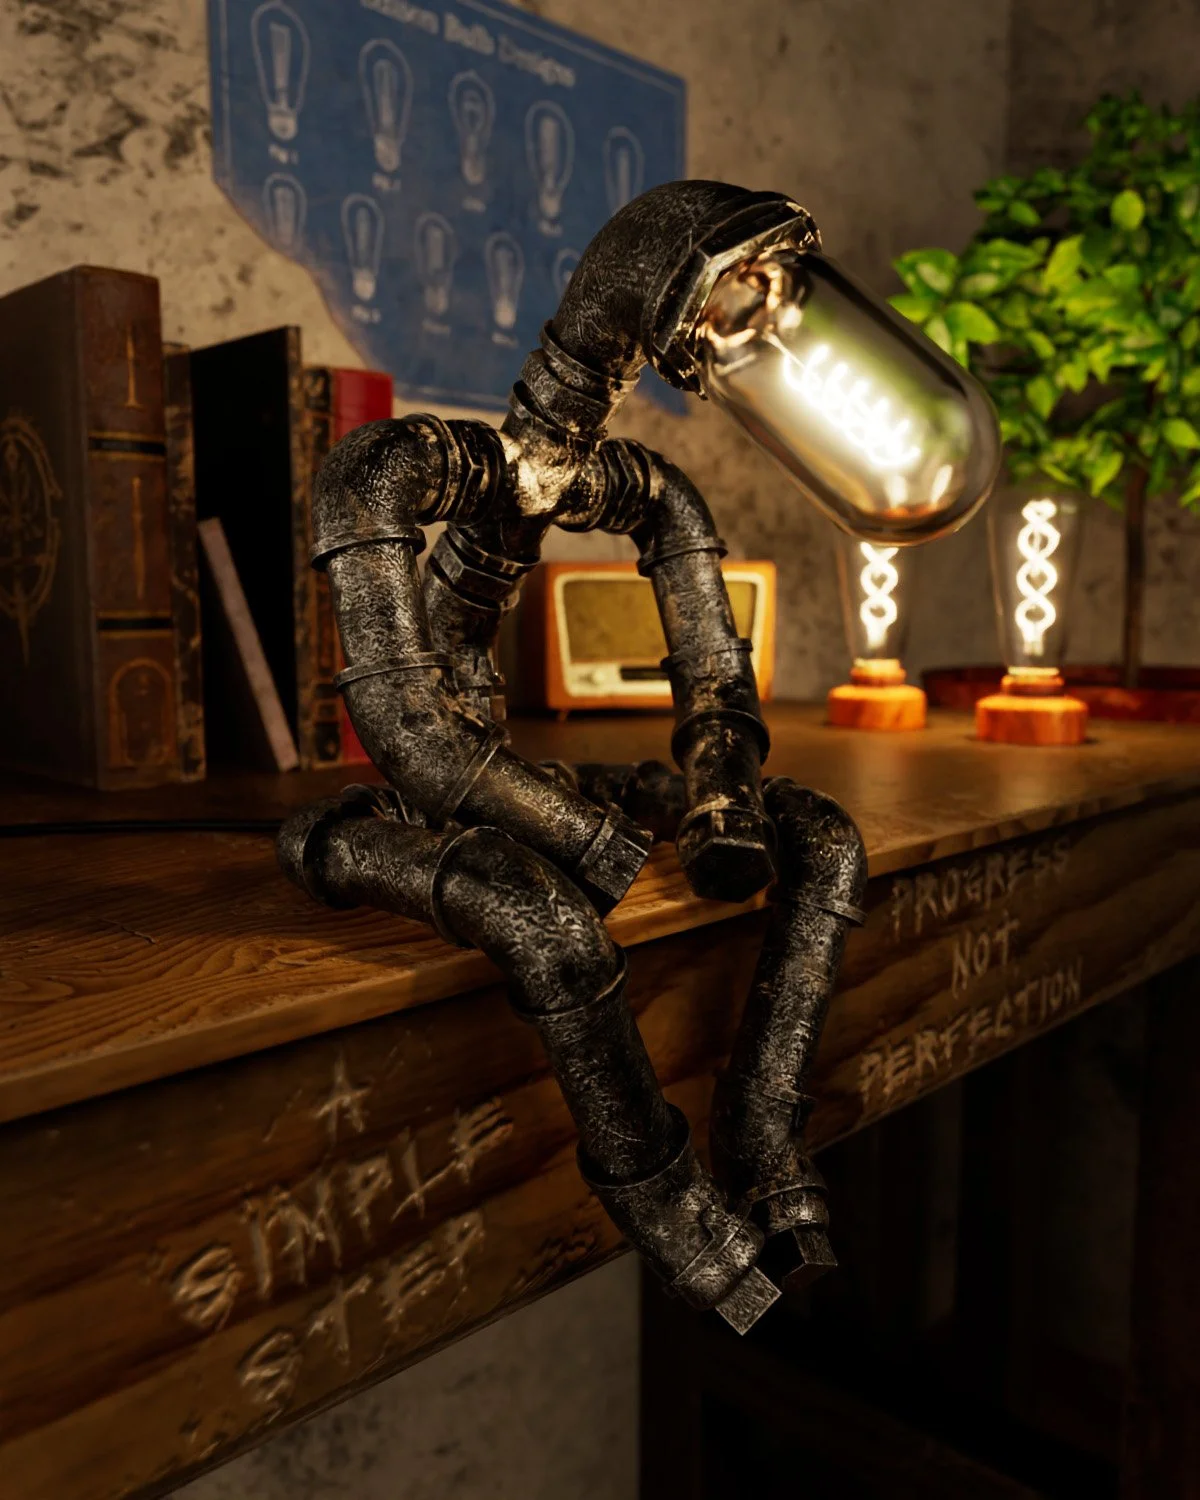
3750 Kelvin
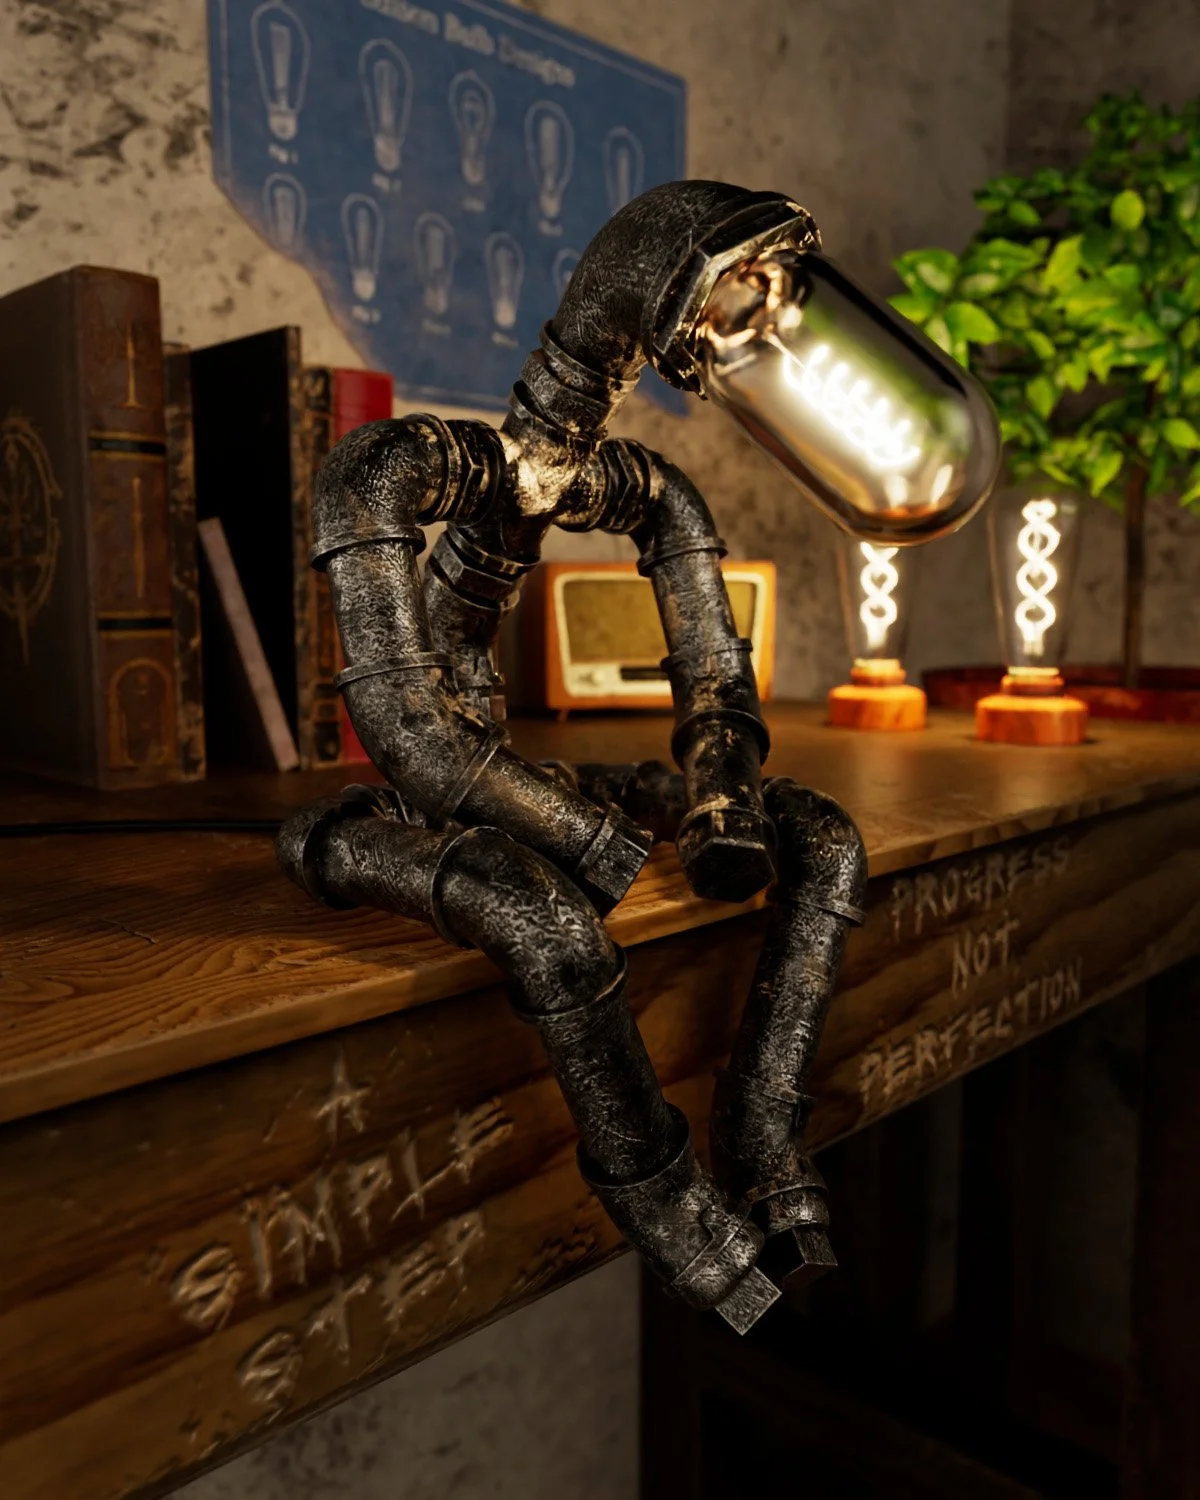
4000 Kelvin
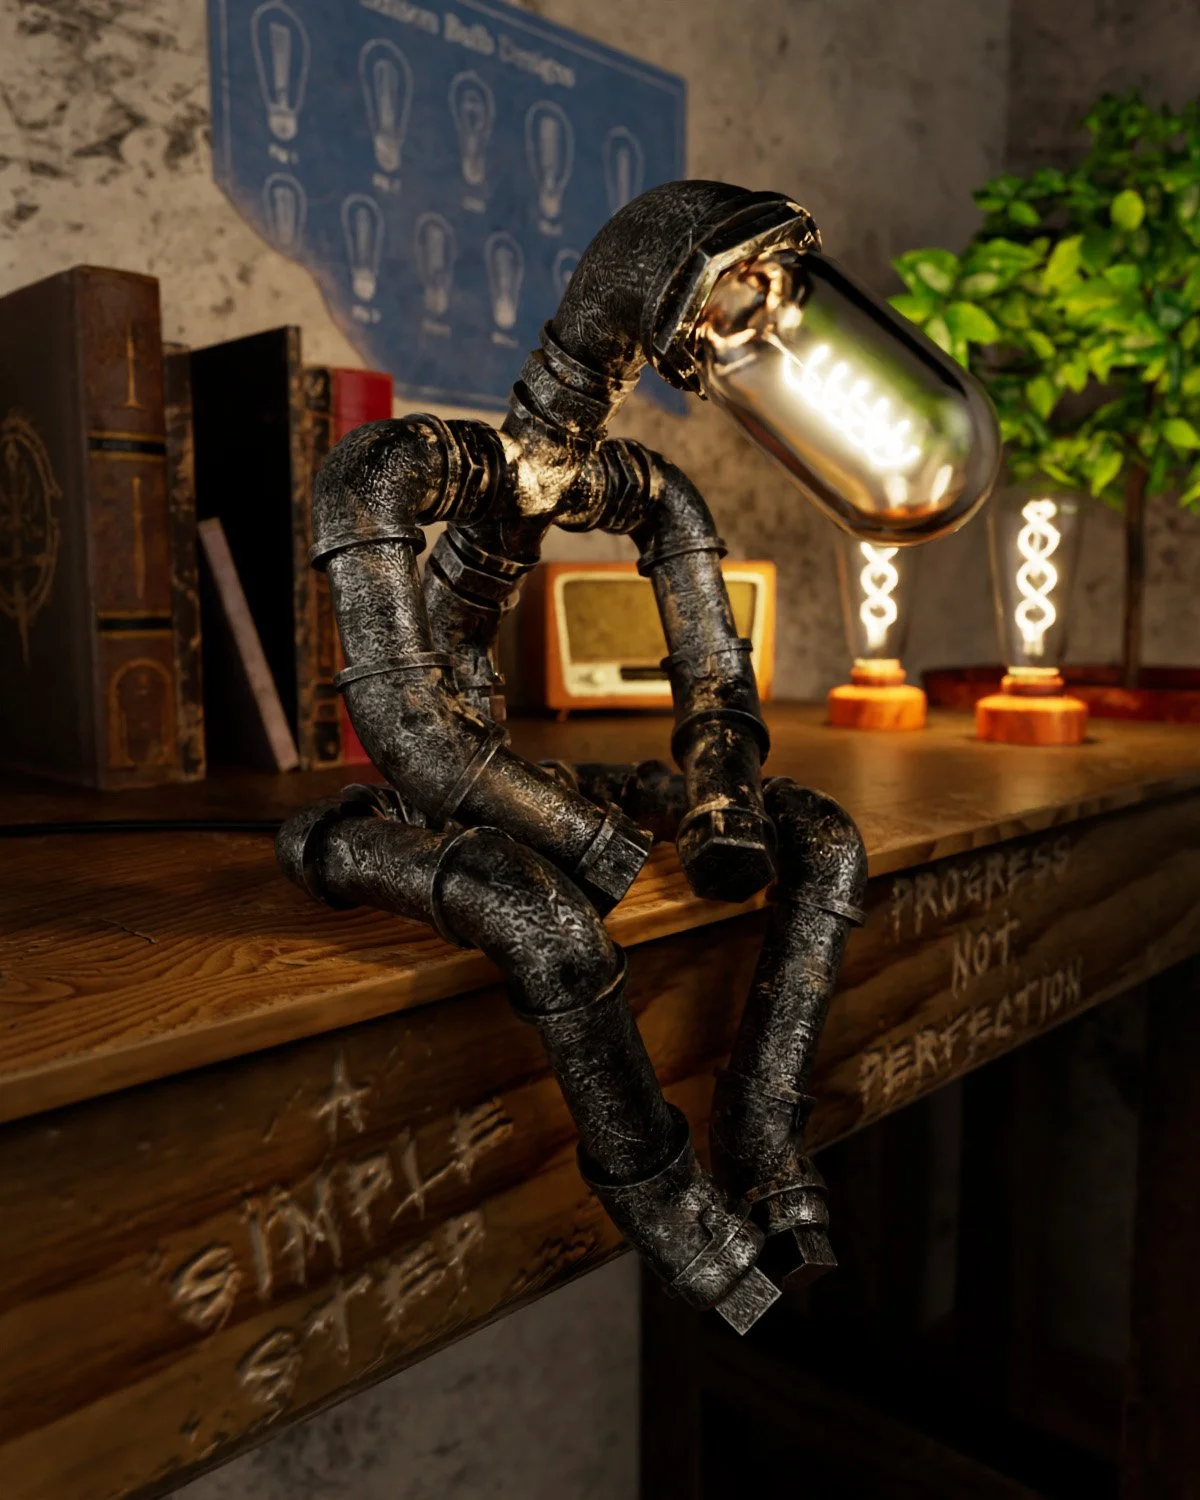
4500 Kelvin
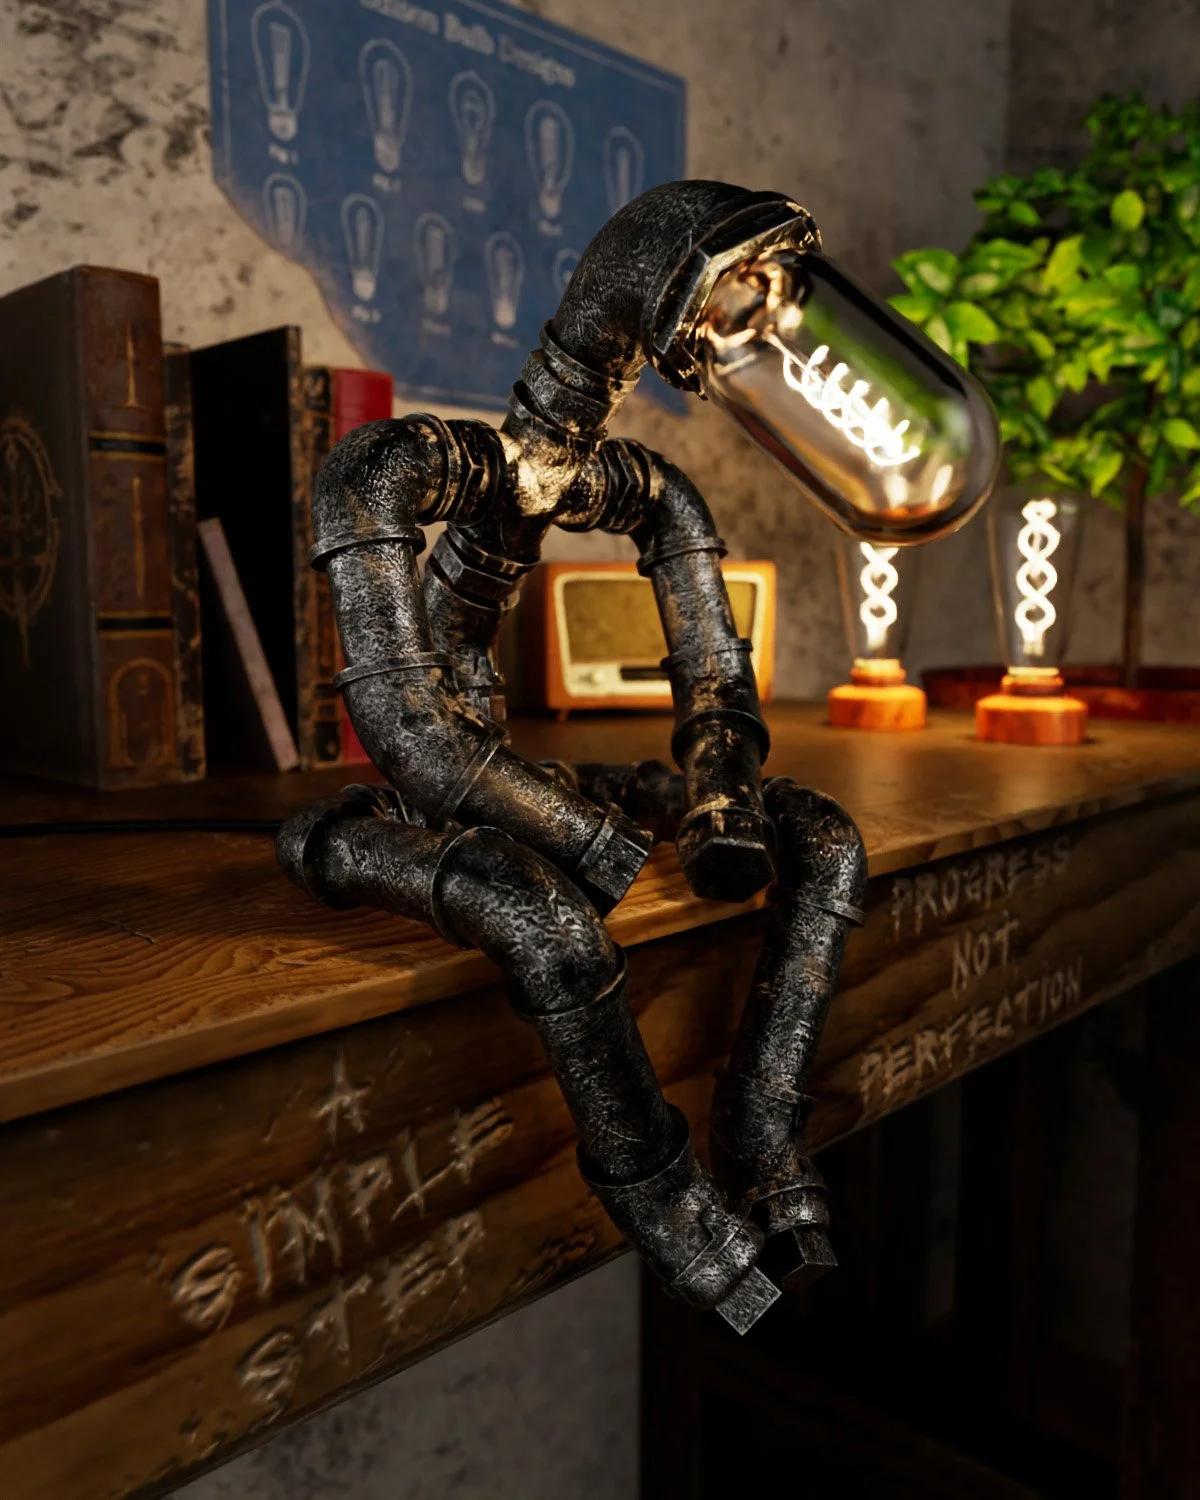
5000 Kelvin
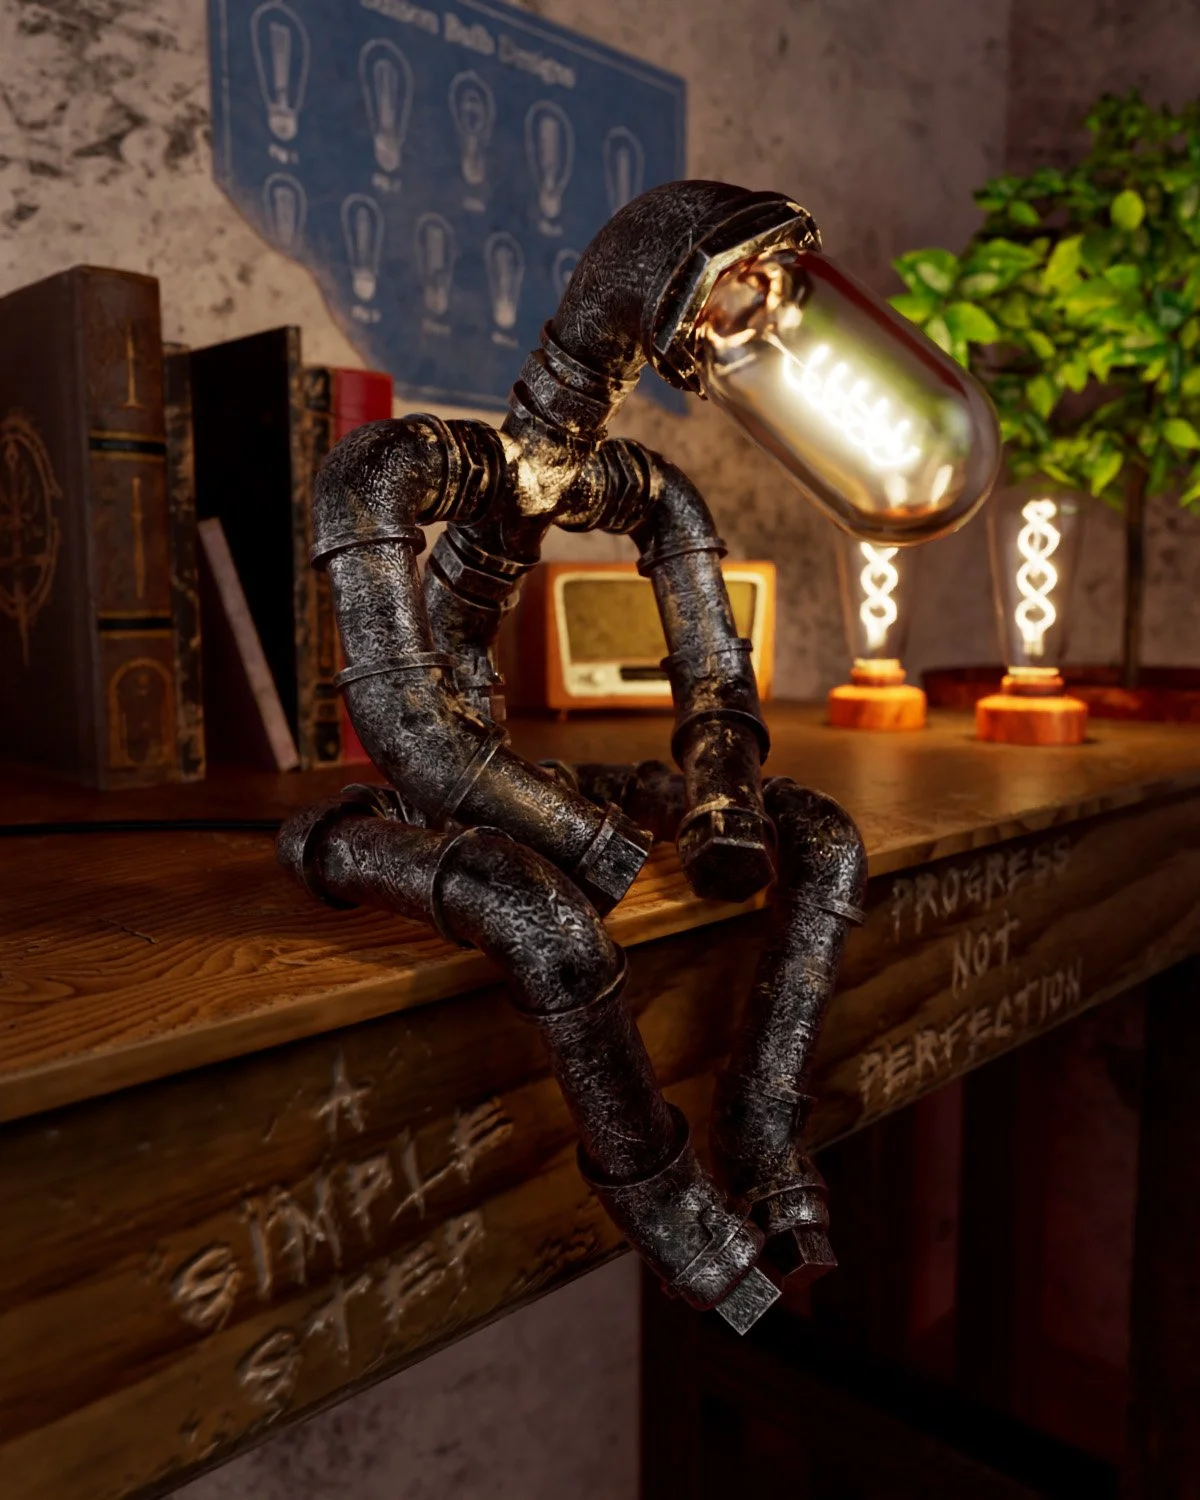
The Animation
After completing “The Lamp Man” scene, it was time to animate it. So the process began all over.
This time I had the liberty to take things a little bit differently. I still sketched out what I wanted to do, but this time I decided to do it on the computer. Using my drawing tablet, taking my time, and utilizing the full space for more detail.
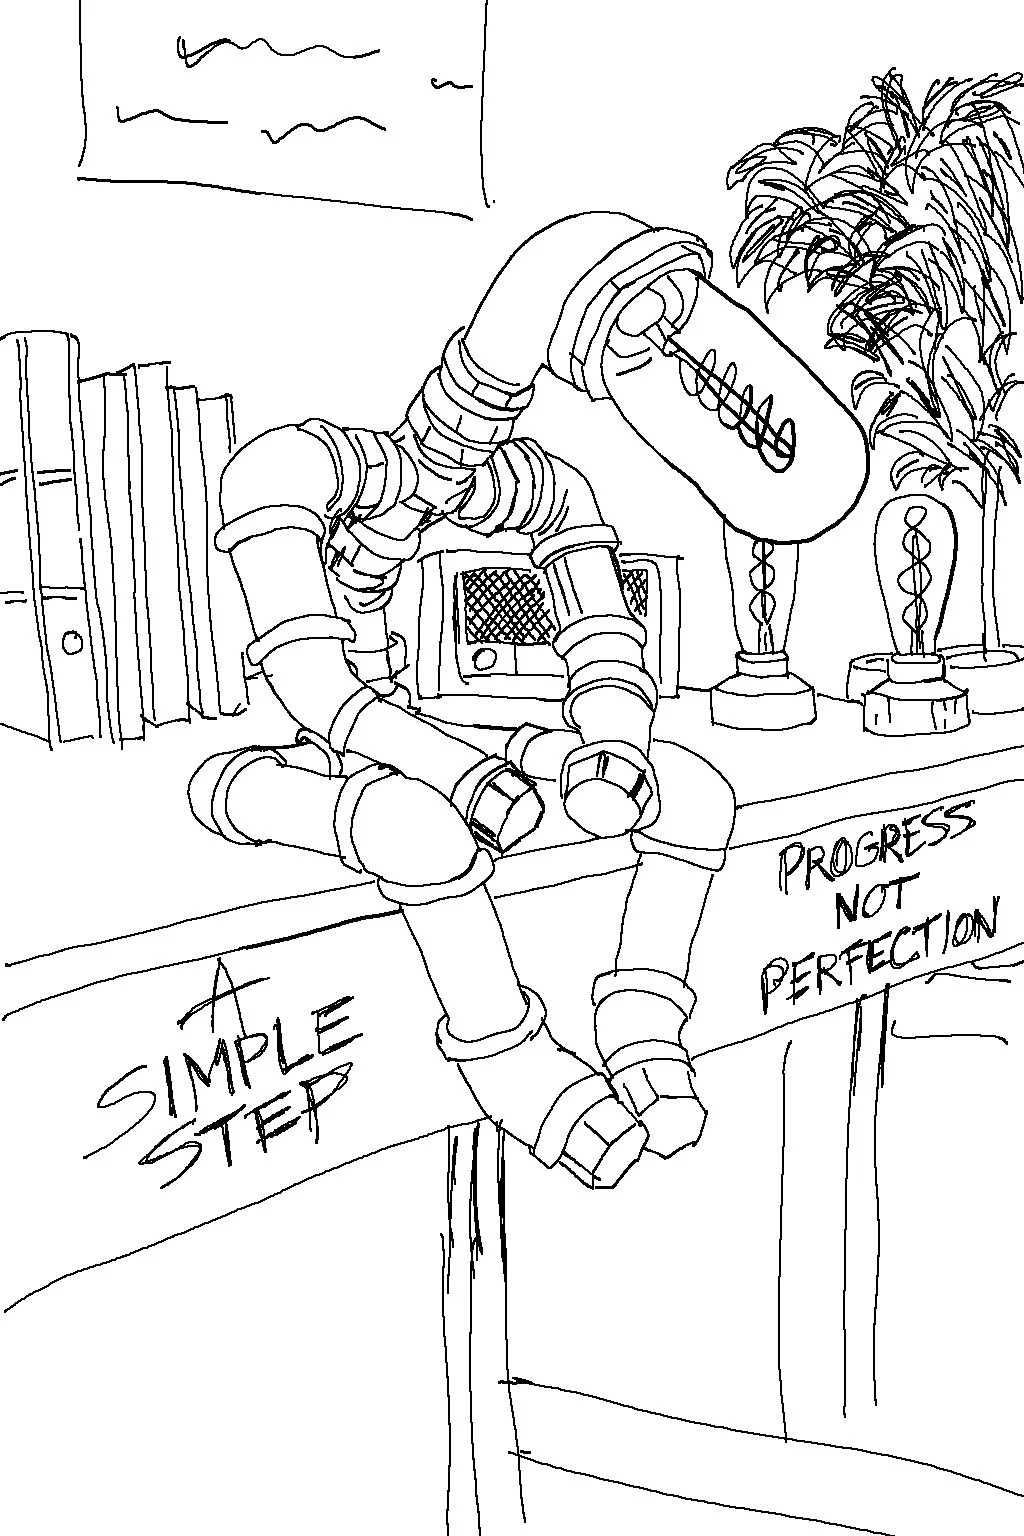
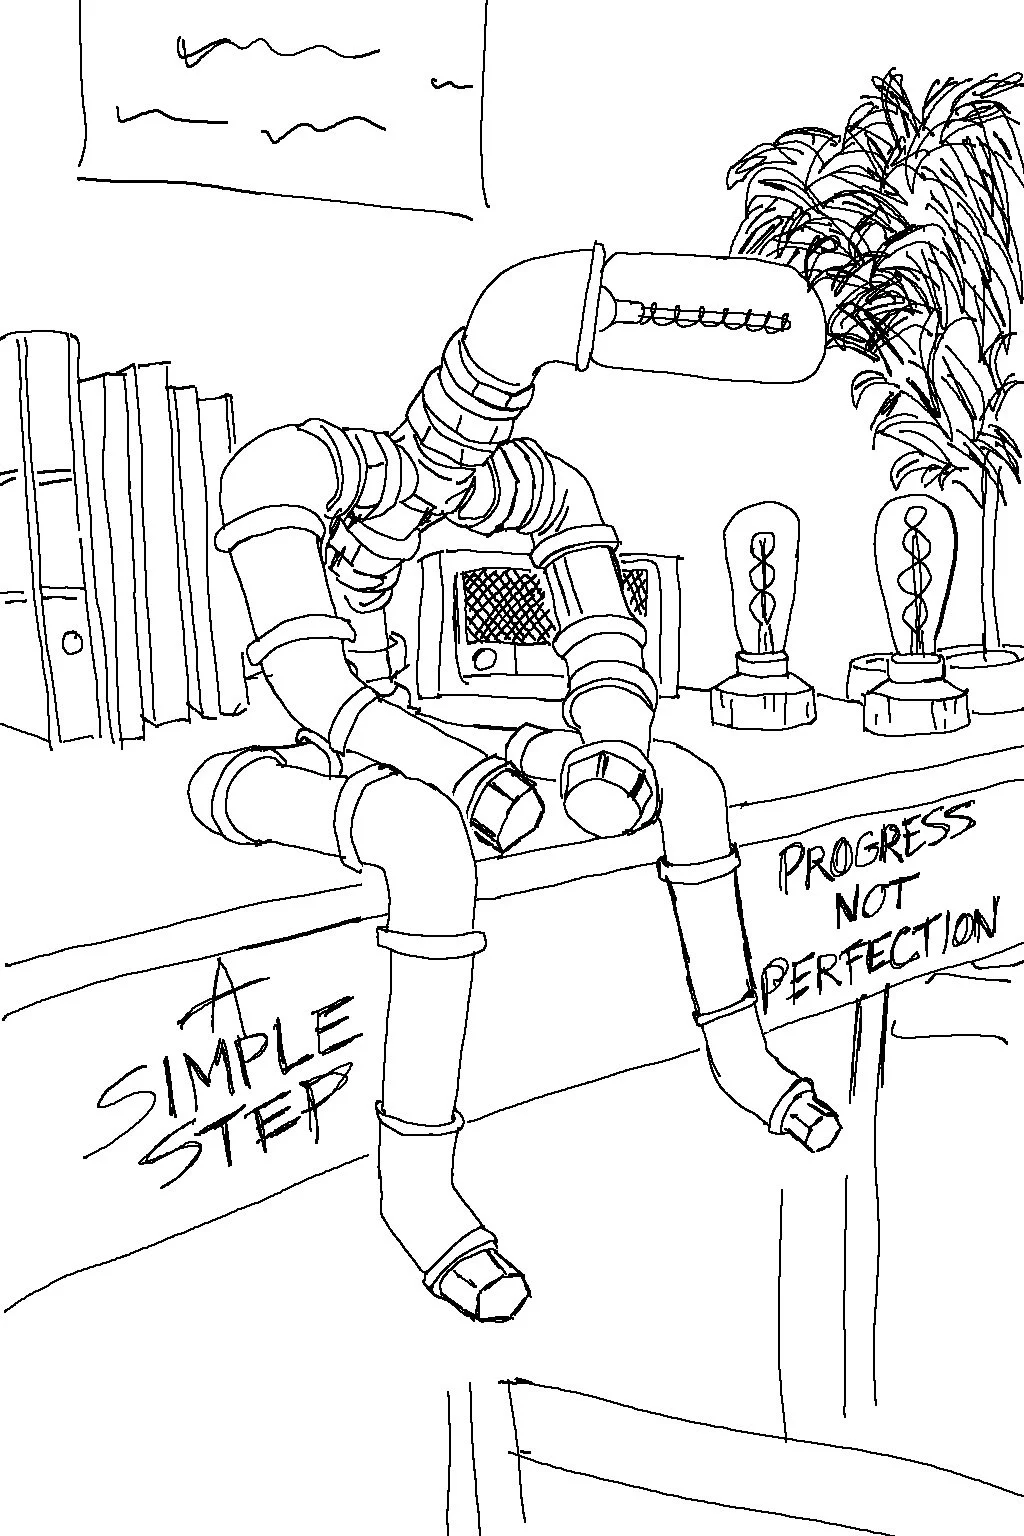
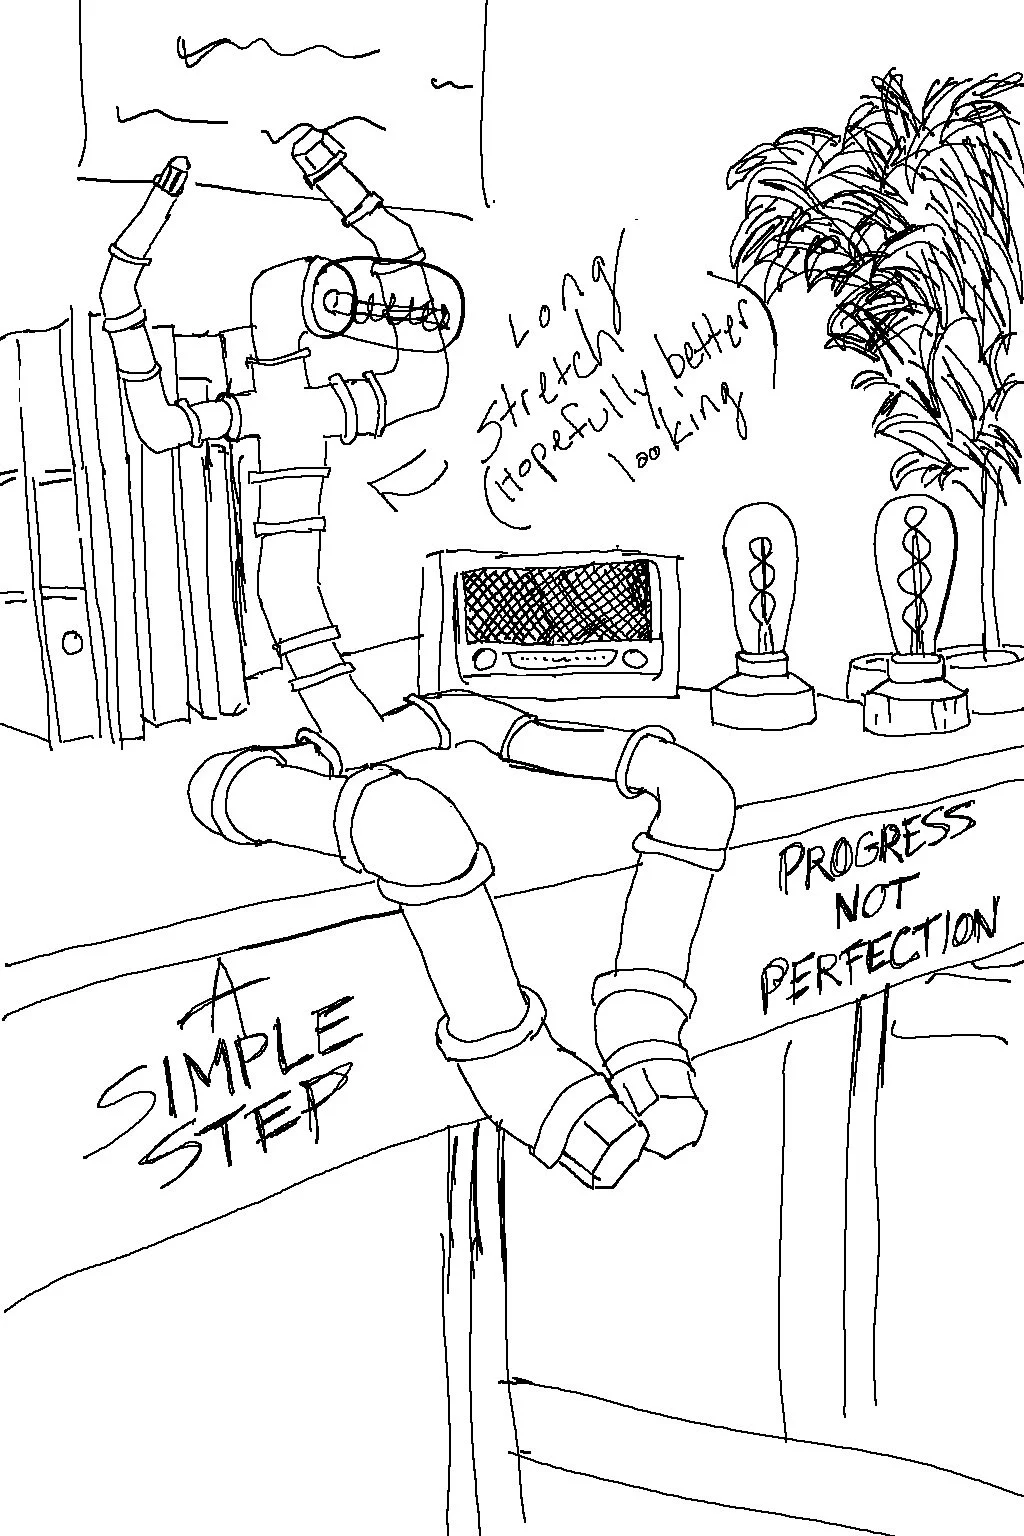
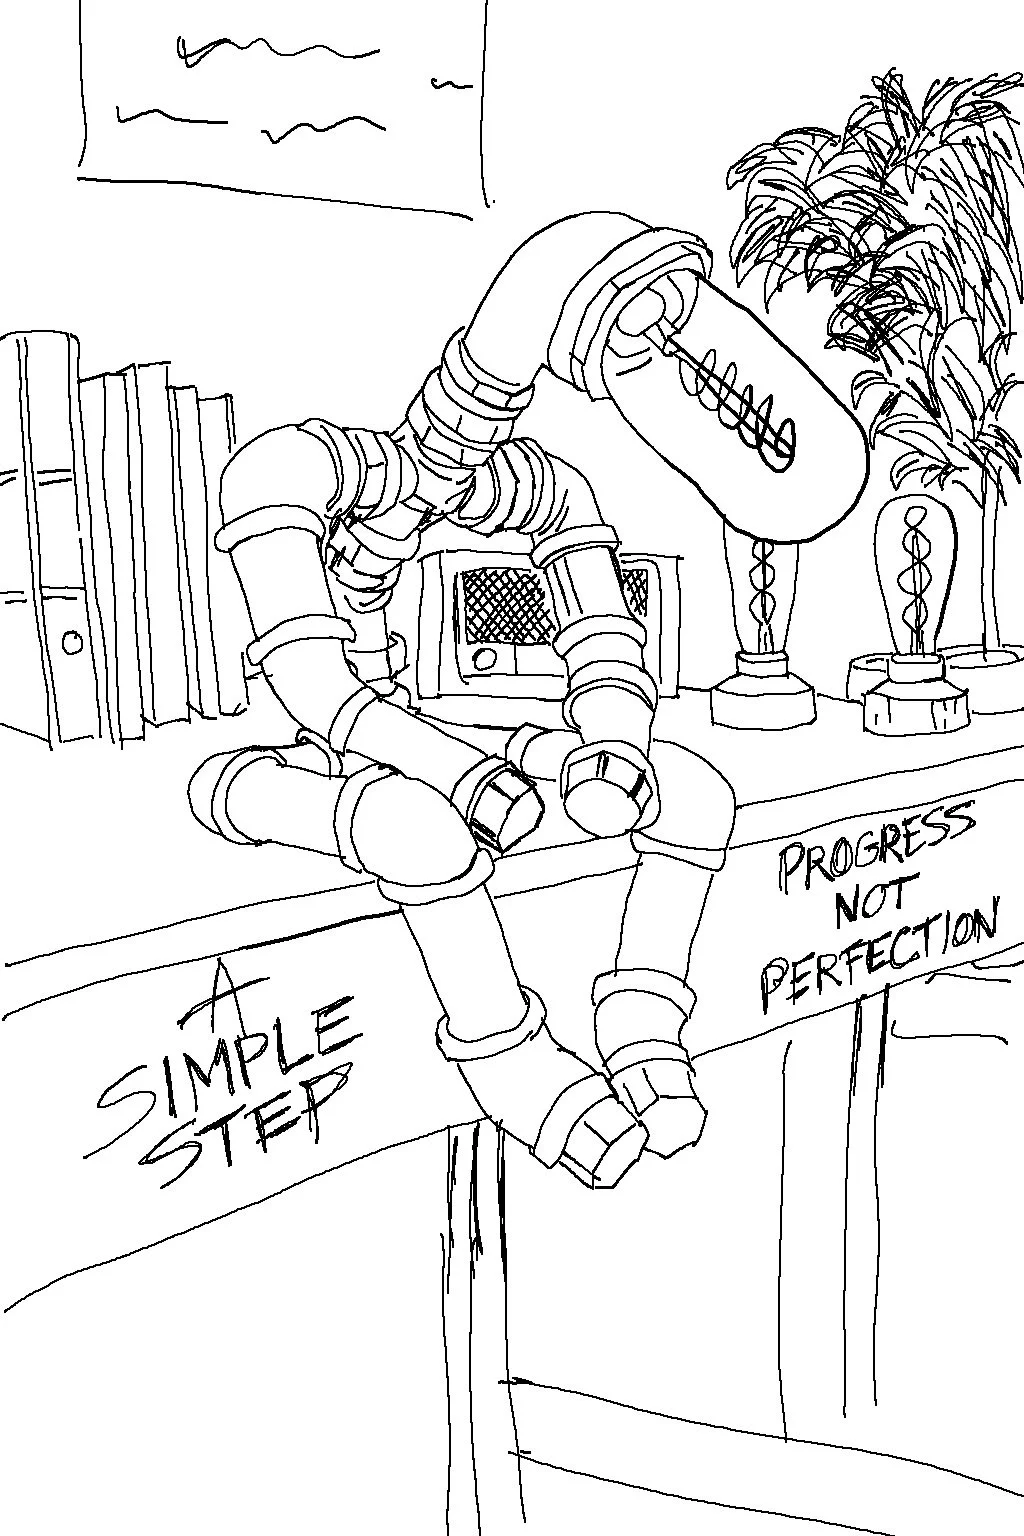
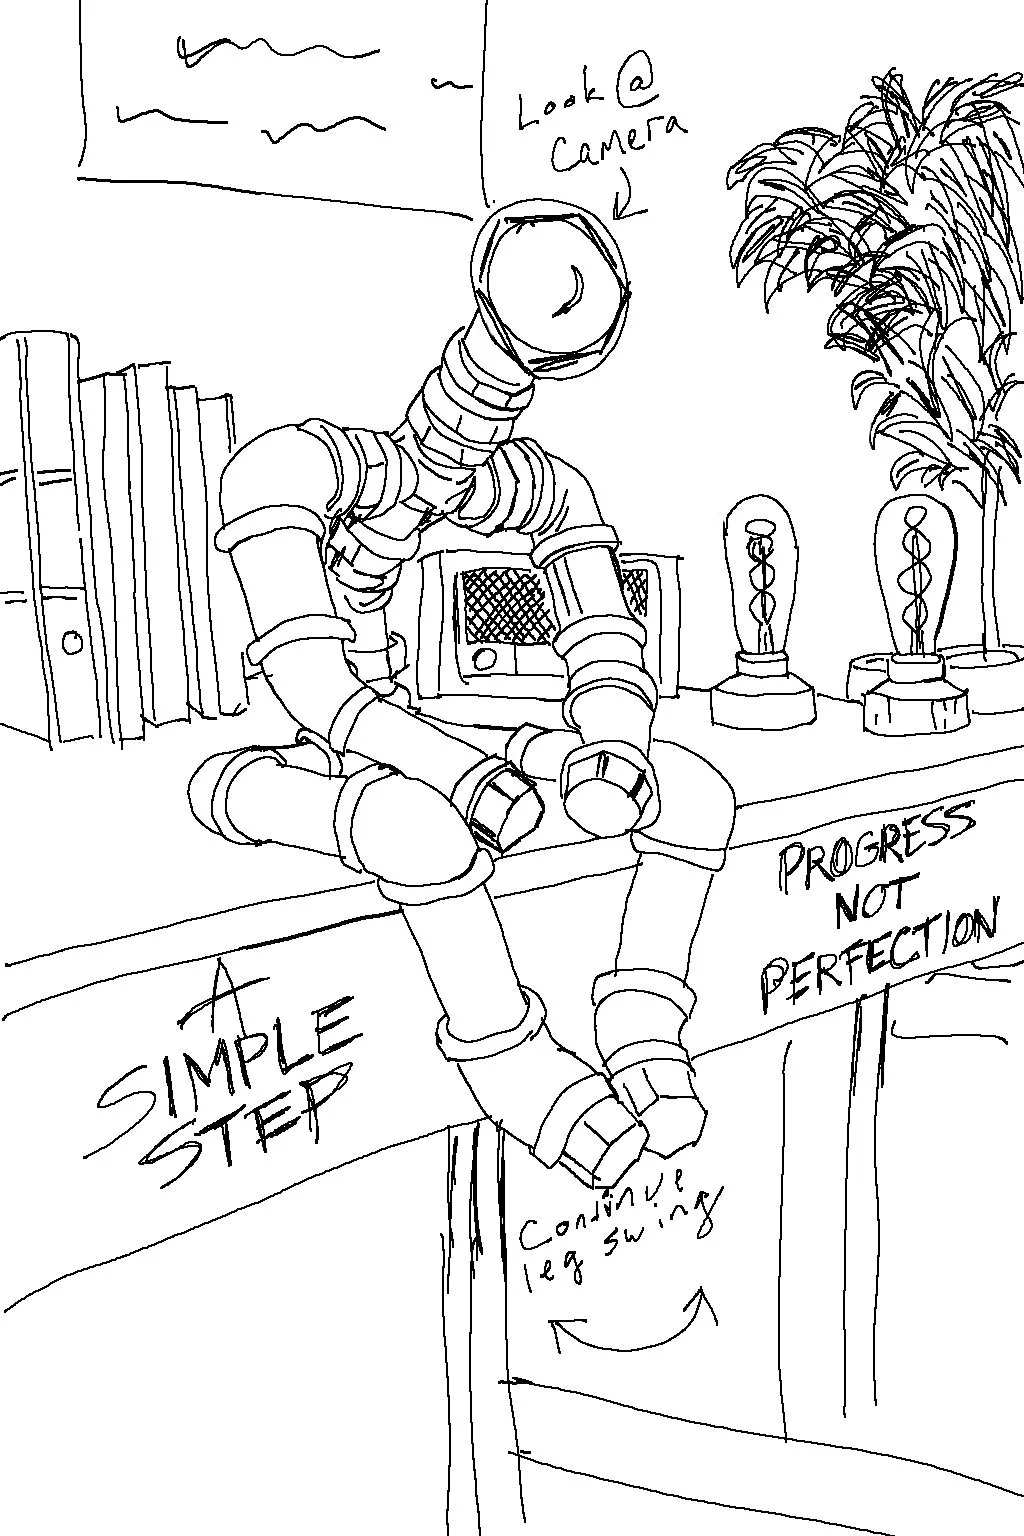
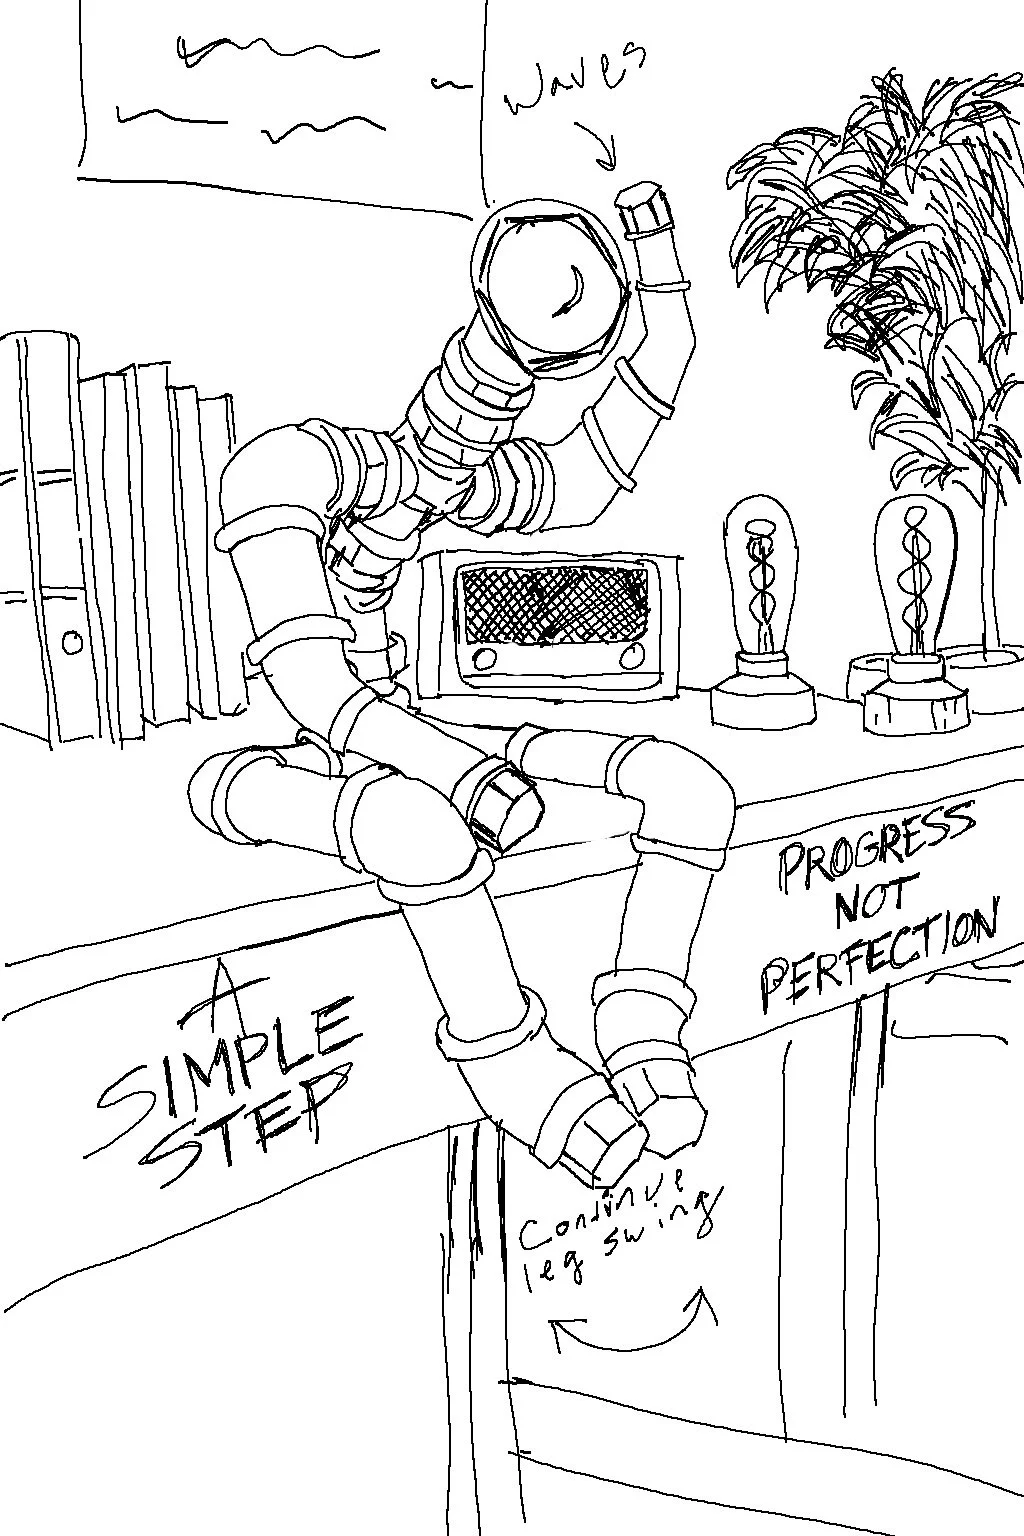
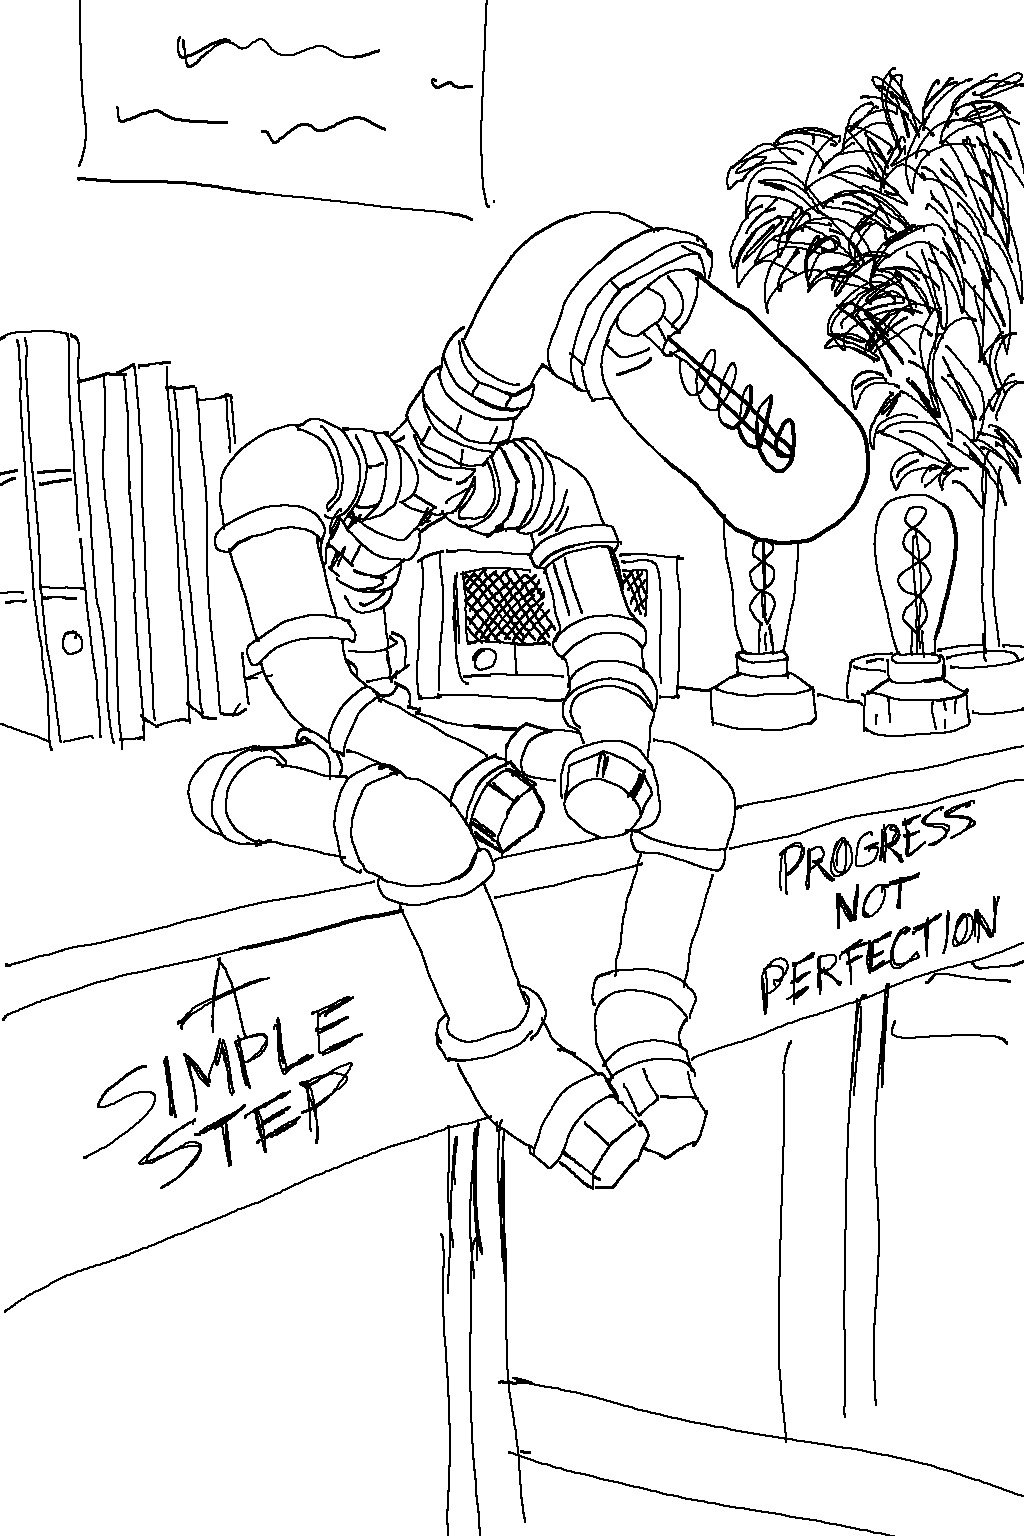
And with that, I got to work.
Results
In the end I gained more than I set out to find and came to a finish with far better results that I could have expected.
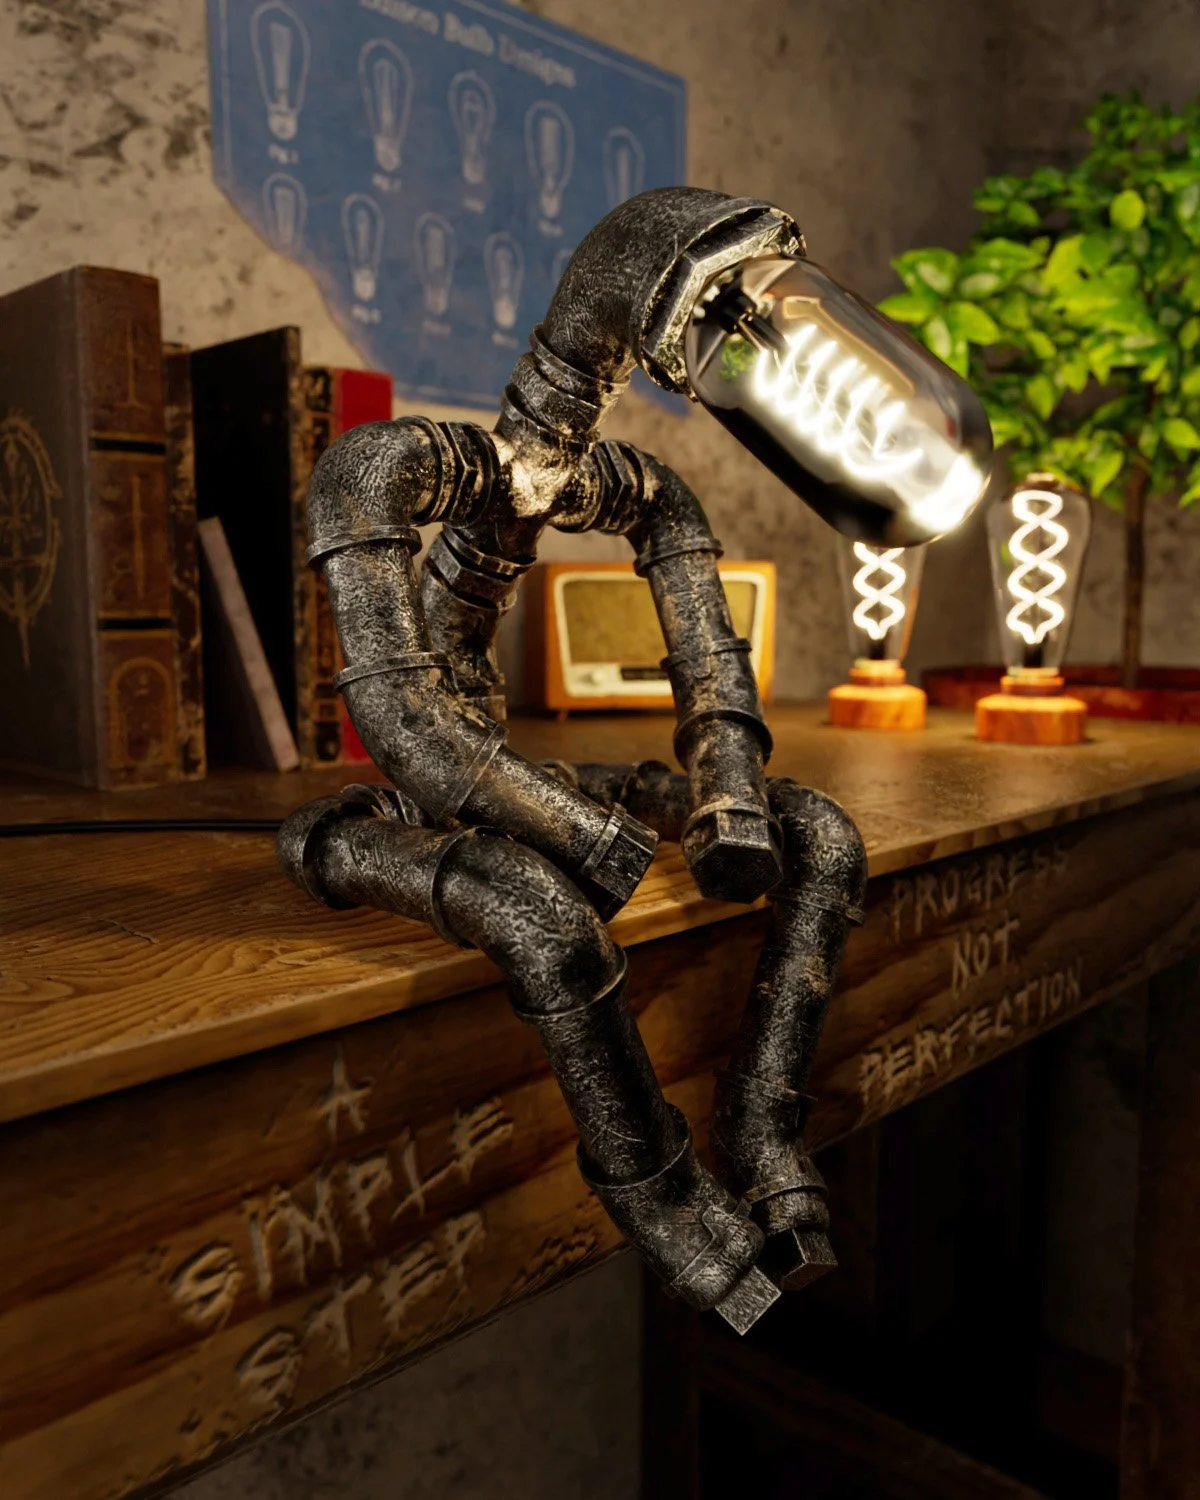
Stats
TOTAL POLYGONS
Low Poly: 32,118
High Poly (2x Turbosmooth): 527,931
LIGHTS
Total Count: 9
Kelvin Scale Used: 3750
TEXTURES
Texture Count - 1,006
(200 × 5)
Color, Roughness, Metallic, Height, Normal
+
6 Standard
TIME
Total Time Spent - 1 year
Approximate Time Spent - 320 hours
Actual Time Spent (If there had been no problems) - 240