How It Works
Gate Valve
The Challenge
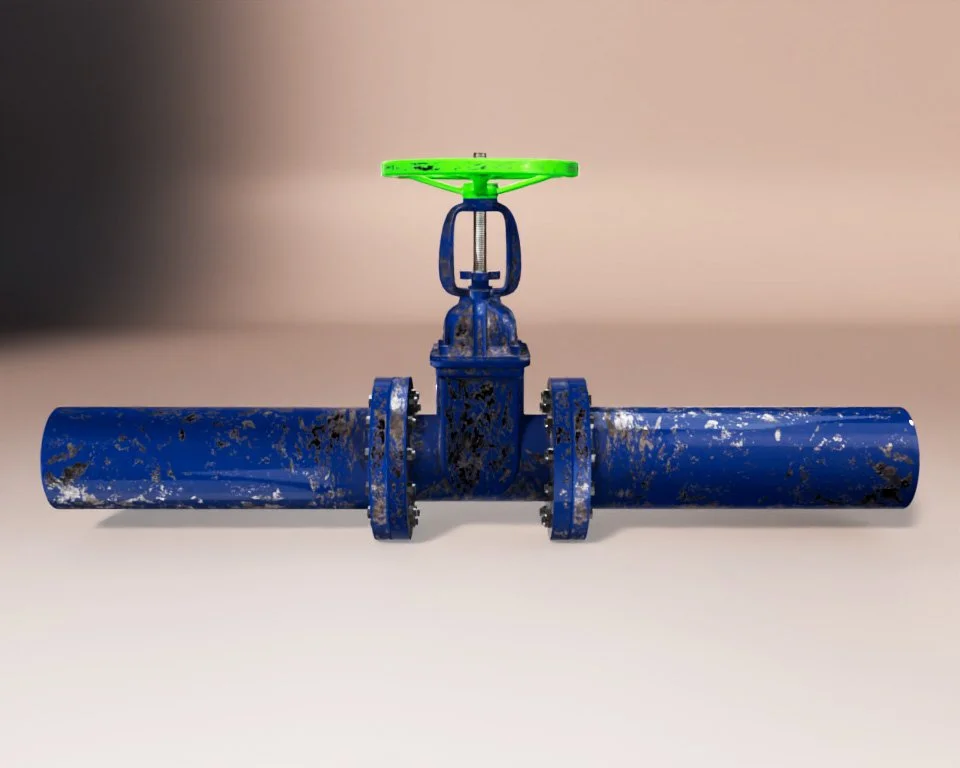
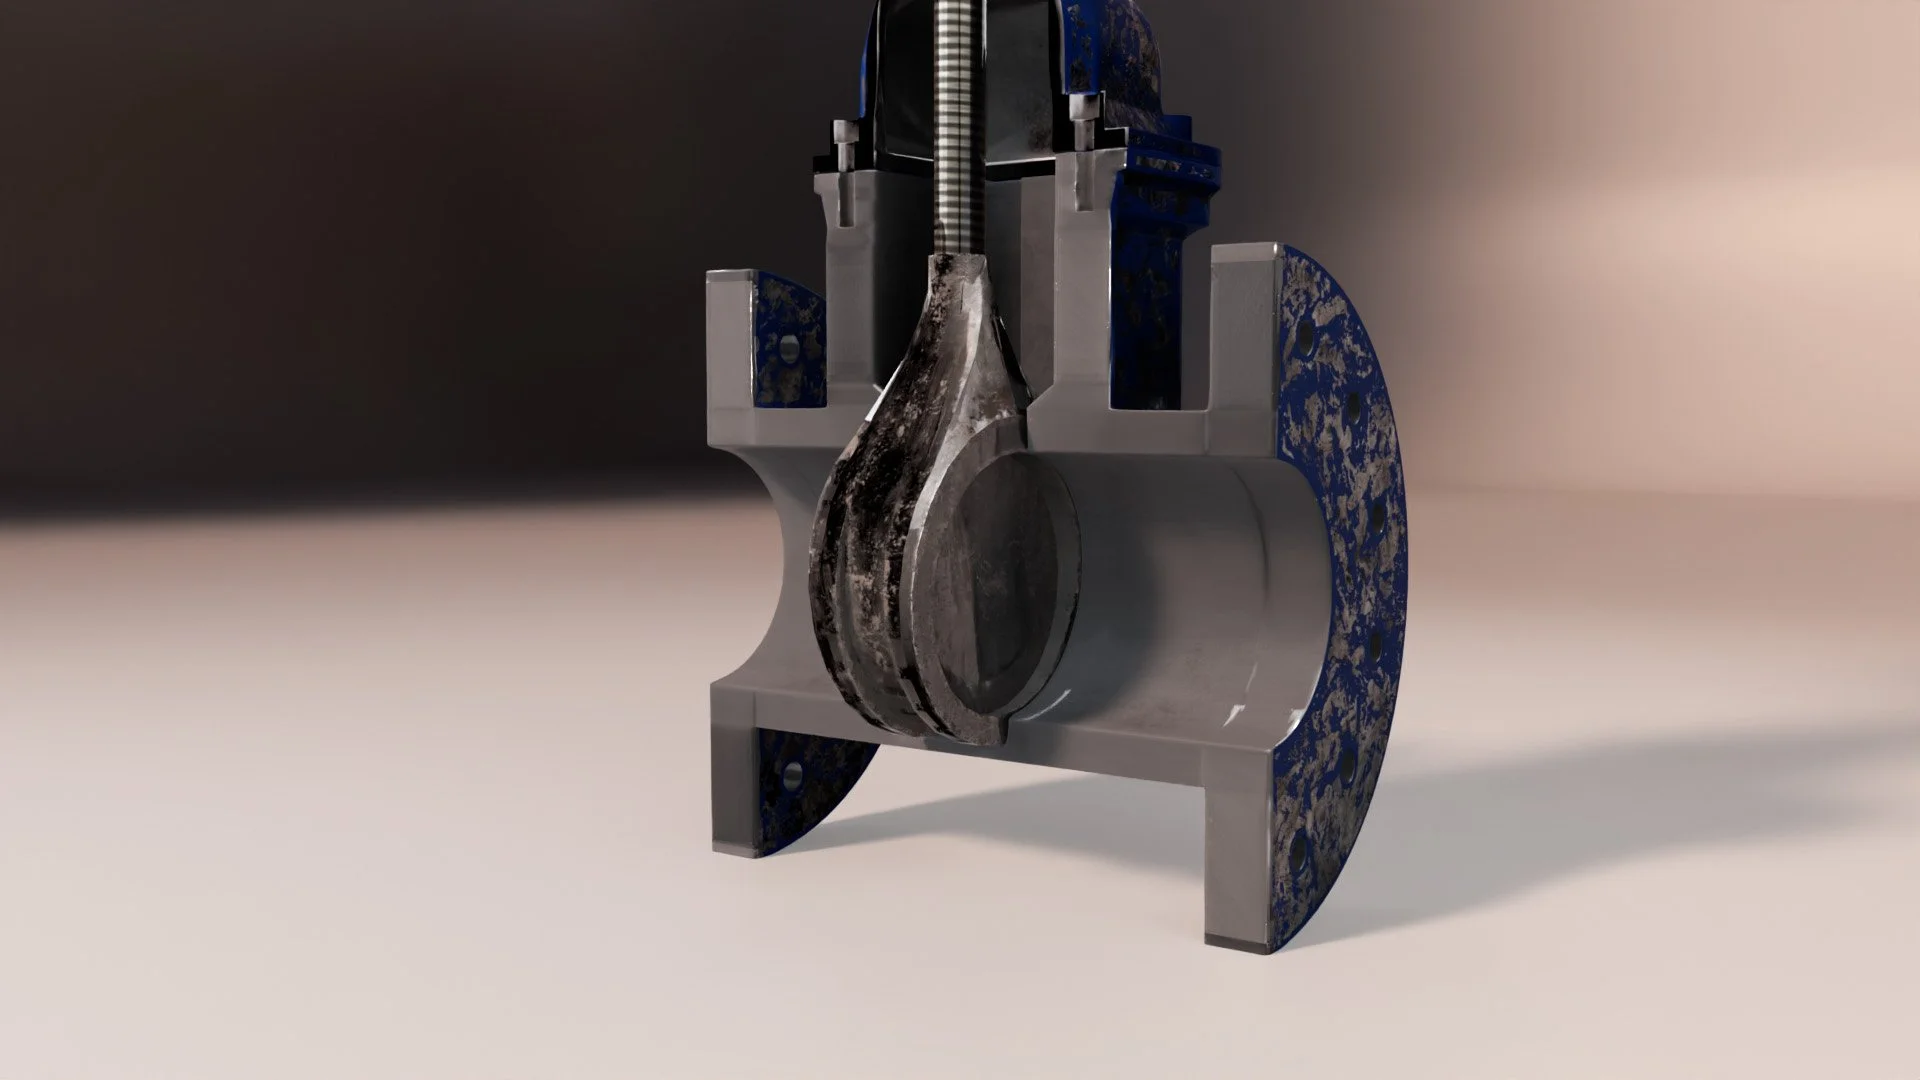
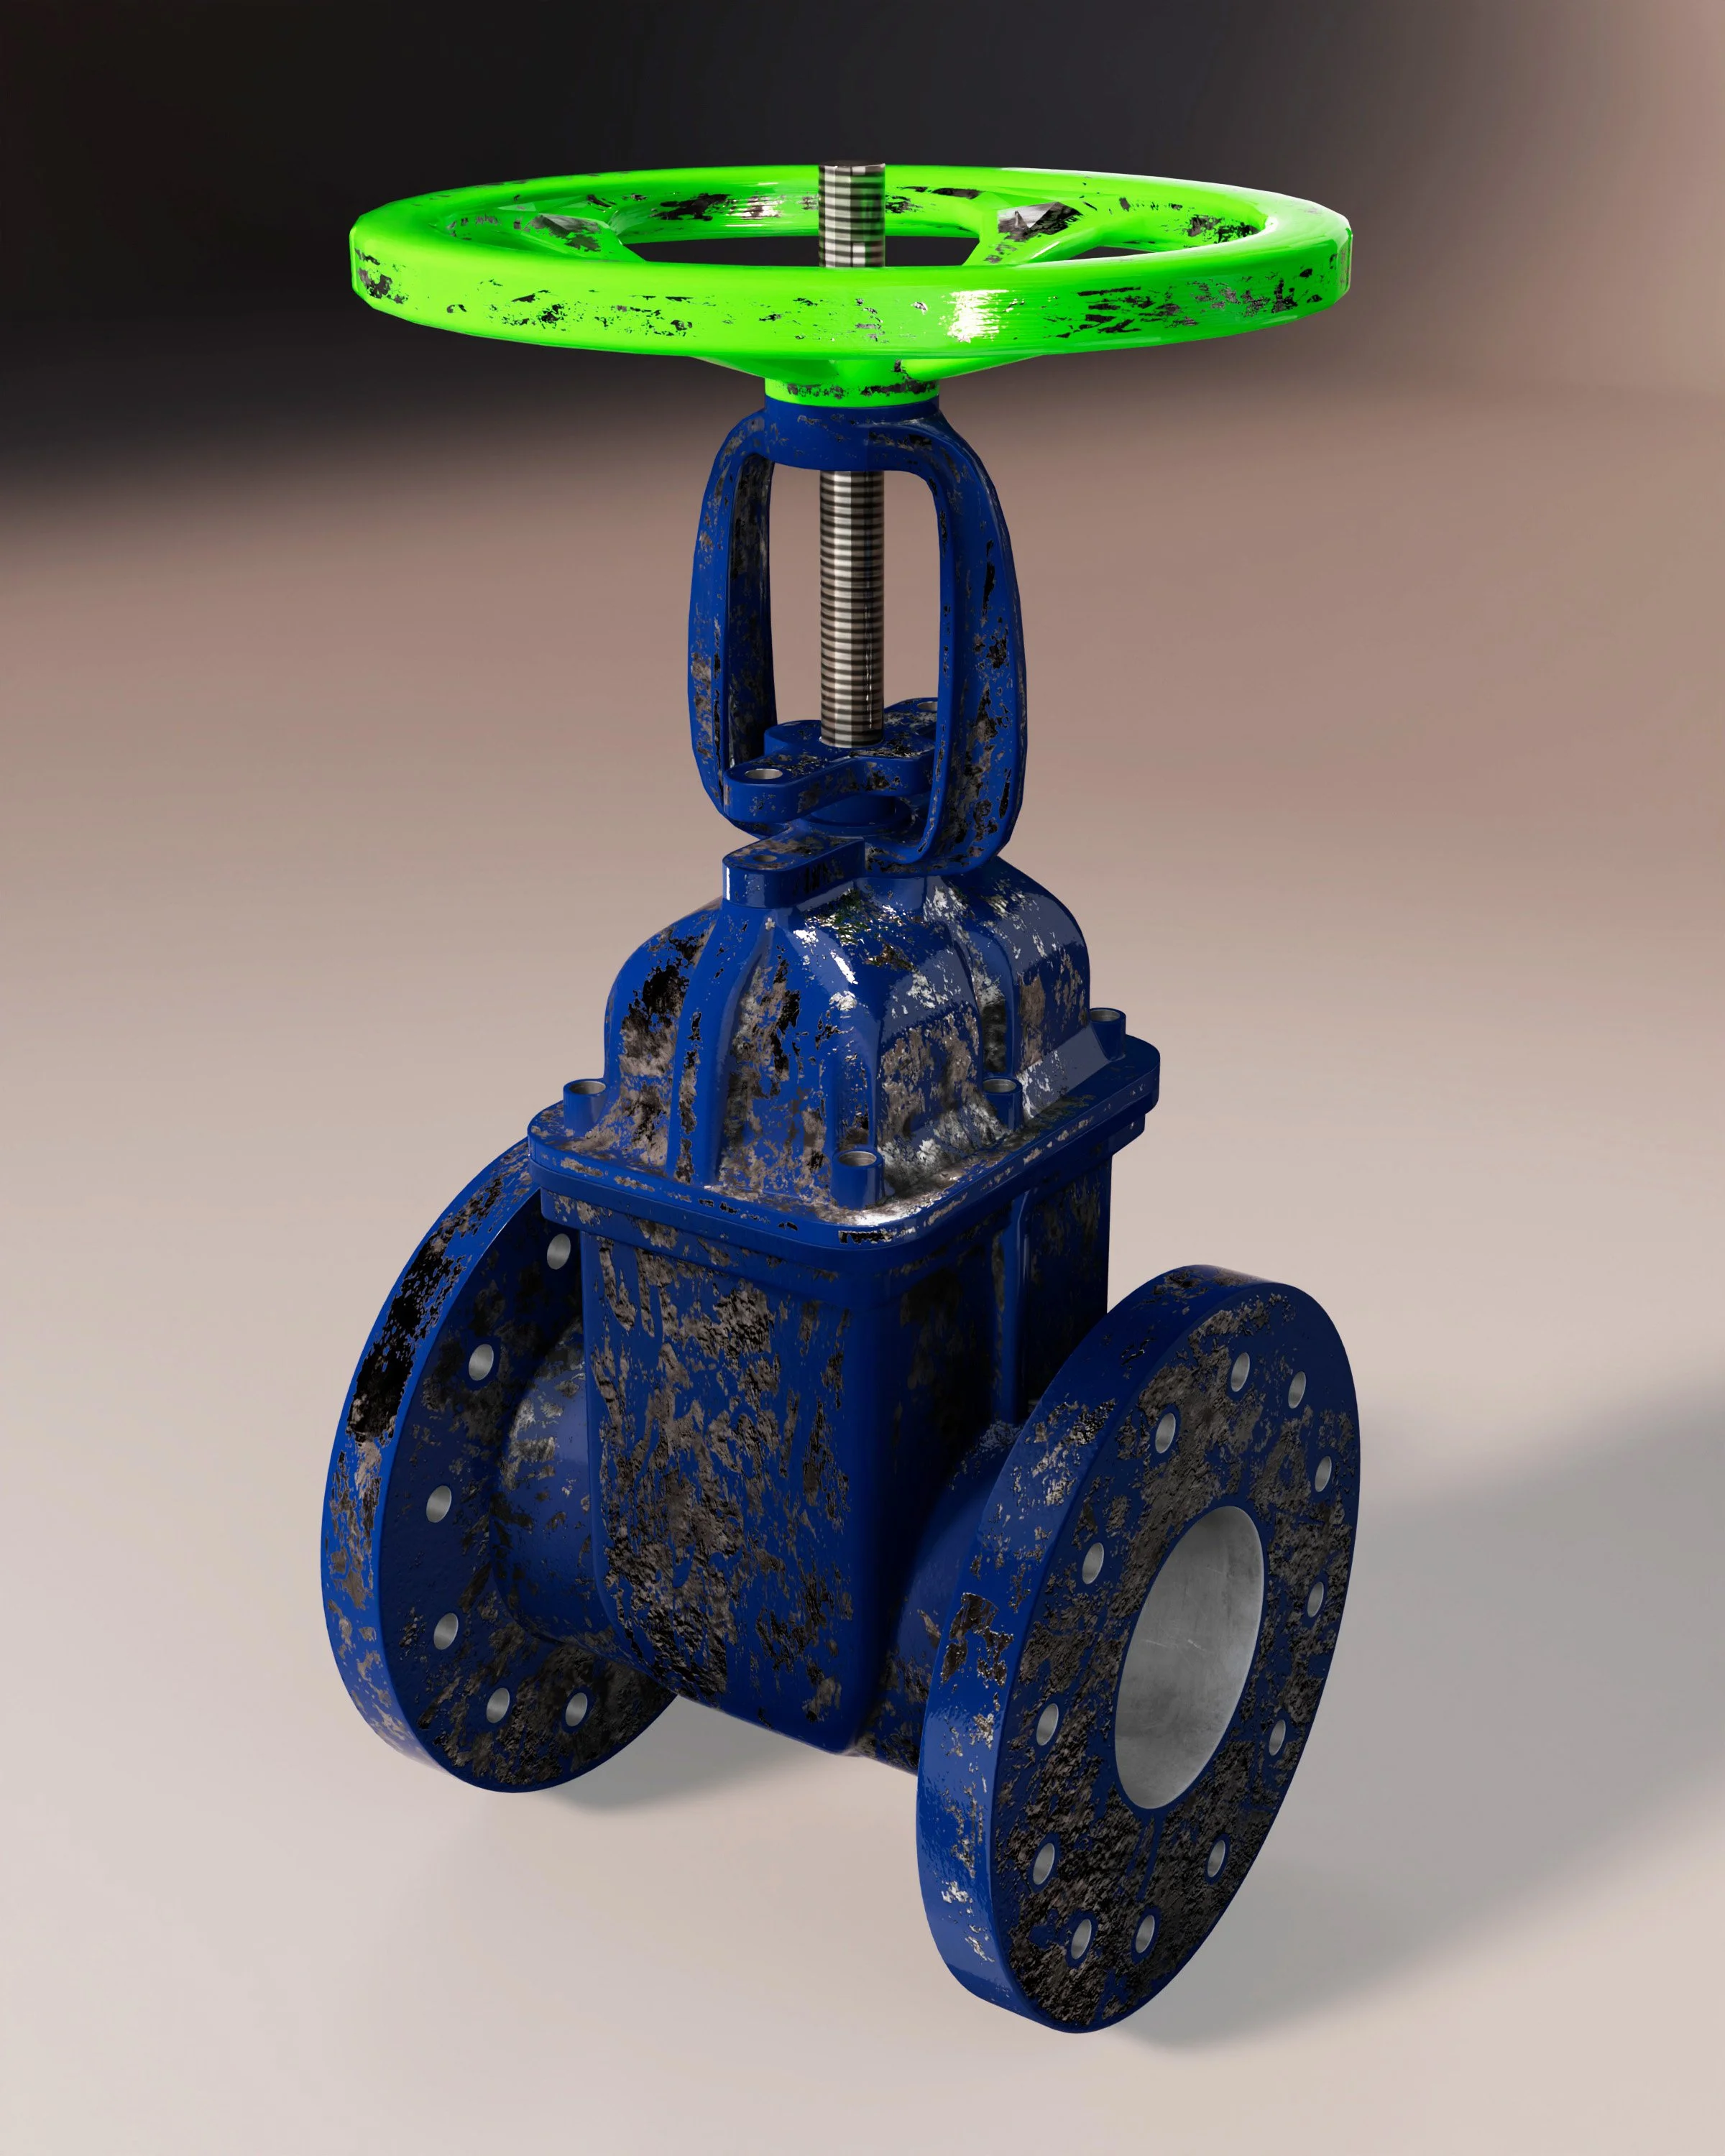
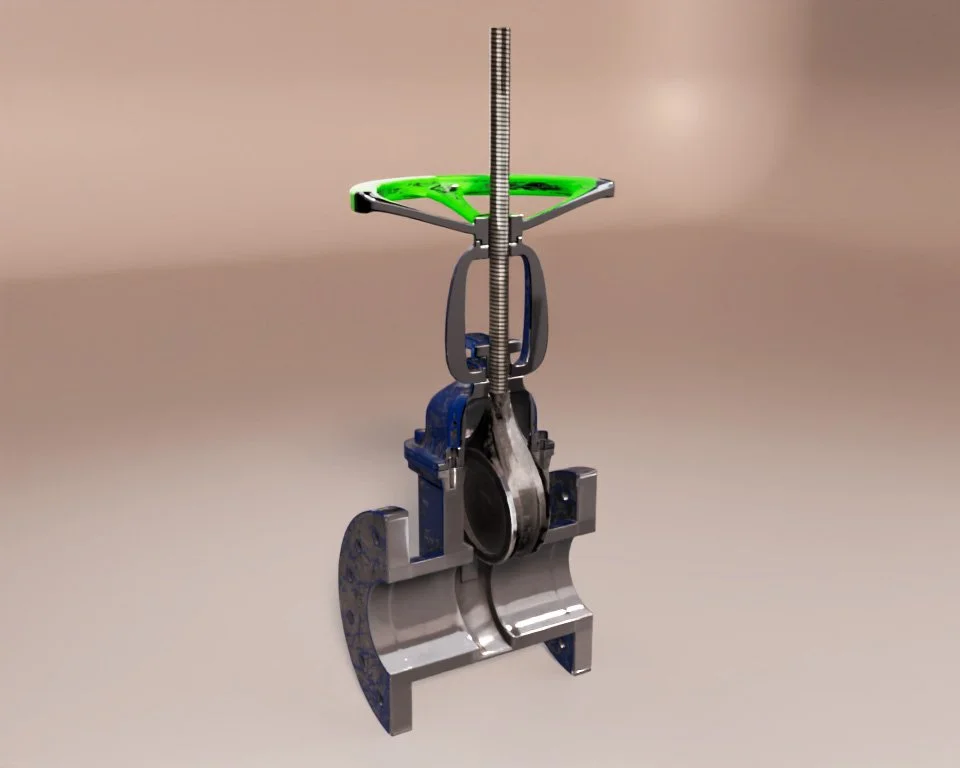
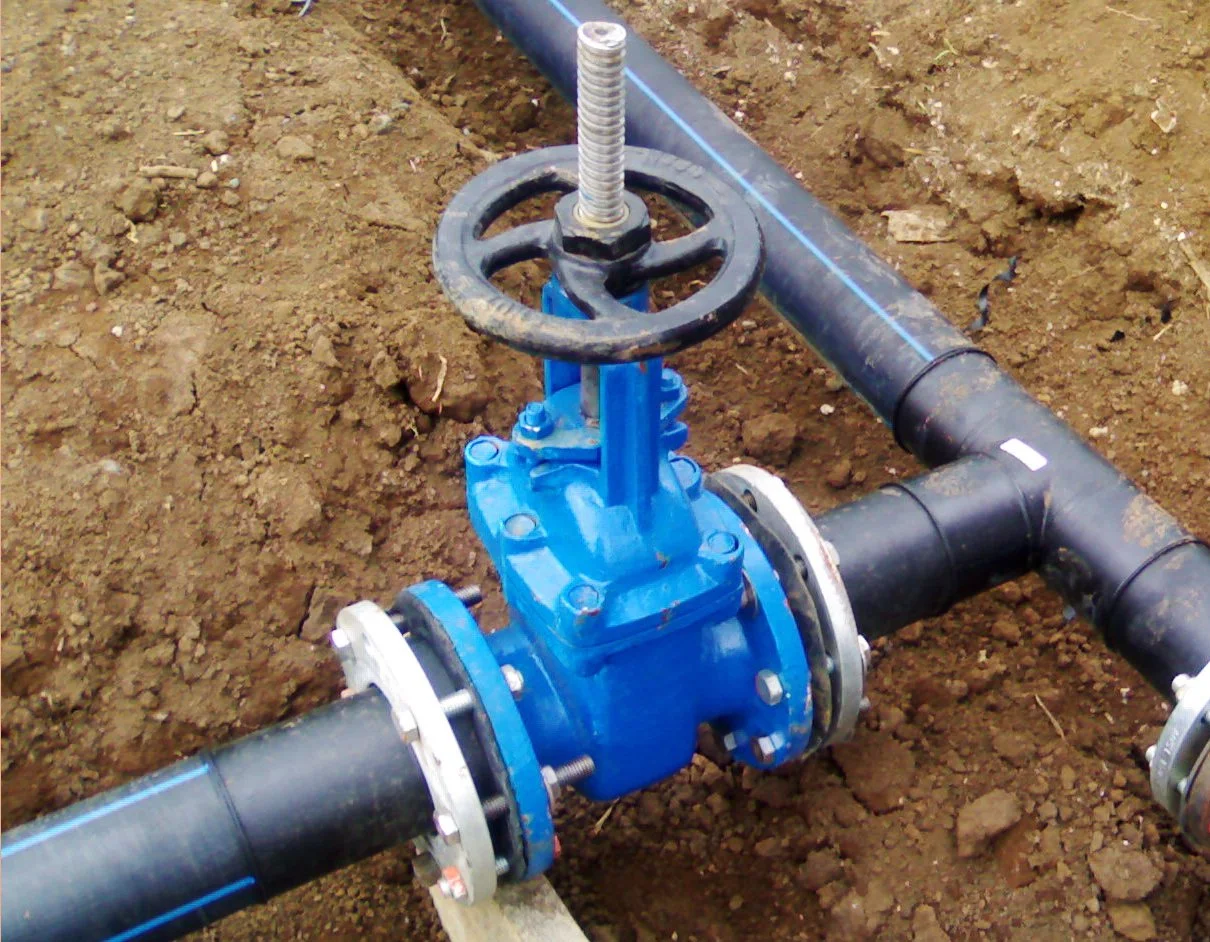
I have always had a fascination with the show, “How It’s Made”. I have seen many things on that show that explain so much about all the little things I’ve never thought about in the world and how they’re produced. This challenge gave me the opportunity to create a presentation for the Gate Valve, to show how it’s assembled, and the process it serves out in the field. I had the option to choose between a variety of valves and I selected the Gate Valve because of it’s visible functionality and straight-forward design.
This project was very direct in instruction.
Group up with fellow classmates, research the valve assigned, and write a script. After the script is approved, each member of the group will separate to execute the task individually. The goal is to model the Valve and its individual parts. Animate the valve in its entirety. Demonstrate an exploding view where all the parts separate and then reassemble.
Utilize my knowledge of the 3D workflow pipeline to:
Model
Texture
Animate
Narrate
Use Post Processing
Create a video that explains the function of my particular valve selection.
The Script
Putting planning into effect, I went straight to work with my group, where we decided on how we wanted this project to work out. Though there were some bumps along the way, we were able to designate tasks for each member to pursue and come together to write the script.
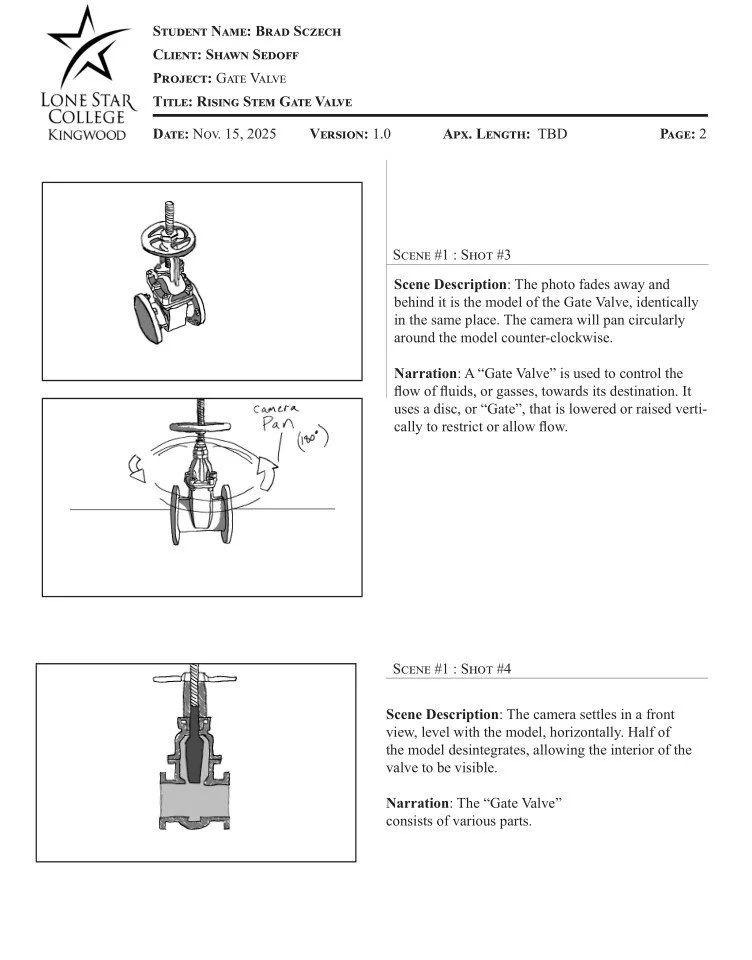
There were 12 pages to our script. My team members gathered the research and I was designated to write the appropriate information for each slide based off the resources they had acquired for me. I was very happy with the amount of material I was given to work with. A great team makes a task flow so much easier.
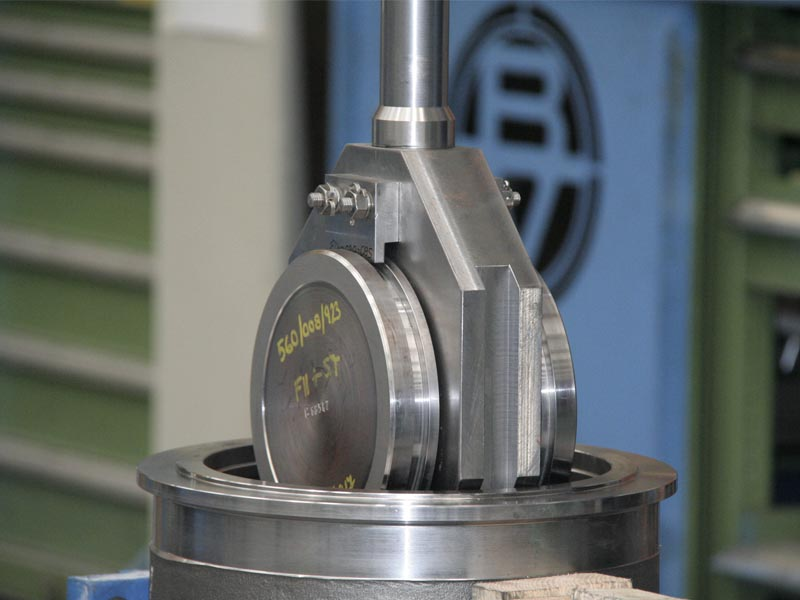
References
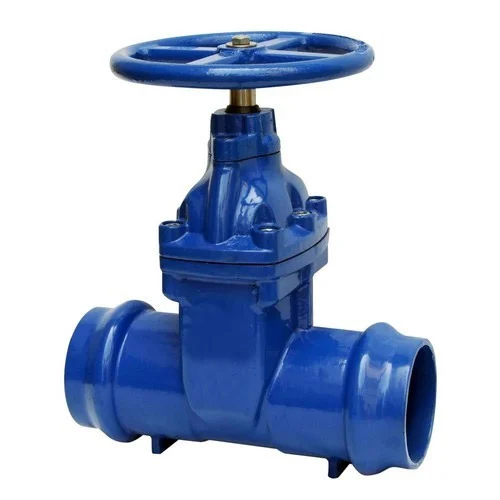
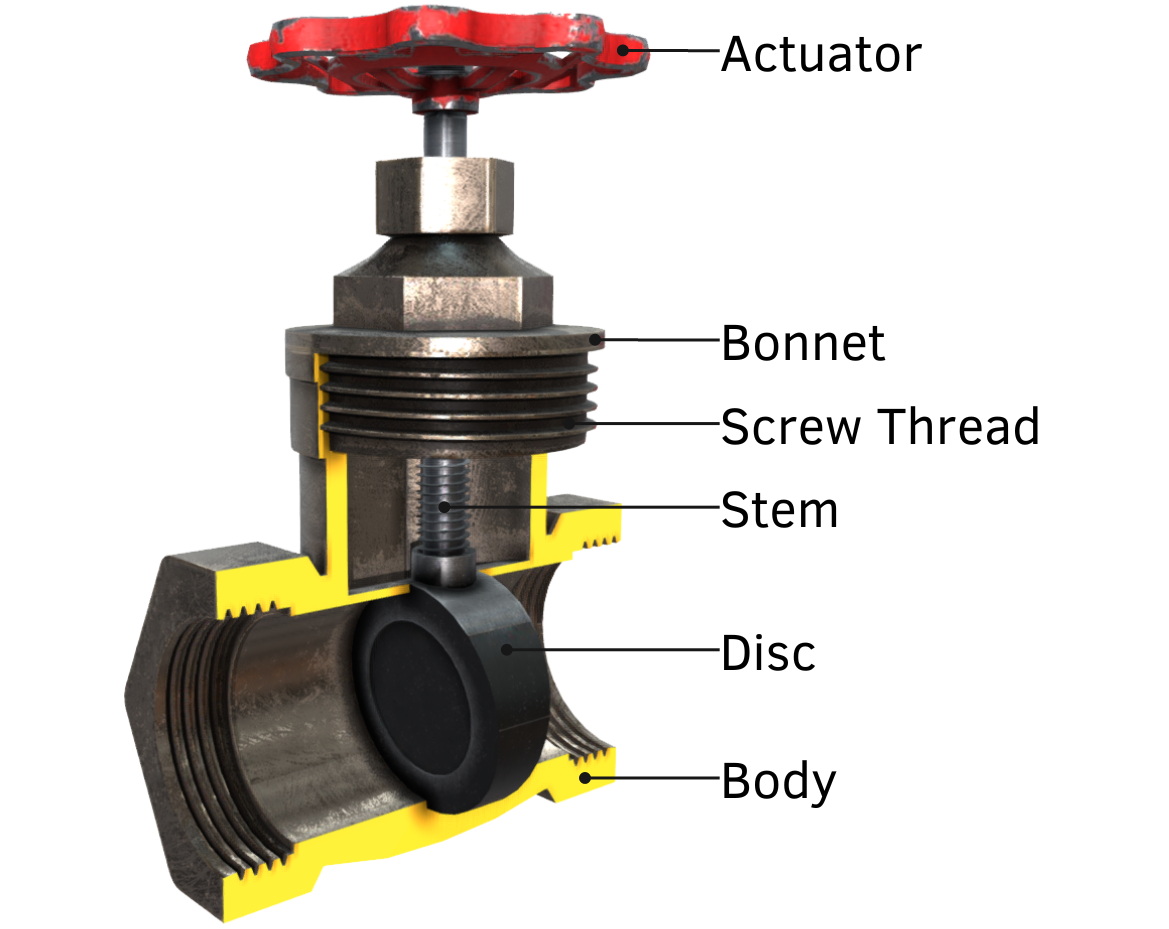
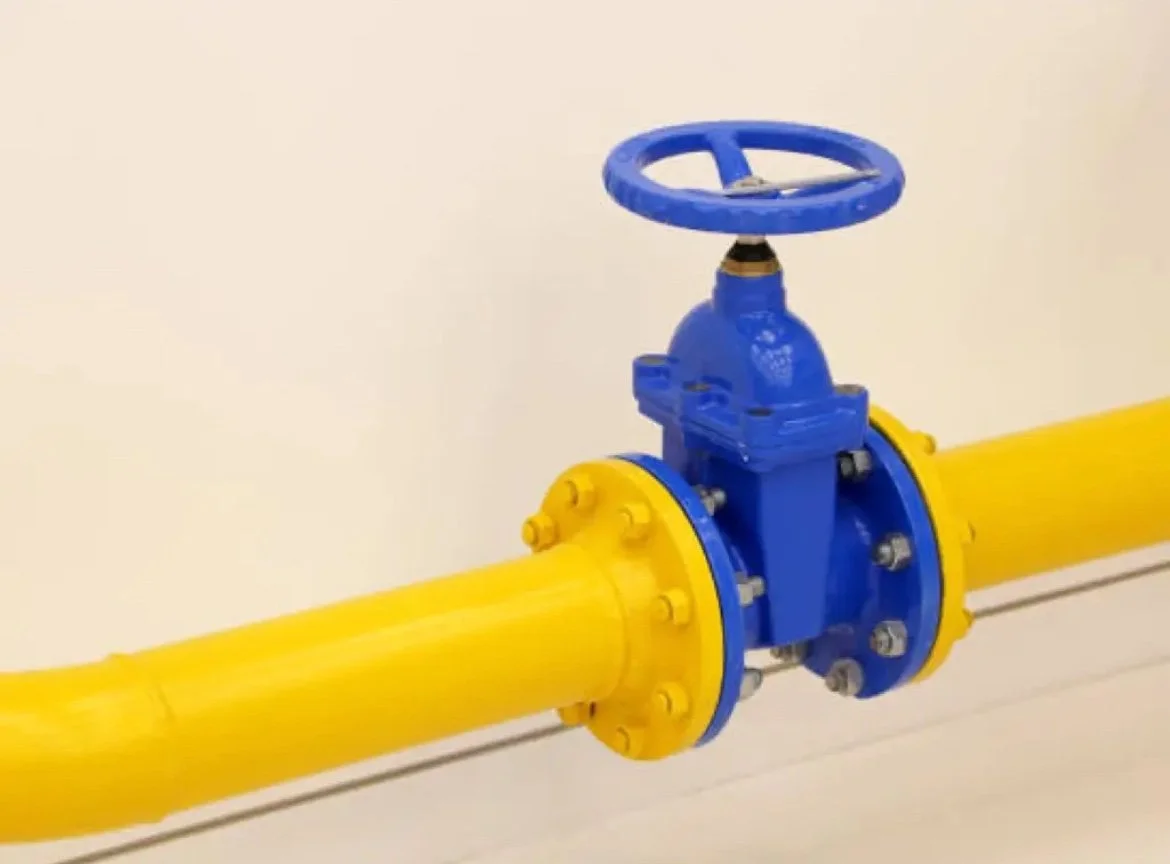
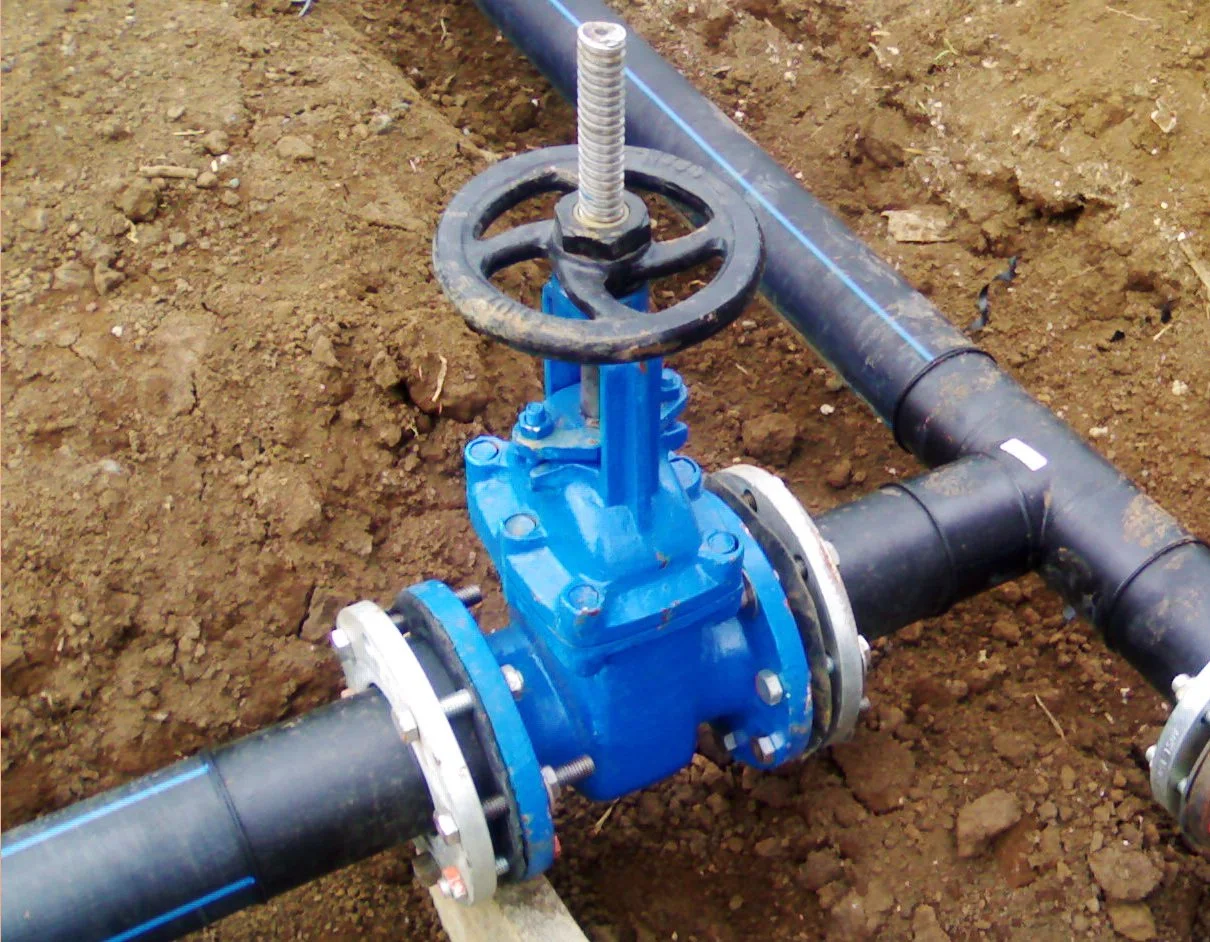
The references the group used in our discussions became a solid guide for everyone to use once we isolated into our individual work and help greatly to achieve all of our end goals; and we had PLENTY of them to use.
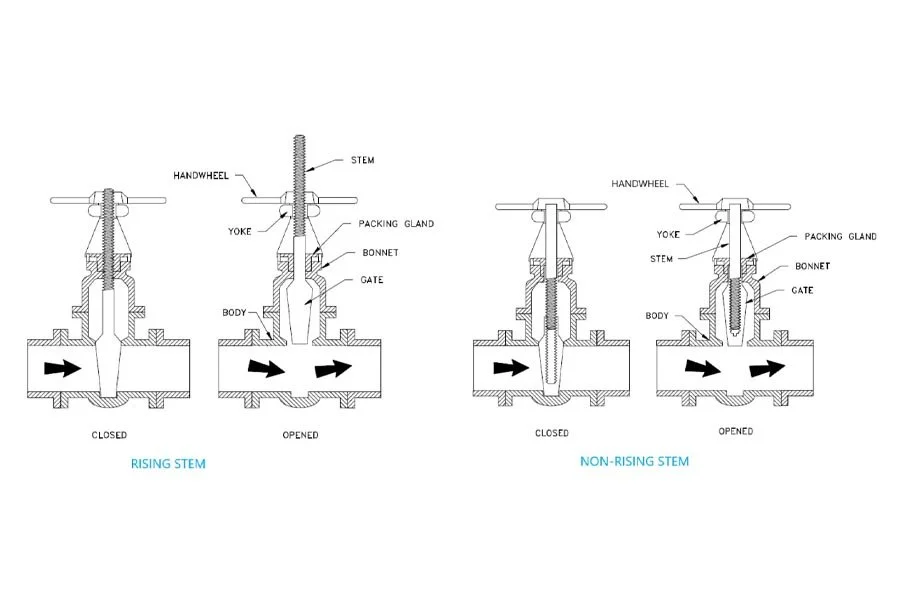
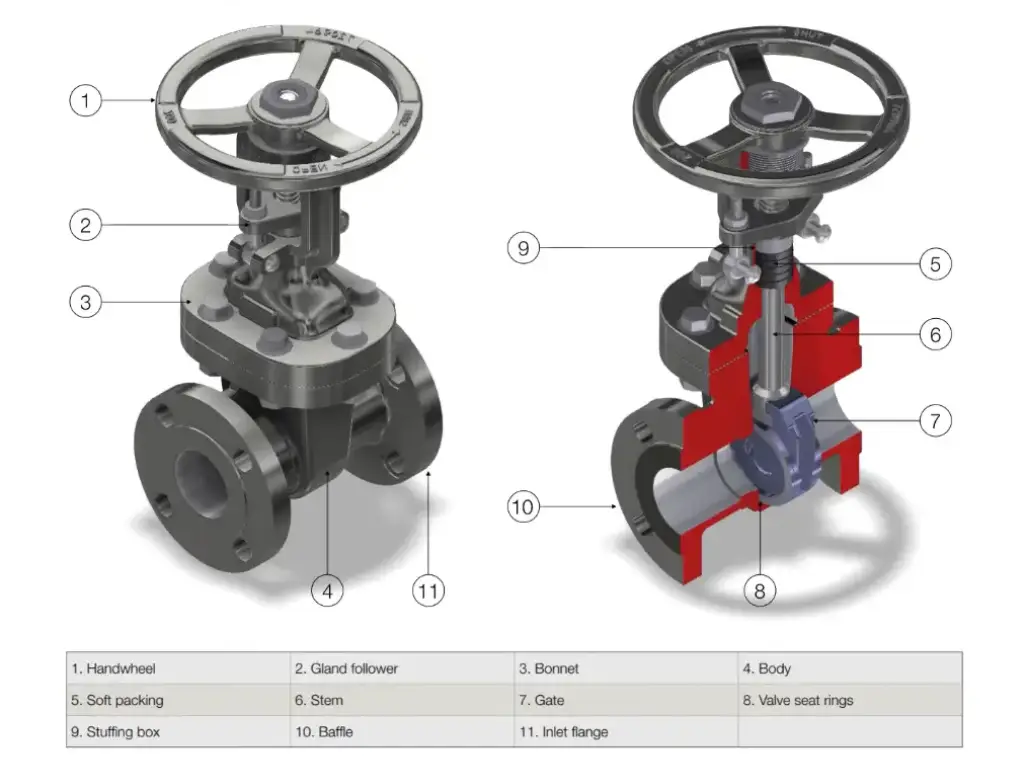
Planning
My sketches were drawn up as I was compiling the group script. Everyone had to do that part on their own. My process for sketching is usually demonstrated twice. Once in the process itself and then broken down to use in my animatic. Once again it was time to gauge how long this was going to take and the effort that was going to be put forth to complete this task.
Building Process
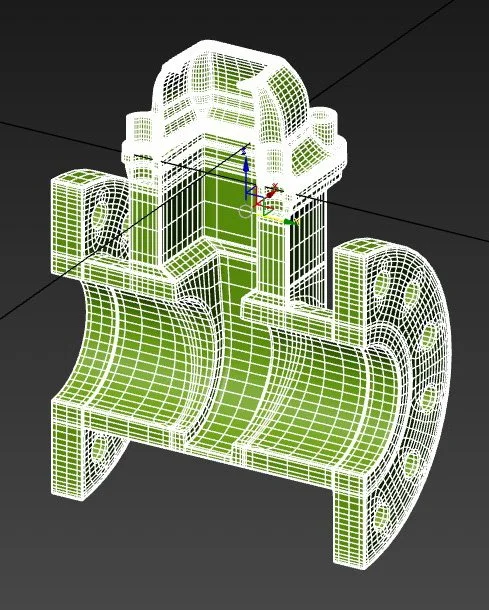
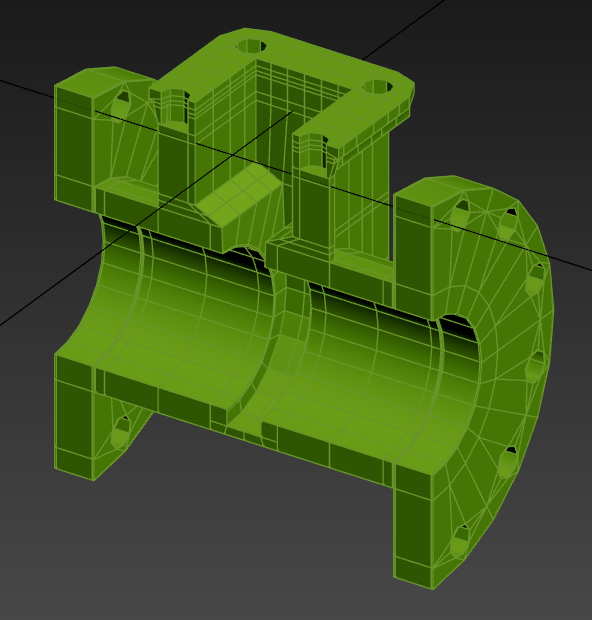
The 3D workflow is like cooking. A perfect meal has to be cooked at just the right temperature over the right amount of time. The building process can be arduous and tedious, but if a model is built correctly, it makes the rest of the process a breeze.
High Poly
Low Poly
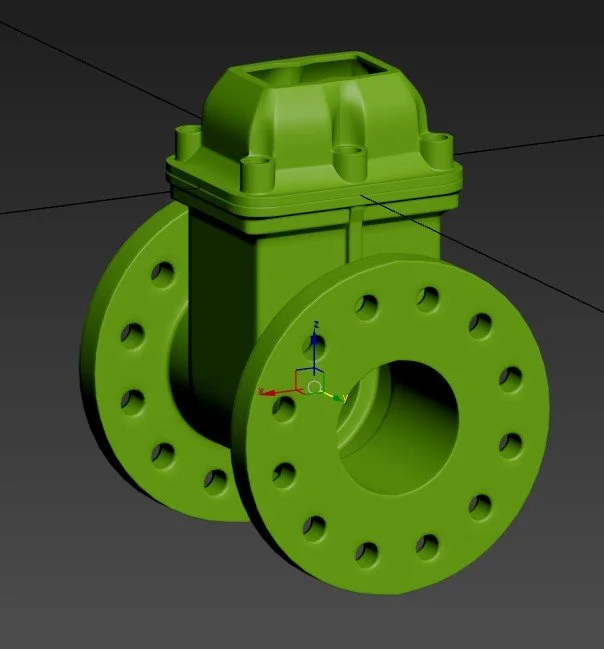
Smooth
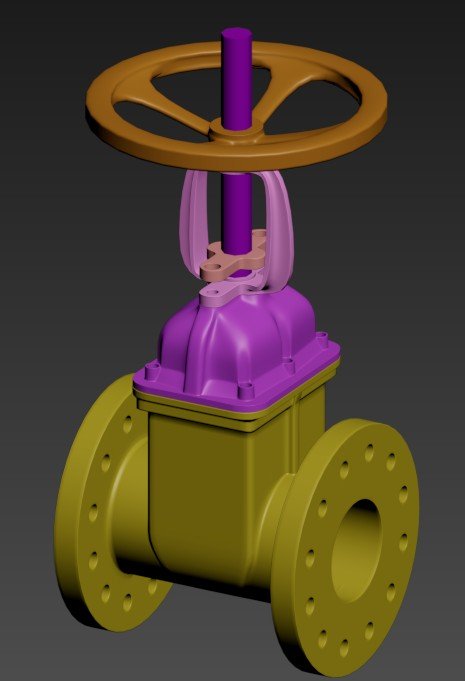
Whole Build
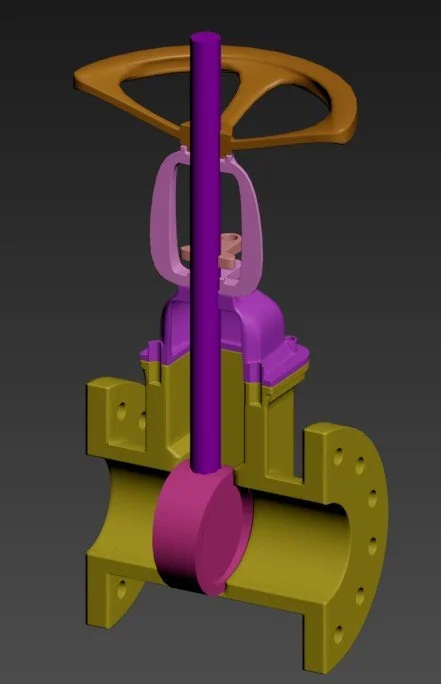
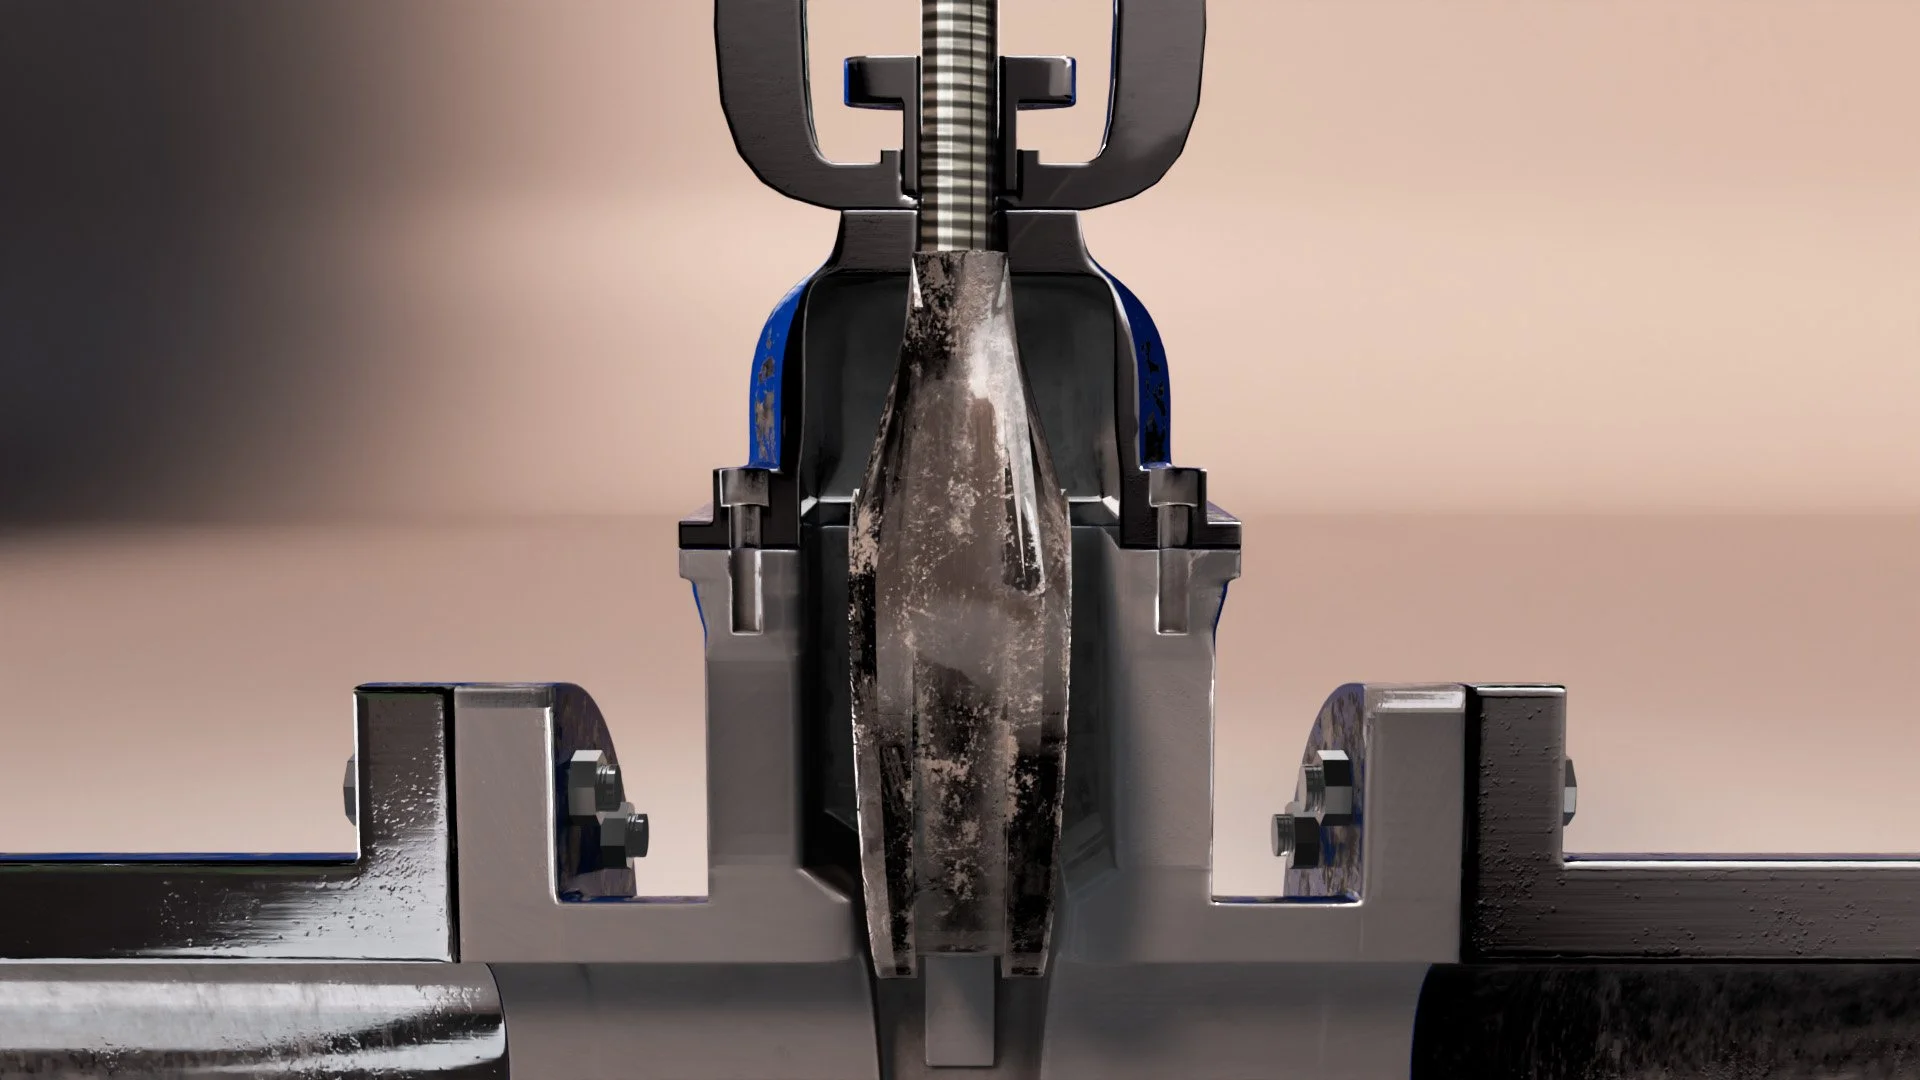
Half Build
Results
After building the model, it was time to unwrap the UV’s and slap on some textures. Textures are like a puzzle. It’s like finding the perfect way to gift wrap a present. It’s challenging to me and has become more familiar to me as time has passed, but I still find times where it becomes difficult to wrap my brain around how to make it as seamless as possible.